Guest Contributor: Journé Germain
All Images by Journé Germain
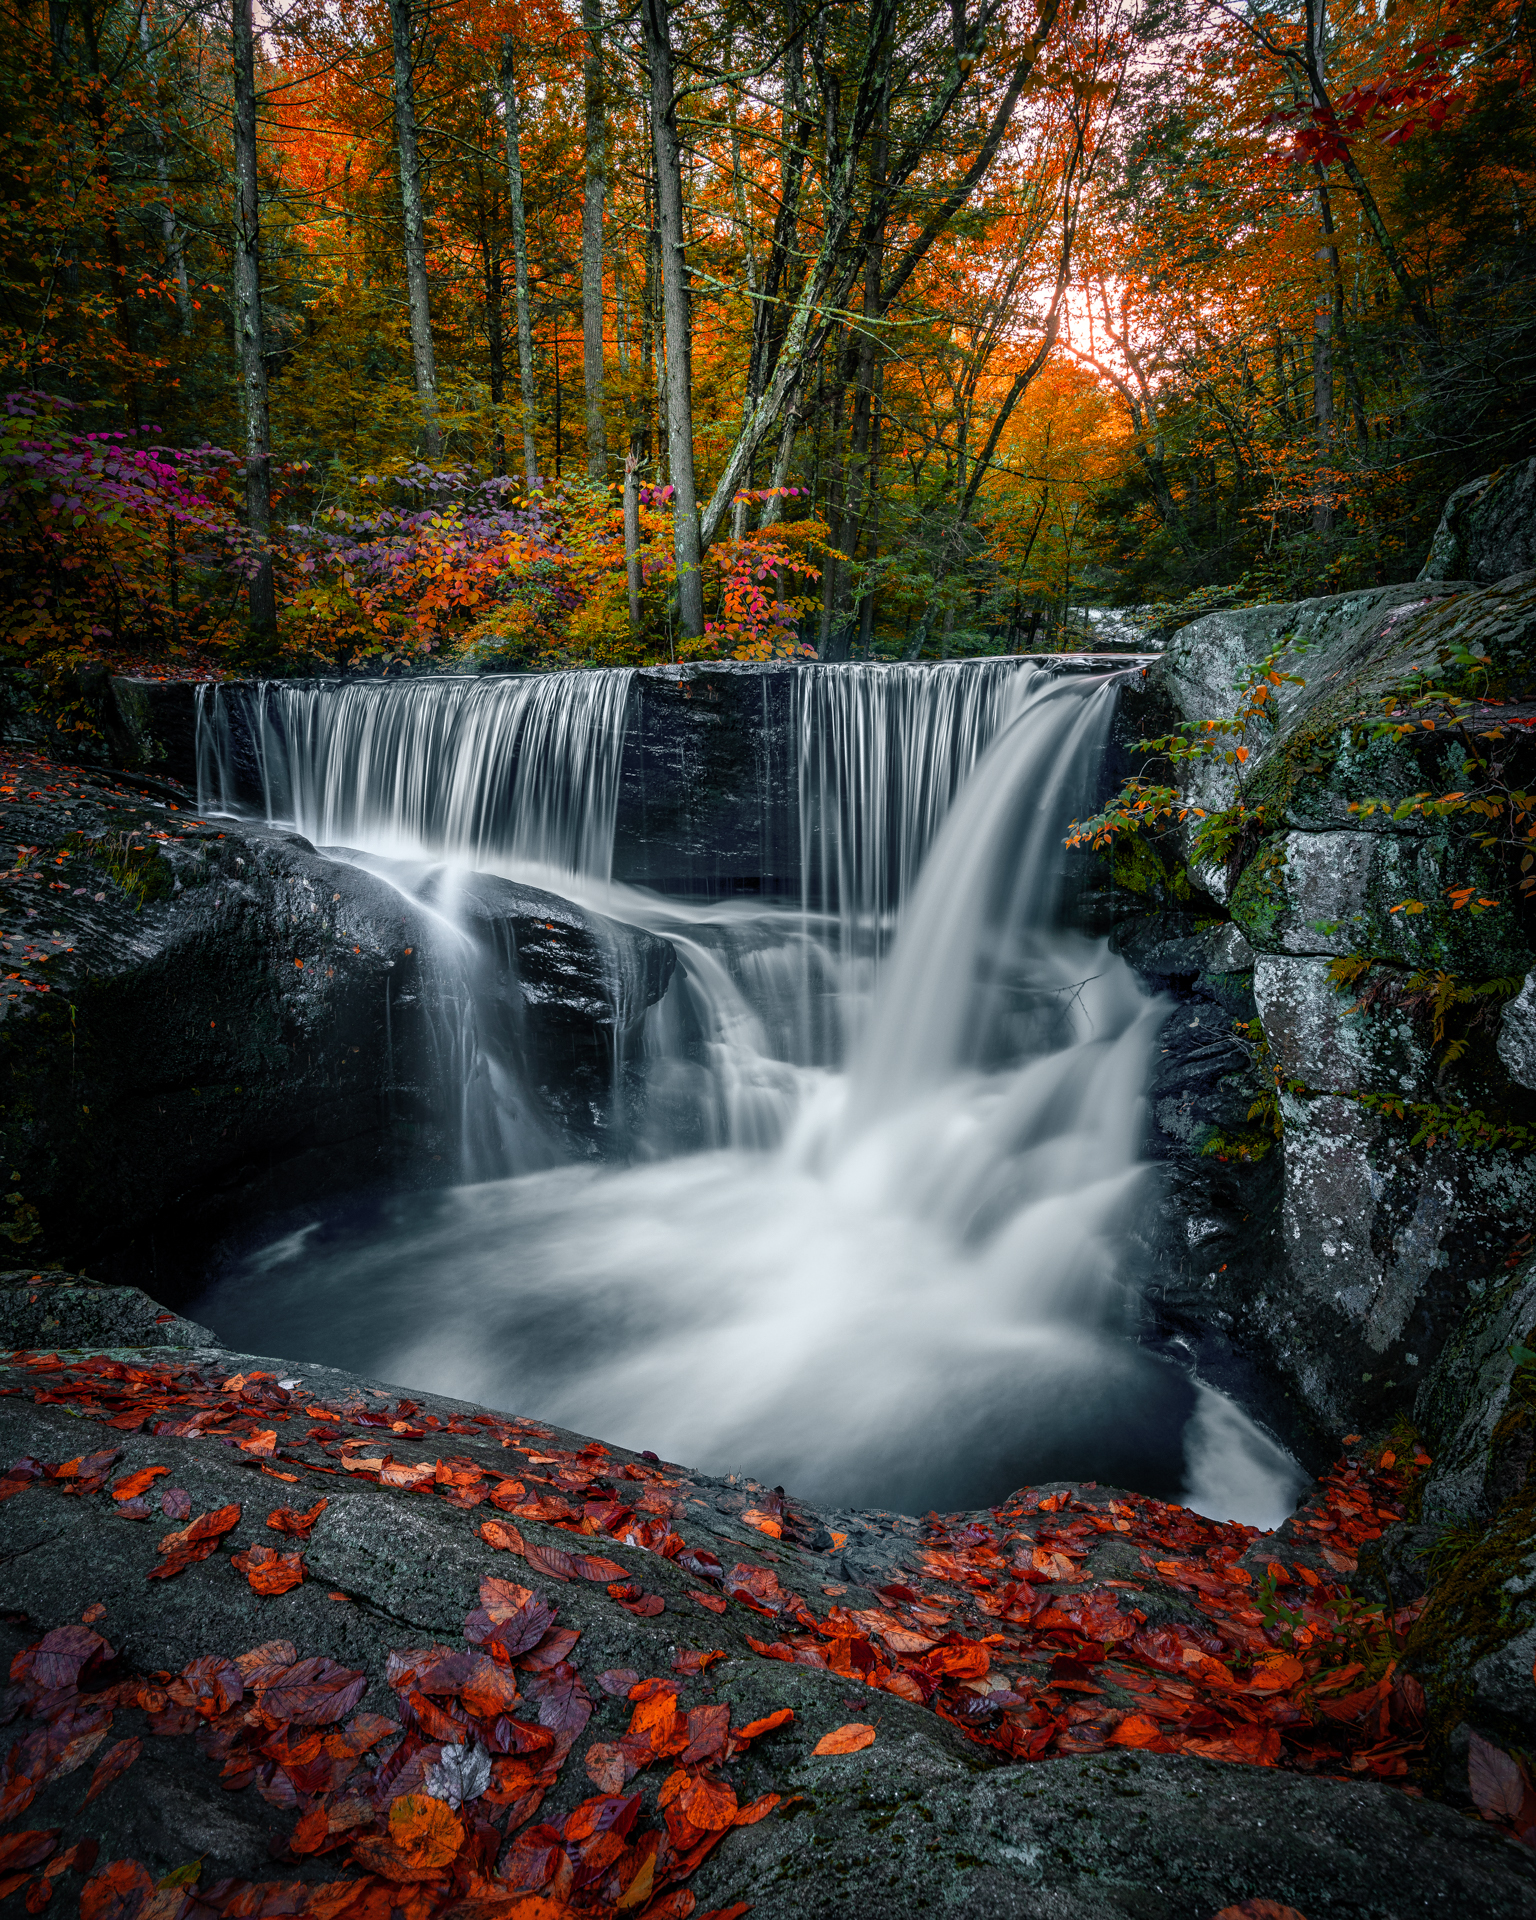
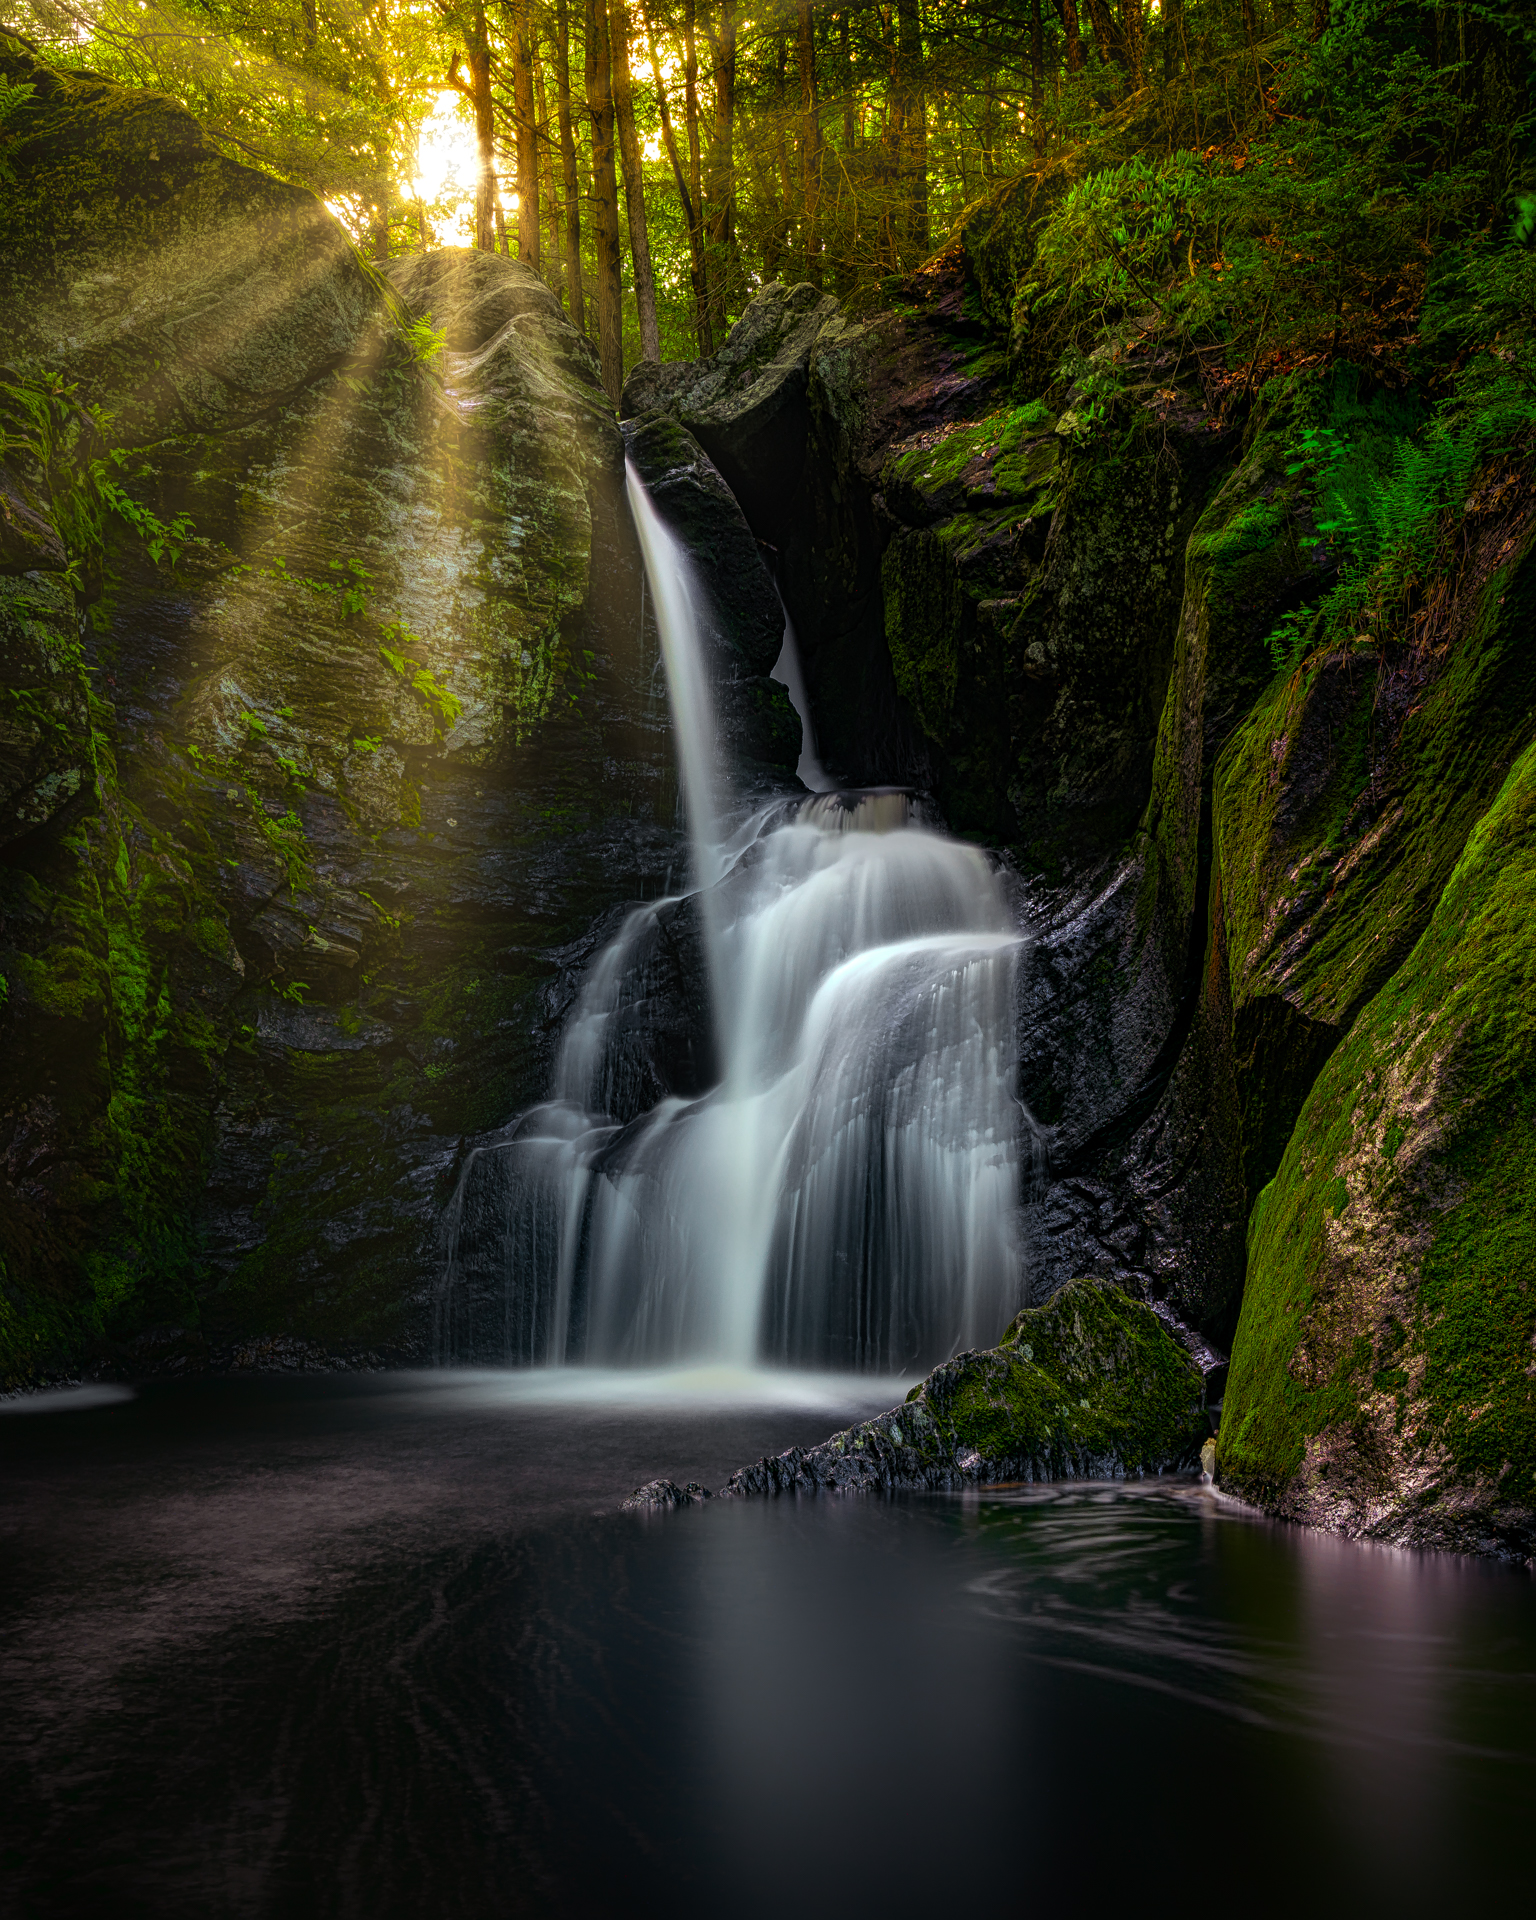
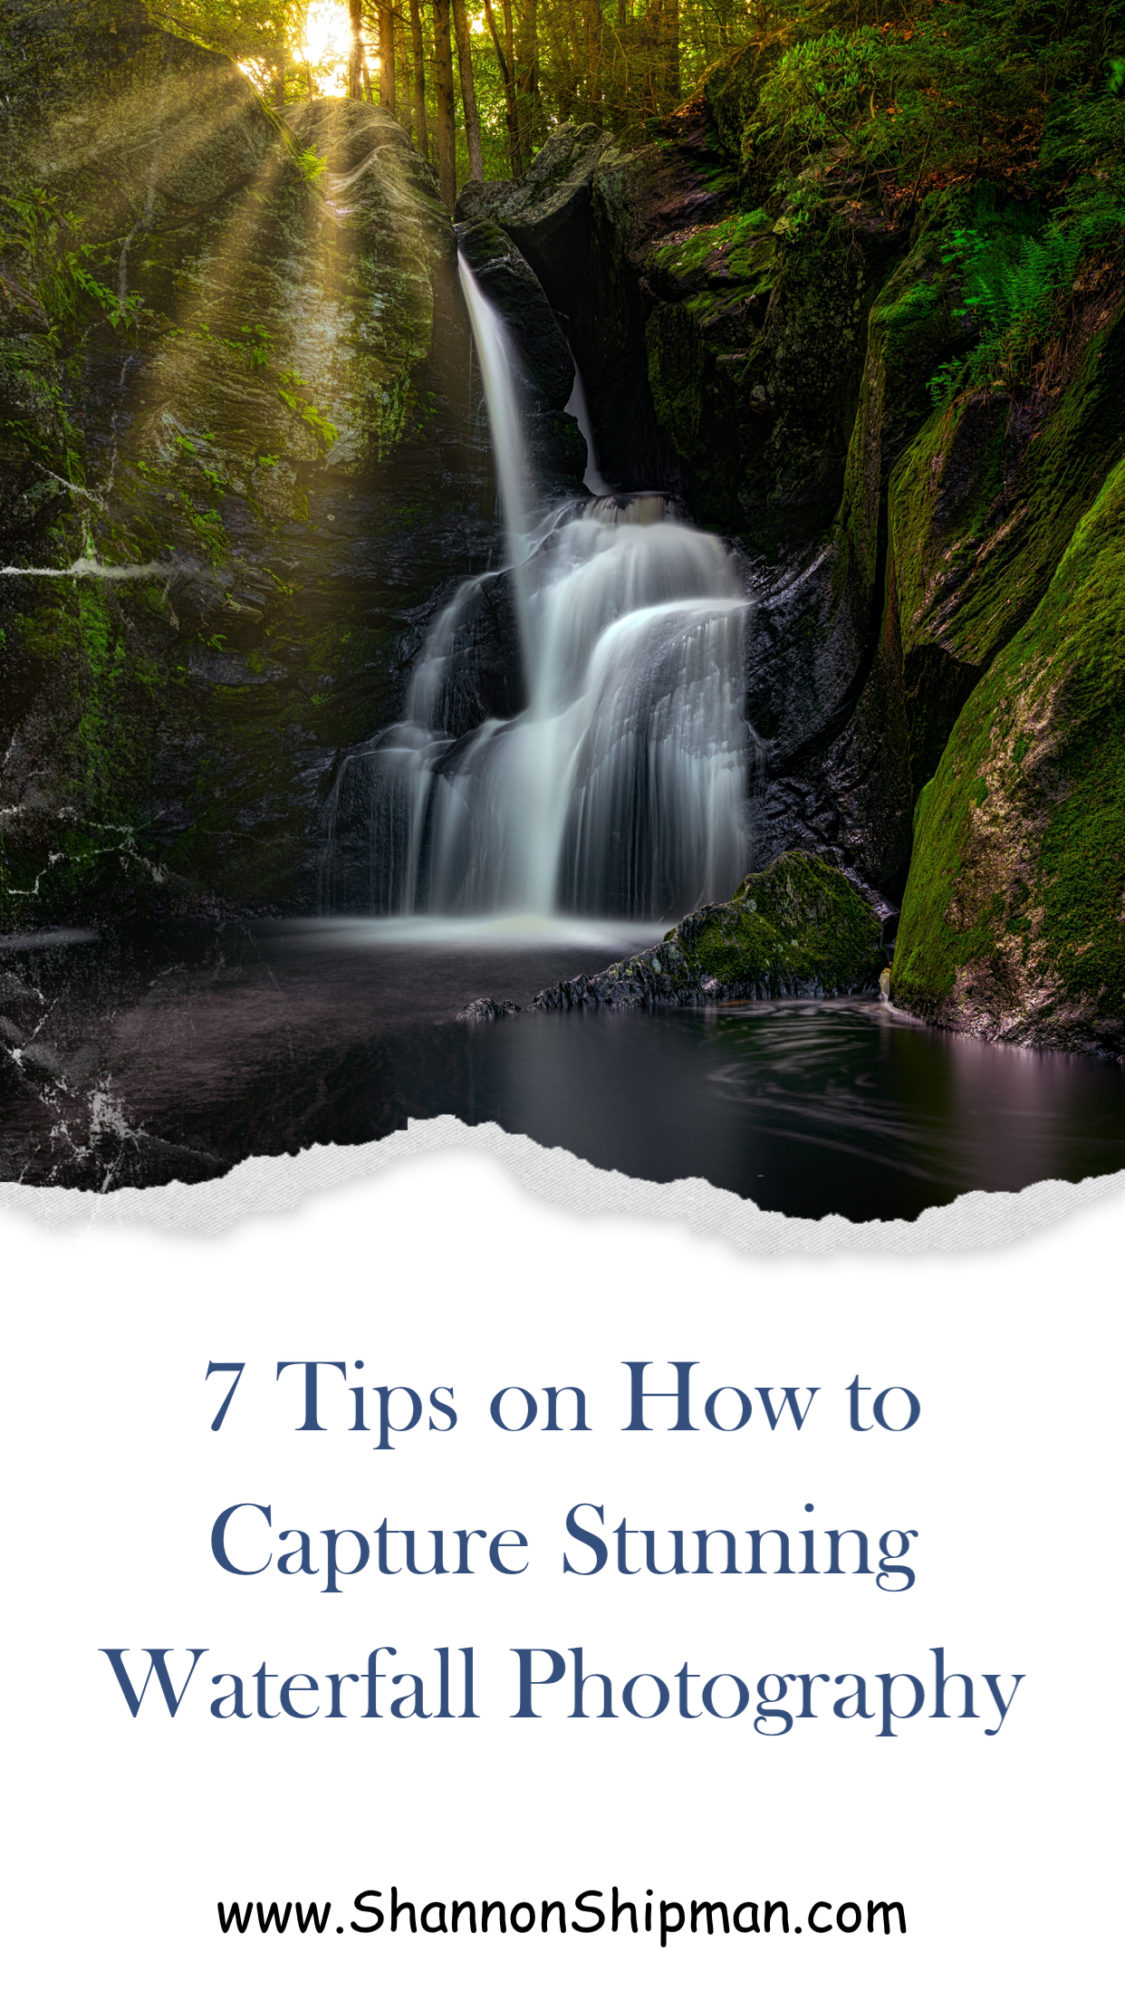
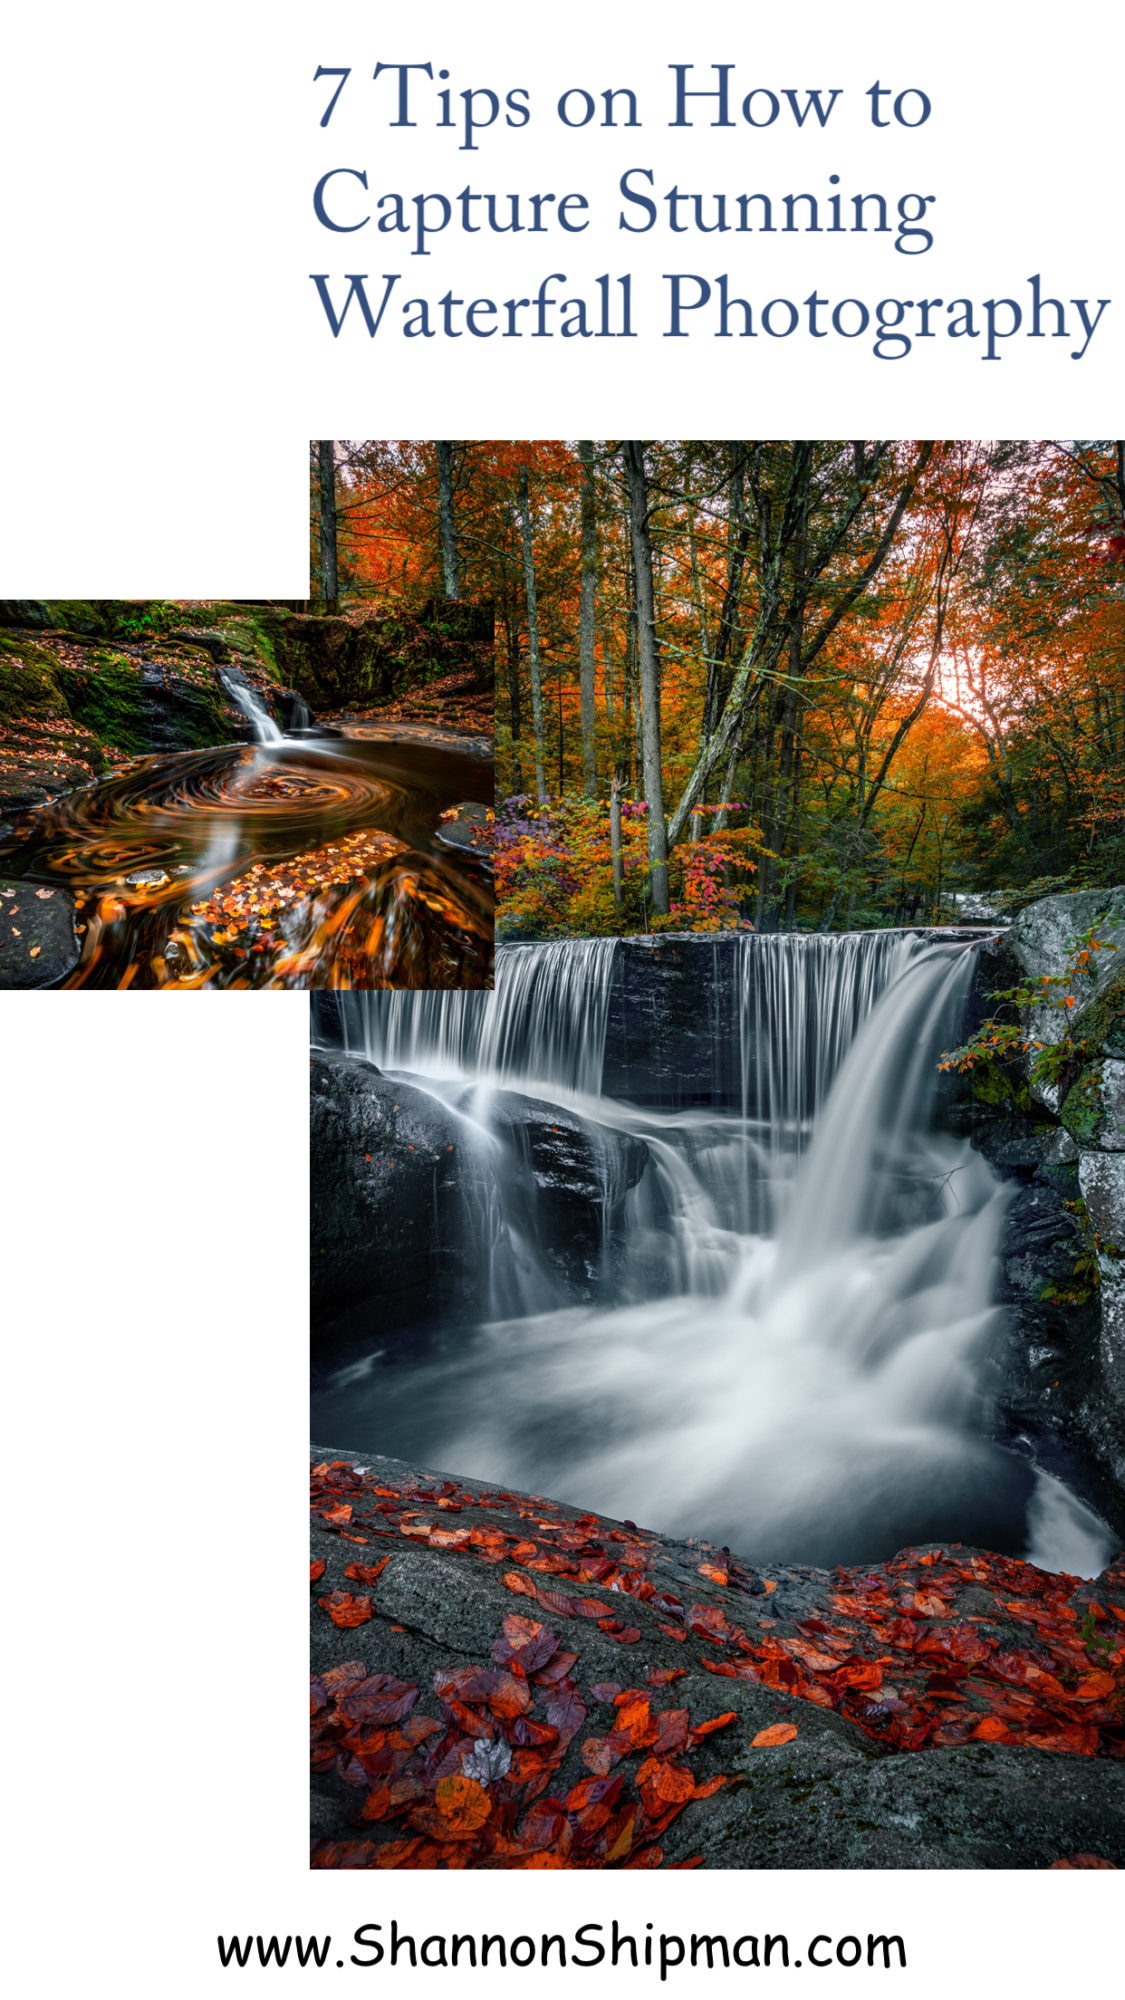
When I was brainstorming ideas for this series I knew I would need to get some photographers to start giving technical tips and advice on how to do long exposure shots. Something that people are always drawn to is waterfall photogrpahy. Immediately I thought of my friend Journé {pronounced Journey}! He takes the most gorgeous photos of waterfalls throughout the New England Region and he was perfect for this particular post.
One of the reasons I adore Journé is because he too is self taught. He was drawn to waterfalls as soon as he started taking photography seriously and his pictures speak to his dedication and commitment to the art. He’s also super friendly and loves answering any questions so be sure to go say hello on Instagram!!
When I was asked by Shannon to write a blog about how to capture waterfall photography a lot of emotions crossed my mind. My first thought was, wow, how cool. I’m honored that the great Shannon Shipman asked me to be part of her blog! Then, reality set in and I remembered that I’m not really a writer, and all of the photography stuff that I do I learned on my own through trial and error and troubleshooting. This is when sheer terror set in.
I guess before I get started, maybe you’d like to know a little about me. I’m 41-years-old, and I was born and raised in small town Massachusetts. I’ve been an outdoors guy for as long as I can remember, hiking and exploring all of the local areas since I was a child. Growing up, I enjoyed photography and always had a camera at my side during my adventures, but truthfully, the passion was ignited with the birth of my son eight years ago.
It was then that I went out and bought my first DSLR camera. When the camera wasn’t focused on my son, I was off in the woods on a trail or sitting on a hill watching a sunset. The camera never left my side. The challenge of learning how to use it became a game to me. Let’s see what I can do next.
I started to do a lot of research on landscape photography and one thing that really stood out to me was long exposure photos. The way the clouds looked, or the way waves and water looked on the beach fascinated me, and I wanted to learn more. I wanted to be able to master this, but wasn’t sure how I could do it without living near the ocean.
Then it dawned on me, I have a large catalog of waterfalls that I already love to visit, let’s figure out how to shoot these using long exposure techniques. That’s when the obsession of waterfall chasing and catching stunning waterfall photography began.
I always say I’m a self-taught photographer, but what that really means is that I’ve done a lot of research and I’ve watched a lot of YouTube videos. I have also made it a point to ask professional photographers about how they do what they do, and through all of that I figured out what works for me. I don’t know if what I do is right or wrong, but I’m proud of a lot of the final images that I have come up with. So, if you still want to know, I’ll share how I create a waterfall image.
1. Locate some waterfalls –
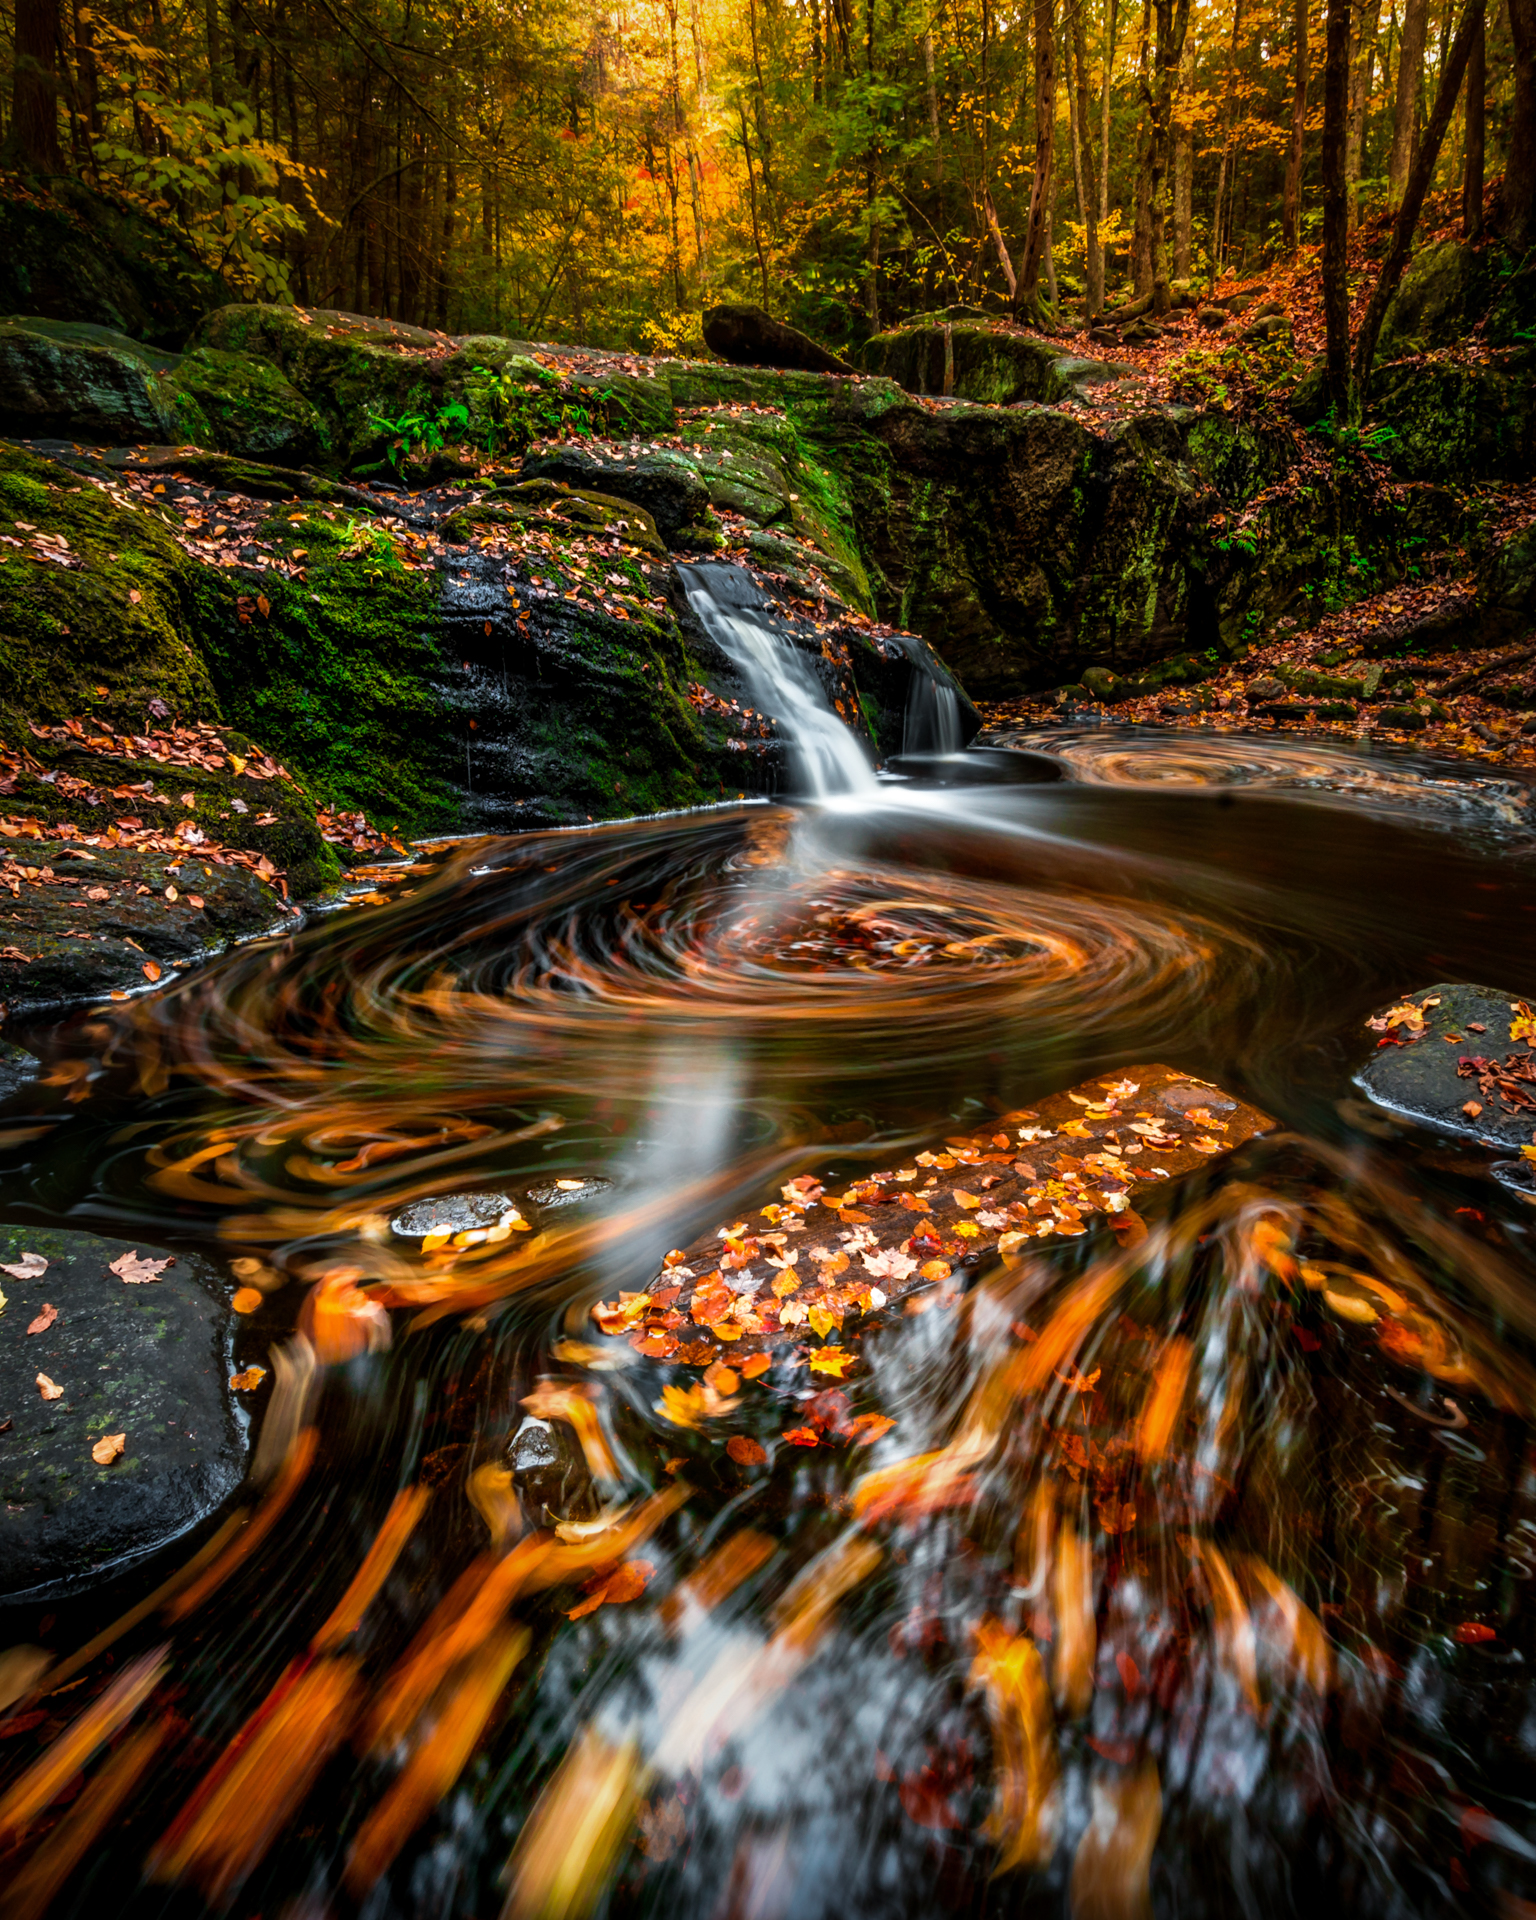
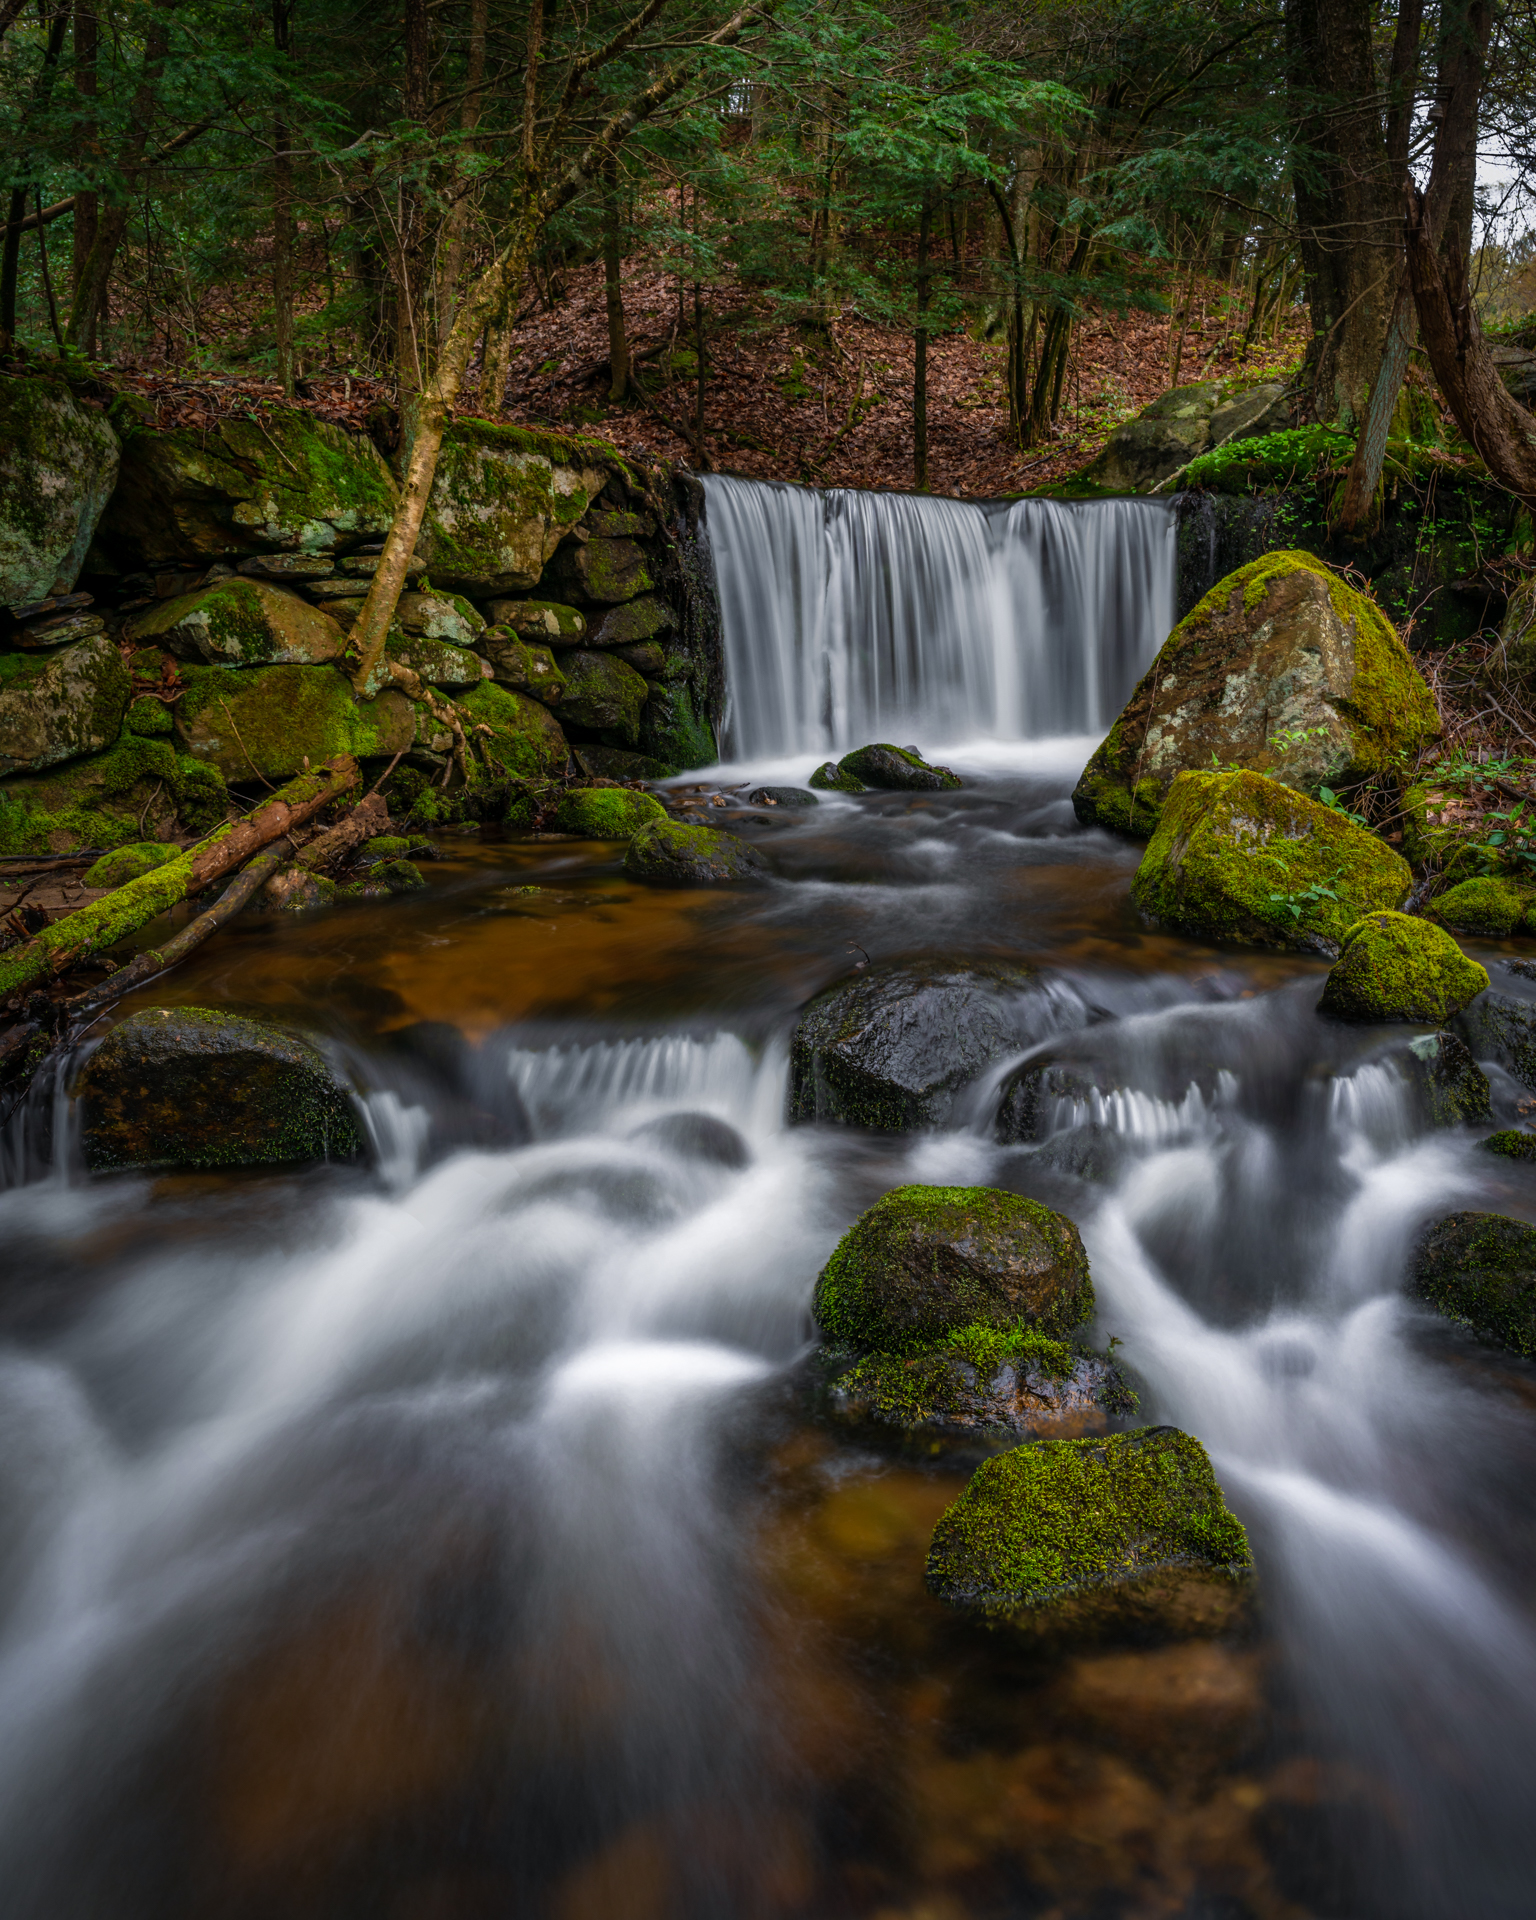
Once you dive into the search for falls, you’ll discover that there are tons, especially in New England. Don’t limit yourself though, we not only have natural falls, but there are a lot of old factory dams as well. These man-made cascades can be beautiful! {Although it may not be possible, it’s my goal to try to visit them all}. What I recommend doing to find a cool waterfall or dam is looking into this thing called the internet. I stumbled across it a few years ago. I’m not sure if it’ll stick but you should definitely look into it while it lasts because it can be a pretty helpful tool! If you know you are going to be somewhere, just do a search for waterfalls in that area and all of the local spots will pop up. At this point in time, most falls are documented and the internet will have all the trail info and specific details to help you get to your location.there, the choice is yours.
2. Once you pick the spot a crucial question is, what are you bringing?
Let’s forget about photography for a second. If you aren’t comfortable where you are, the photos you are about to take will probably be rushed and disappointing. So, you need to bring along a few things to make both your experience and your photographs enjoyable. It’s important to point out, this all depends on the season that you’re going to be shooting also. My car is basically a closet of photography gear and seasonal clothing.
Personally, I shoot year-round and a lot of my items overlap. If it’s spring you should make sure you still have warm clothing available and waterproof footwear. Moving into summer, you will need water shoes, loose clothing that is quick drying, and a bug net for your head. (You may laugh at that but you’ll remember that recommendation while you’re getting eaten alive!) Fall is a combination of both spring and summer as far as what you should bring. I always have a pair of water shoes, even in winter (I’m a bit of a nut). Winter is the toughest to prepare for. Warm clothing is a must, but the one thing that you should absolutely have is a pair of micro-spikes or crampons. Gloves that allow you to operate your gear is also a must.
These things may seem obvious, but you’d be surprised at how many people I’ve seen along my travels who show up to shoot falls in the winter with sneakers and no gloves. They take one or two photos, fall on their asses and leave because they are cold. Before you venture out, just think about who you are and what you will need to be both safe and comfortable.
3. Camera Gear –
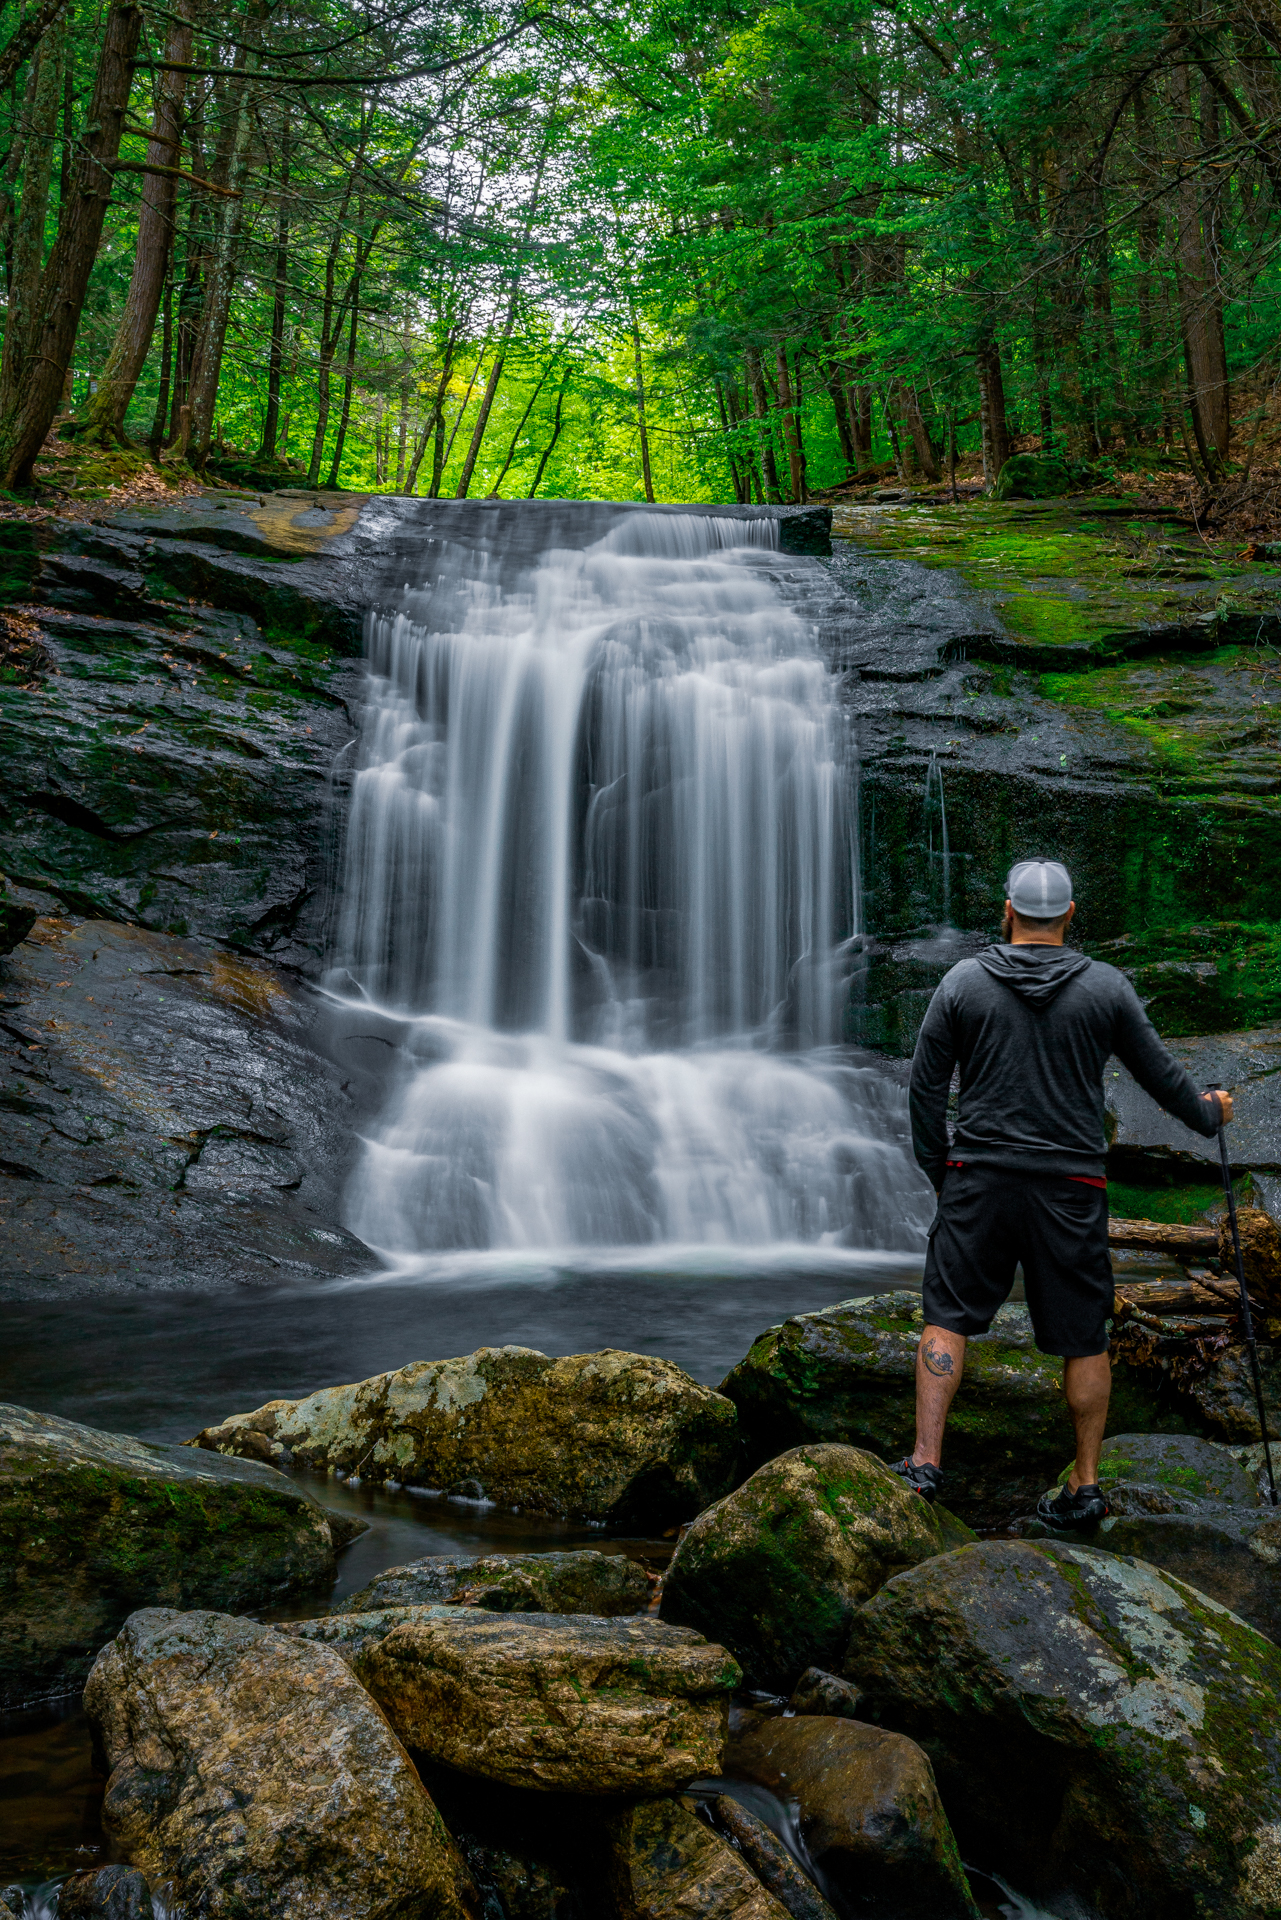
Now, back to waterfall photography. I am a firm believer that taking great photos is not just about the gear that you have, but when it comes to long exposure shots of waterfalls, there are definitely some things that are necessary. First, you will need a camera. Currently I”m shooting with a Sony a7rIII my lens of choice is the Sony Gmaster 16-35mm. But as far as cameras go, the possibilities are endless and I’m not going to recommend a specific camera, I can assure you that you DO NOT need an expensive top of the line camera to take waterfall photos. I just happened to work my way up to that.
What you will need though, are a few extras to capture those long exposure shots. First, you must have control of the camera settings, which we will talk about in a bit.
Second, a good tripod is a must. As with cameras, there are a ton of different tripods, and I definitely have my fair share. I started off with a big and bulky super sturdy tripod that was given to me as a gift. As I dove deeper into waterfalls, I went the complete opposite way to a lightweight and backpack friendly version that collapses down to almost nothing. I found out though that if your tripod is too light, when you put it in a water current you can see the movement blur in photos, so you really need a tripod that is both sturdy and reliable but also collapsible.
Number three isn’t an absolute must for shooting waterfalls, but if you’re aiming for that silky-smooth look while shooting during the day you should really have a camera that has the ability to attach neutral density filters to the lens. As you know already, my love is long exposure photography and I believe neutral density filters really go a long way towards capturing stunning waterfall photography.
4. What are neutral density filters?
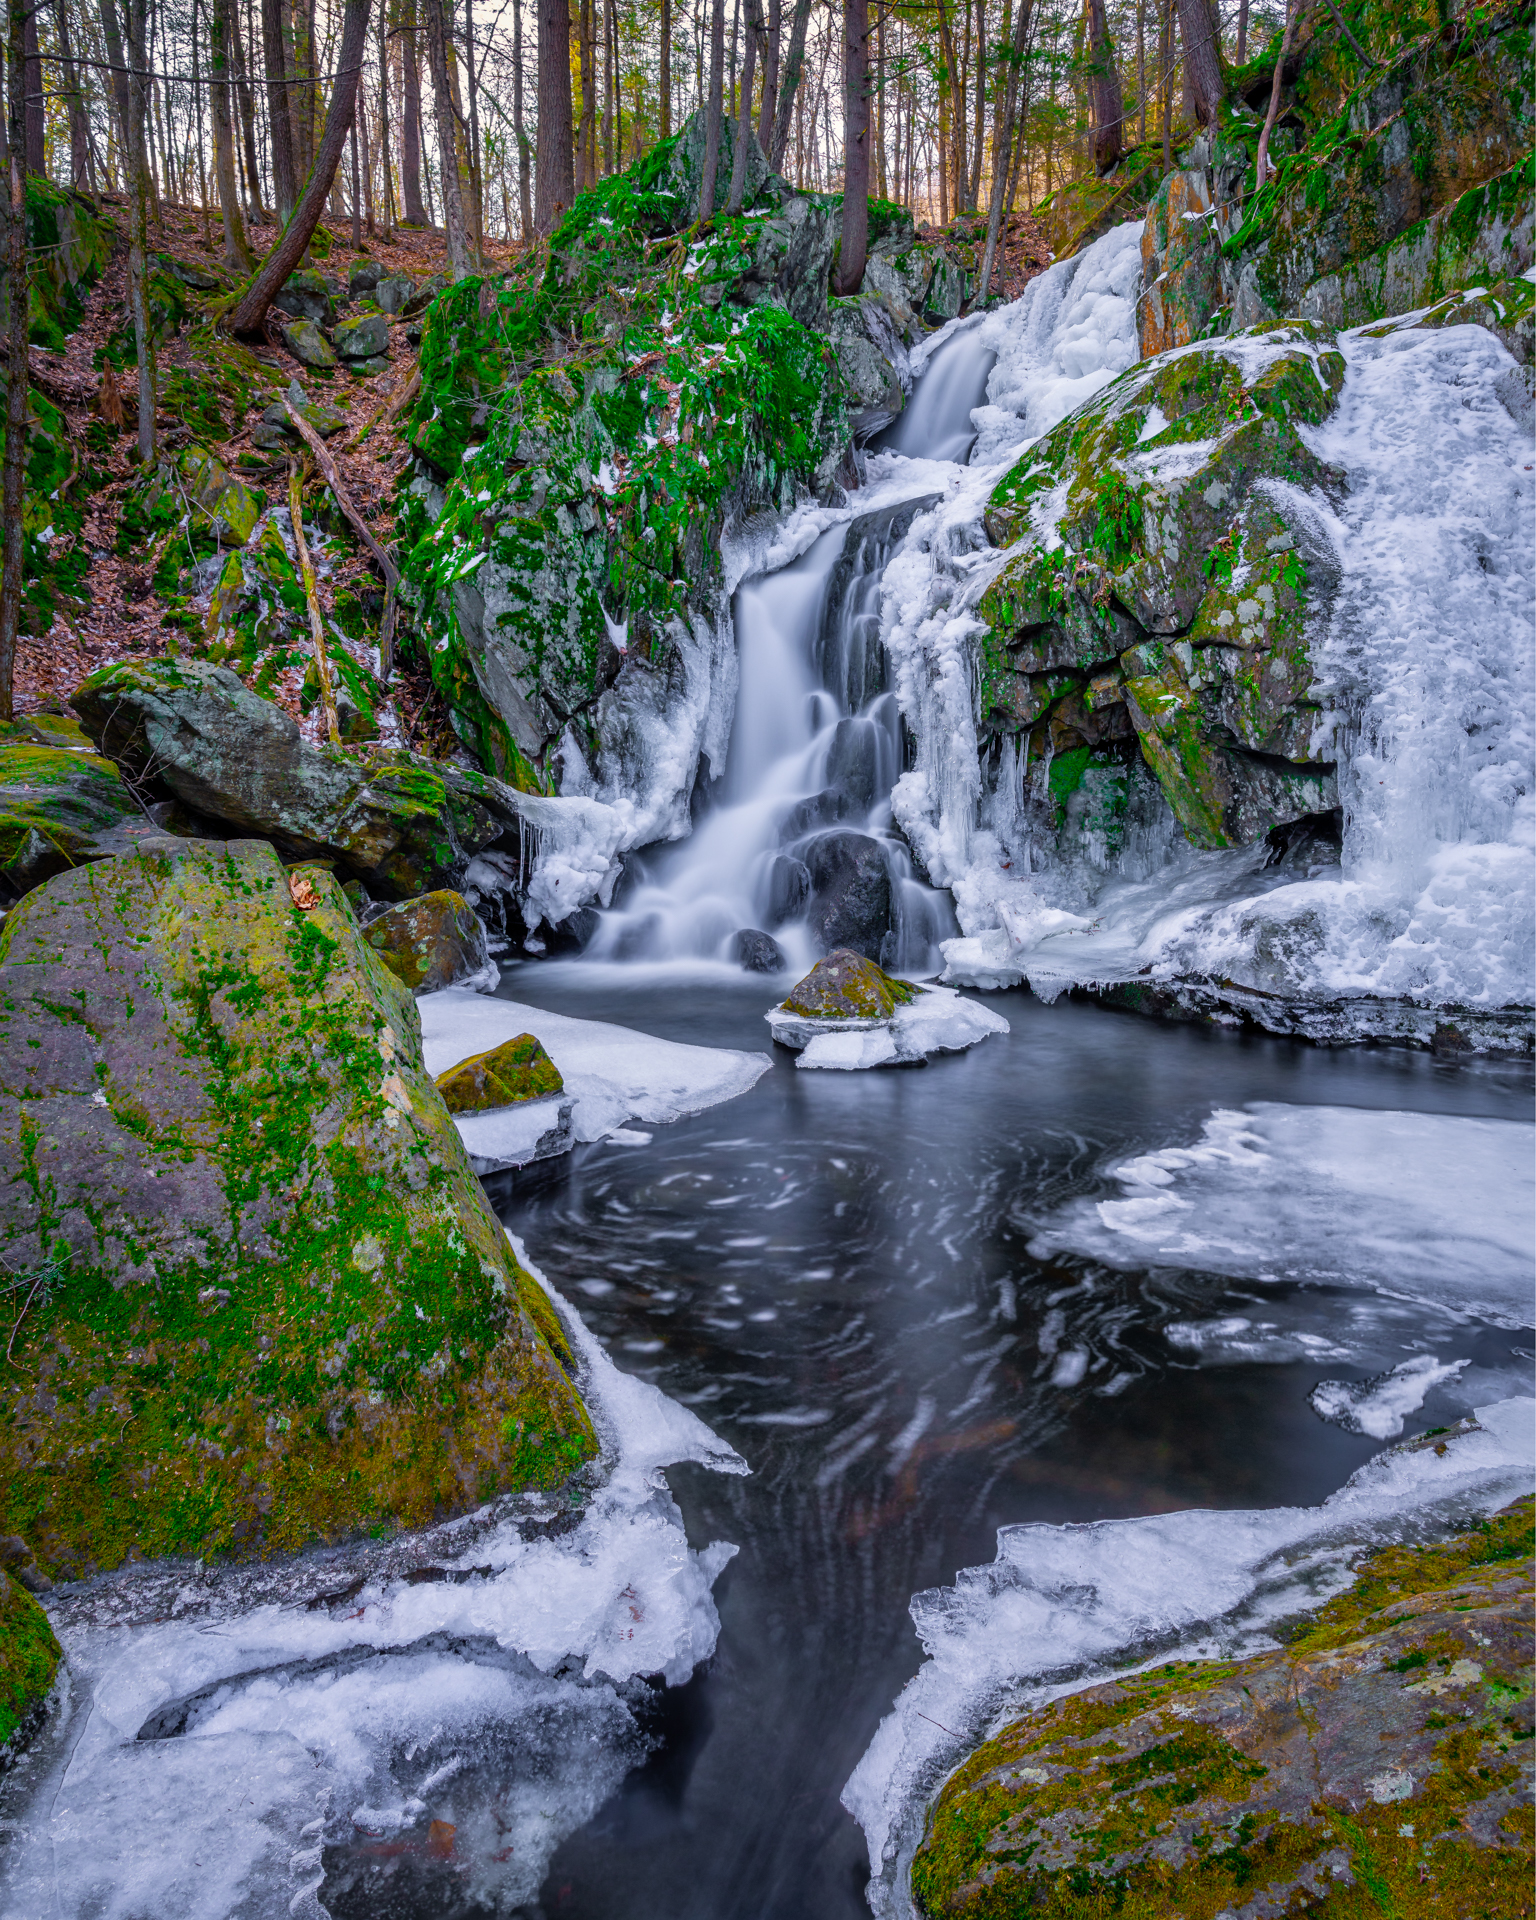
Well, they are attachments for the lens of your camera that block out light allowing you to shoot longer (we’ll get to what that means later). Like everything else, there are many different types of neutral density filters. Some filters screw onto your lens (only fitting that specific lens diameter) and others that mount on a bracket and rely on an attach ring that screws onto your lens. This benefit allows the filter to be used on multiple lenses. You will just need the different size rings for multiple lens diameters. I shoot with a filter system that relies on rings to mount to your lens.
Finally, an extra tip – you might need some type of shutter release. It is a very common tool that is used to control the shutter for your camera without actually touching your camera. This helps keep a motion free platform and assist in actual length of exposure (which again, we will cover in a little bit). But I currently I do not use one. What I usually do is set a 2-5 second timer built right into my camera to accomplish the same result for my waterfall photography.
5. When to shoot–
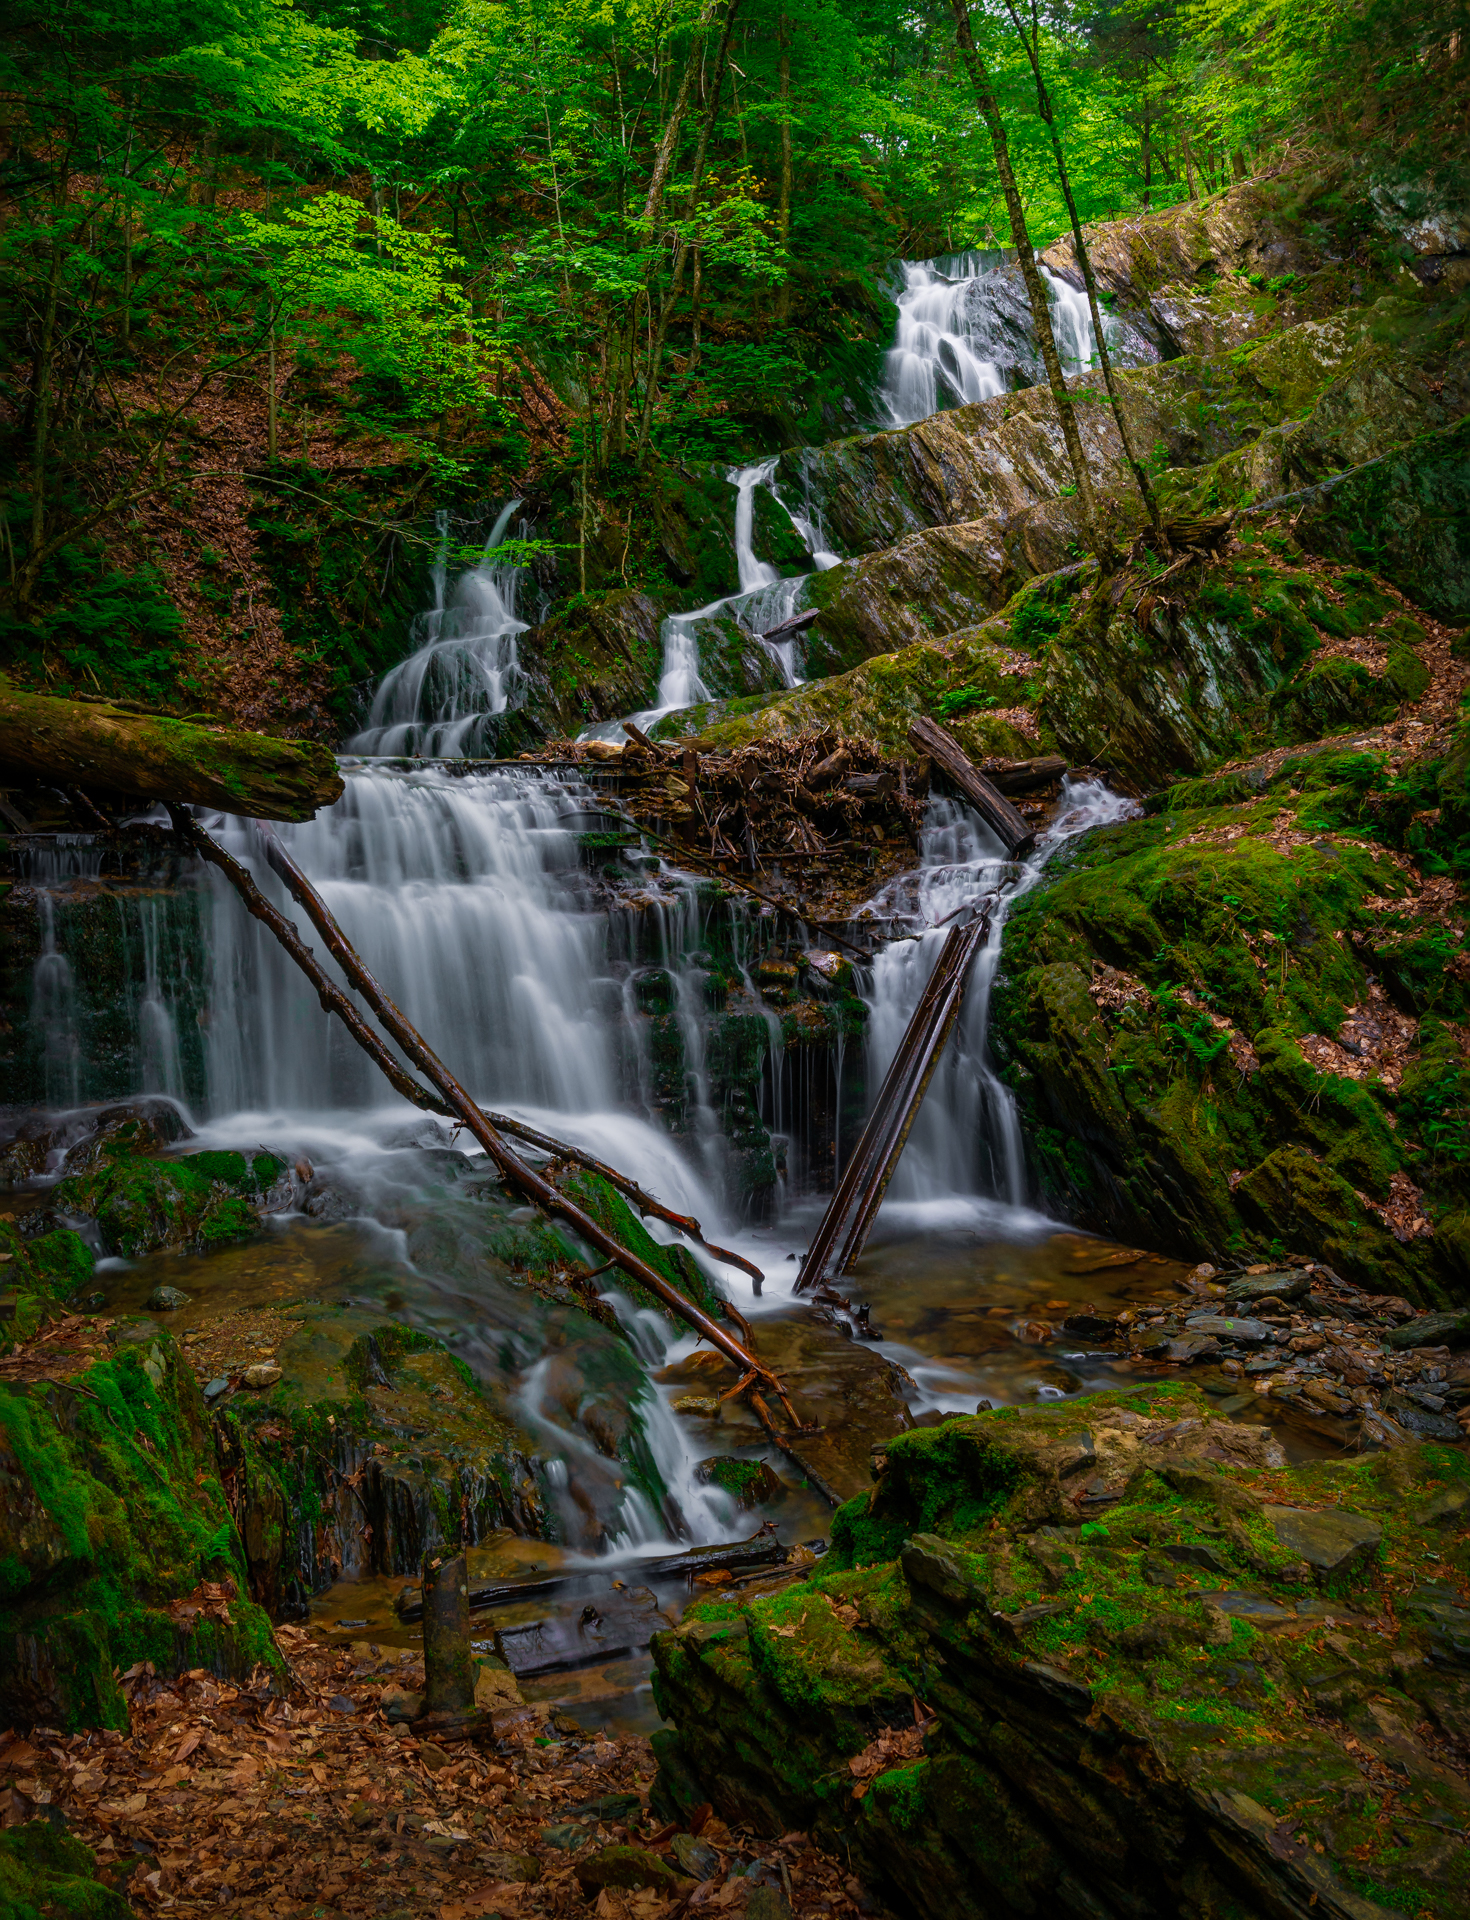
I shoot waterfall photography year-round because I love the way they look differently throughout the seasons. When I first started shooting, I thought that the best time to shoot was during bright sunny days (I was WRONG). This may be something that you are looking for, but for long exposure I’ve found that these are actually the worst possible conditions to shoot falls. I love to shoot on overcast days because the light is a lot more consistent. Photography is all about controlling light, no matter the subject so when you shoot on sunny days, the water tends to be too bright and can ruin your shot.
Bright sun will also cause a lot of shadows that you might not even notice, and the water reflects the sun so it is almost as if you are shooting directly into the sun. I love a good cloud cover. At the very least, the entire waterfall needs to be in the shadow of a cloud. Sun in the background can create a very interesting look, but I love the consistency of an overcast day.
6. Let’s Go Shoot!
Now that we have our location, our gear, and the perfect day, it’s to get the perfect shot. I tend to shoot alone or with a very select group of people. The reason for this is that I take a very long time to shoot. My method starts by just observing the falls and enjoying it for myself. I take it all in while looking for different angles to shoot.
When going to a new fall, chances are I’ve seen someone else’s images from there or at least the standard popular shot. Sometimes these are the best angles and that’s what we want to duplicate, but for me I try to be different. I look for obscure shots and different angles and I shoot them all. If you listen to any of my advice at all, I can’t emphasize enough to take your time and shoot every possible shot/angle. A lot of my favorite images that I’ve taken were photos that I really didn’t think would amount to much, yet took them anyway.
Once you have your camera set up and the frame you want to shoot, you need to figure out what settings to use. This is a very difficult thing to recommend and to teach but here’s where I’d start: The longer your exposure speed the silkier and smoother your water will be.
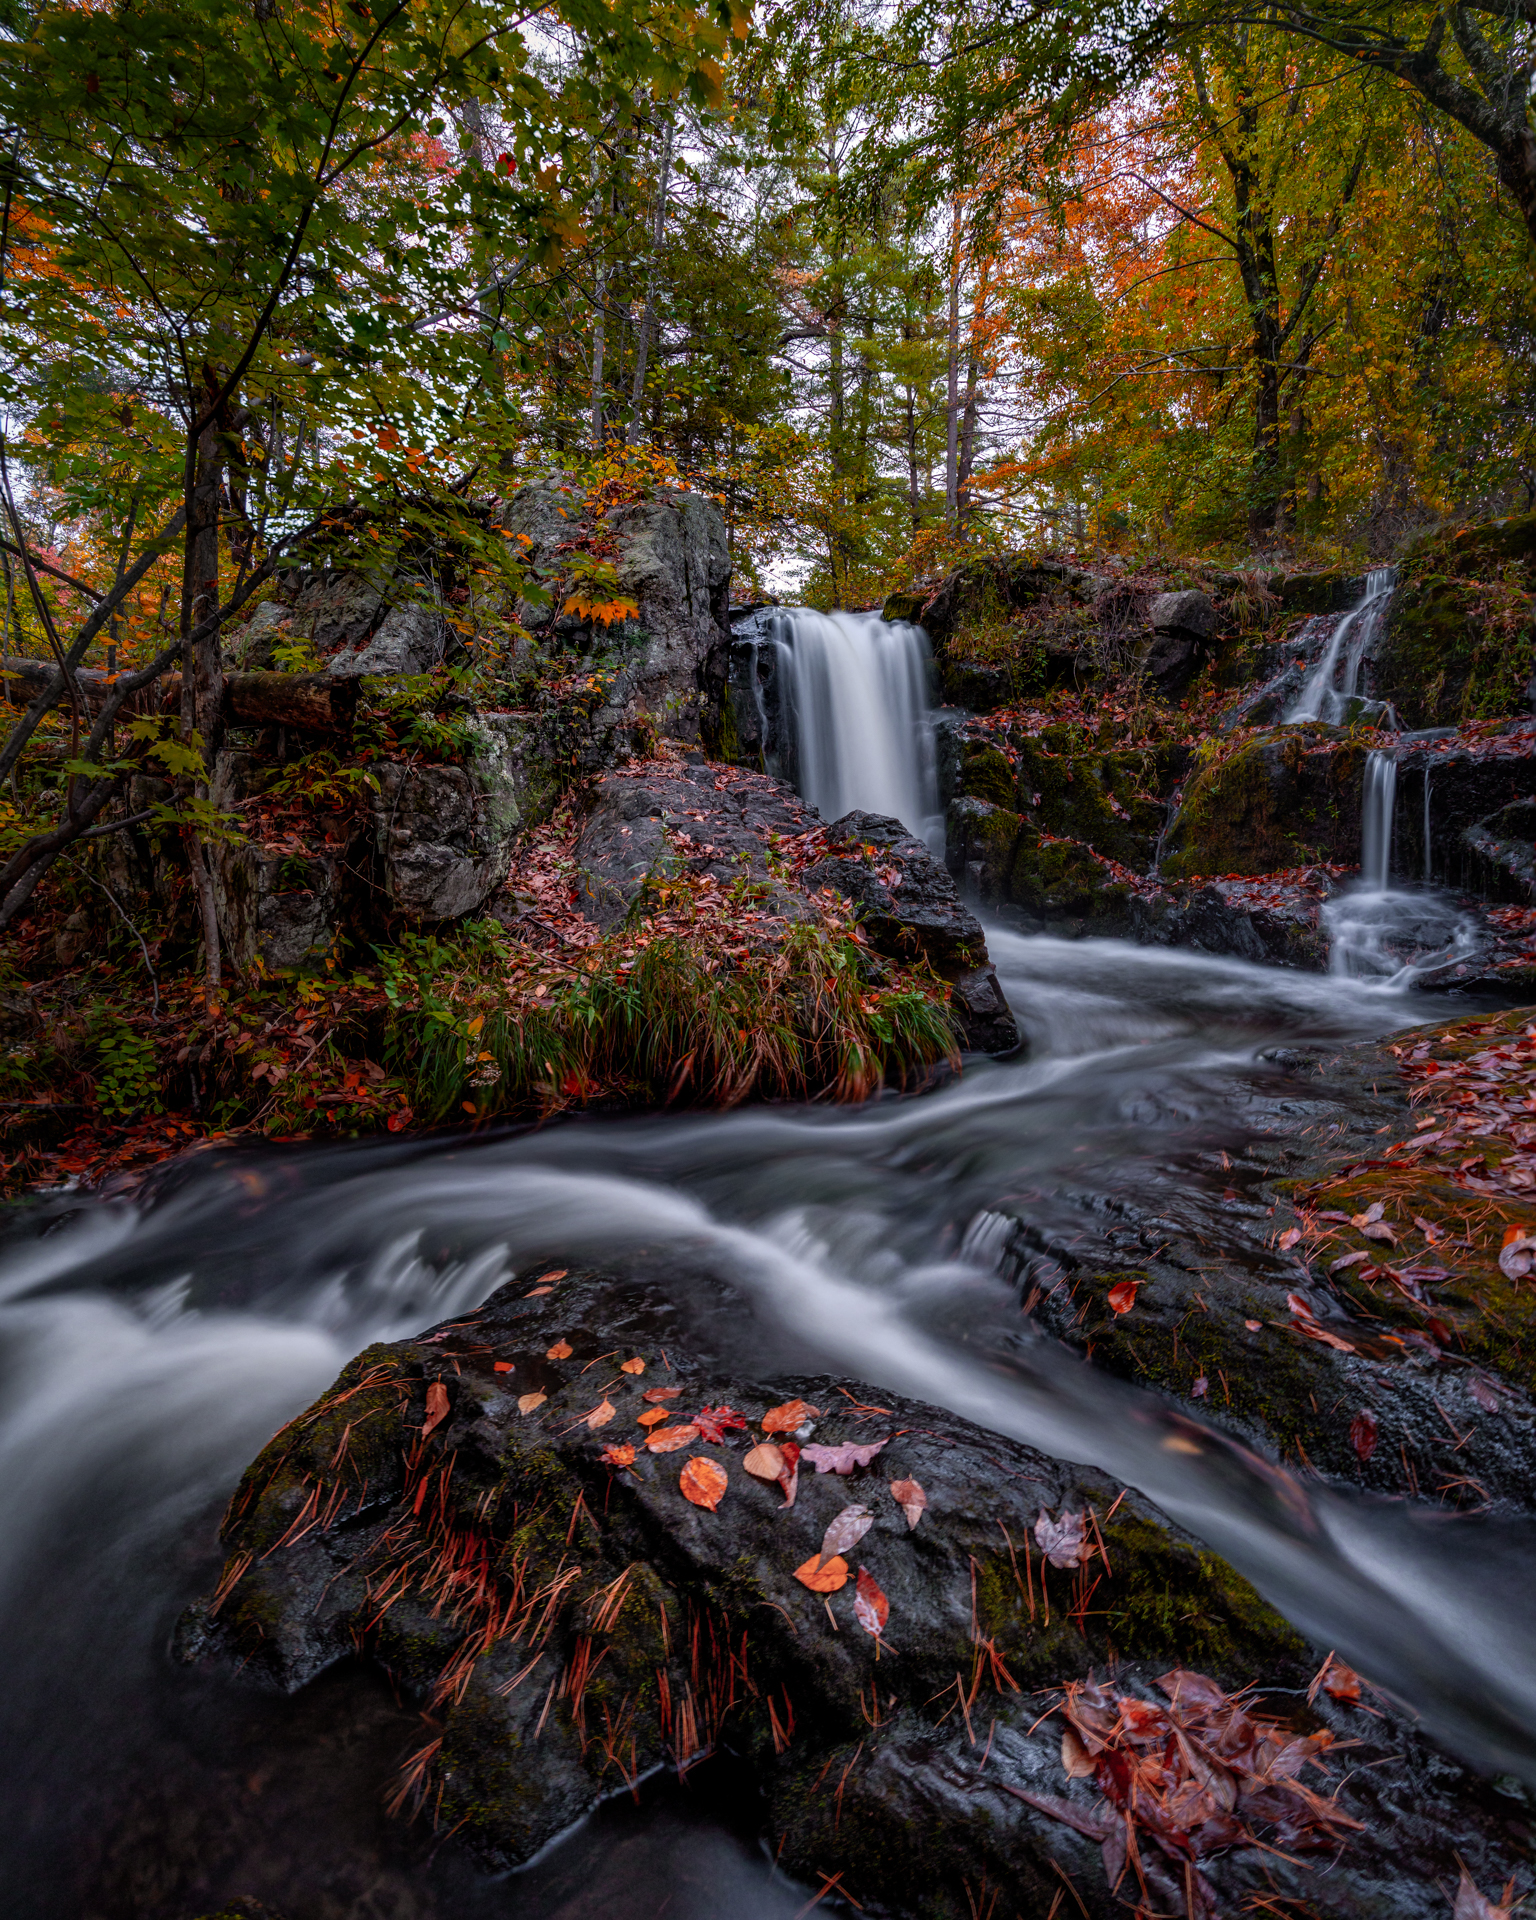
There is a balance here. When I first started waterfall photography, my goal was to shoot as long as possible because I wanted the water to be as smooth as possible. I’d set my camera to shoot 30 – 45 seconds per shot. Again, with time and a learning curve, I’ve changed what I do here. Right now, I shoot anywhere from 2 seconds to 15 seconds depending on the texture of the water I’m going for. Again, remember. The longer your shutter speed the smoother the water will look.
During daylight hours in order to shoot this long you need to apply a neutral density filter. If you don’t, your image with just “blow out” and be completely white. ND filters are measured in “stops” and the three most popular filter “stops” are 3, 6, and 10. On bright days I’d go with the 10, on overcast days go with the 6 and at dusk or dawn go for the 3. F-stop settings will help control the light and your focal range. If you are shooting a landscape image I’d begin in the f/8 – f/13 range.
Finally, your ISO settings. I try to stay as close to ISO 100 as possible. With most of the newer cameras you can extend your ISO pretty high, but the higher you go the more “noise” (grainy) texture you’ll get. I like my images to be as crisp as possible. These are just starting points though, there are no perfect settings that I could tell you to use because conditions change every day. I definitely recommend experimenting with different settings to figure out what works for you on that day. My sweet spot settings for shooting a perfect fall with perfect light would be in the range of 10 sec f/11 ISO 100 while using a 6 stop ND filter. Again, this is just a starting point. The more you shoot the quicker you’ll learn the settings of your camera and what changing each will do for the final product. When I shoot, I always change settings for the same frame because you never know what might look better. The worst mistake you can make while out shooting is to not take the shot. When I first started, I’d get home and realize I should have taken that shot but never did. There is nothing worse than kicking yourself for not trying something while you’re out there.
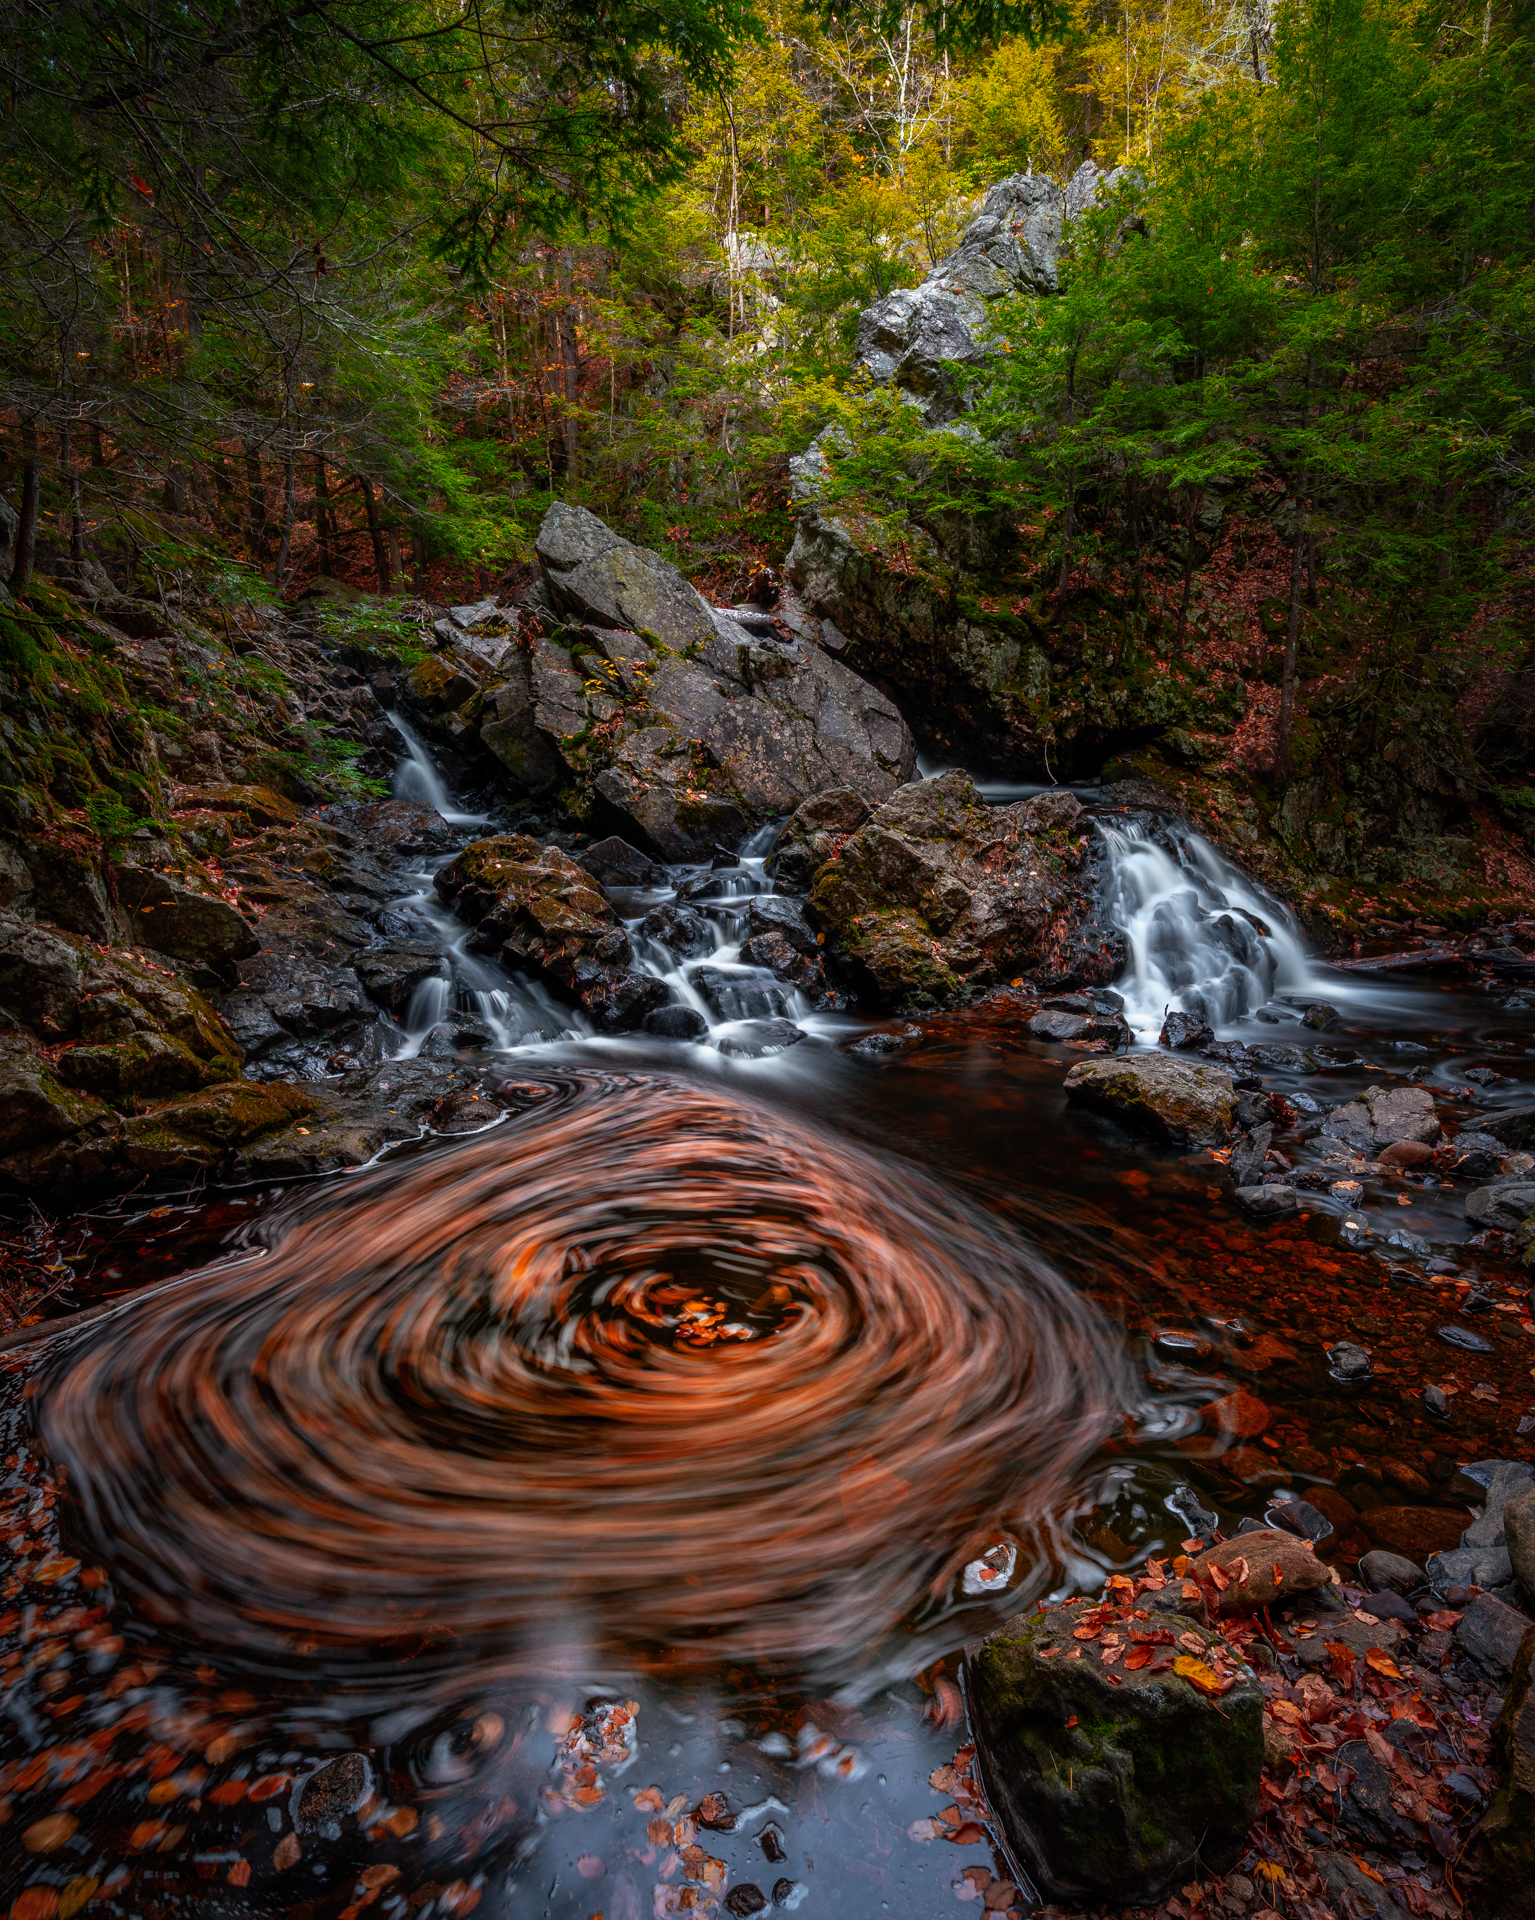
7. You have the shot. Now what?
Well, we need to process the image. This is where we as the photographers become real artists. When I shoot I set my file type to .raw not .jpg. To look at these images on your camera, or on your computer, the final product will look dark, bland, and lacking color. Raw images are meant to be “processed” which means they have to be edited and they allow you the largest file with the most information on it. You’re going to need to figure out what works best for you for post processing. This alone could be an entire blog in itself.
I will say that every image that I shoot first goes into Lightroom CC. In my opinion it’s the best photo processing software out there. It’s fairly easy to use and there are a lot of “how to” videos on the internet. Where I got my start was watching anything by Serge Ramelli. He has a ton. Not just on Lightroom but on just about any other photo editing software out there. After Lightroom I use photoshop as well. Not to create “fake” images, but to remove clutter in the water or sensor spots. I’m constantly evolving my edit style and I love trying new things. One of my favorite things to do is to go back and look at old images and apply new editing techniques. My shots are always evolving, and so should yours.
This all might sound very confusing at first, but I promise you that if you just dive in like I did and take the time to practice and learn what works for you, you will be shooting beautiful waterfall photography in no time! Now, if you’re all still awake after reading this, I want to thank you so much for your time and I hope you were able to pick up a tip or two! And if you have any questions on waterfall photography feel free to reach out to me on Instagram!
If you enjoyed 7 Tips on How to Capture Stunning Waterfall Photography then check out these other Articles with Photography Tips!
Pin For Later


Great article by a guy who really knows his craft
David! thanks so much! if you are ever interested in being a guest contributor I’d love to have you! hope you’re having a great weekend!