Guest Contributor: Kristen Wilkinson
All Images Provided by Kristen Wilkinson
I’ve admired Kristen’s photography skills for a while. She captures New England beautifully but also has some incredible shot throughout the United States. Kristen’s use of light never ceases to amaze me as she is constantly using all it has to offer to make her landscape shots spectacular. While a lot of people appreciate landscape photography, only a few realize how much work goes into planning, searching, and waiting for the perfect shot. In this post Kristen breaks down the best ways to find really good photo spots.
In the landscape photography world there aren’t a lot of women photographers, while they are out there, we are outnumbered. So to be able to connect with someone like Kristen and share creative information has been a dream come true! You can purchase prints from kristen at her site – www.KristenWilkinsonPhotography.com, and you can follow her on Instagram at @kristenwilkinsonphotography
The magic of a great landscape photo has two components: a good location and good light. Sometimes you get lucky and are in the right place at the right time and happen to have your camera with you. But most times, being at a good location during good light is the result of careful scouting and planning.
Living in New England puts me within reach of so many great locations. I have the luxury of scouting them in person during different conditions and seasons, gathering new information each time until I know exactly where I want to set up my shot, what conditions are best, what time of year to go. But being a landscape photographer means traveling to new areas, often places I have never been before. All the information I gather has to be obtained from hundreds, sometimes thousands of miles away.
So how do you scout really good photo spots you can’t get to yet?
Step 1: Ask Your Friends/Family/Colleagues
The people in your life can be a great resource if you haven’t yet decided where you want to go. Ask them about the places they’ve lived or vacationed, and ask what they found beautiful about the place.
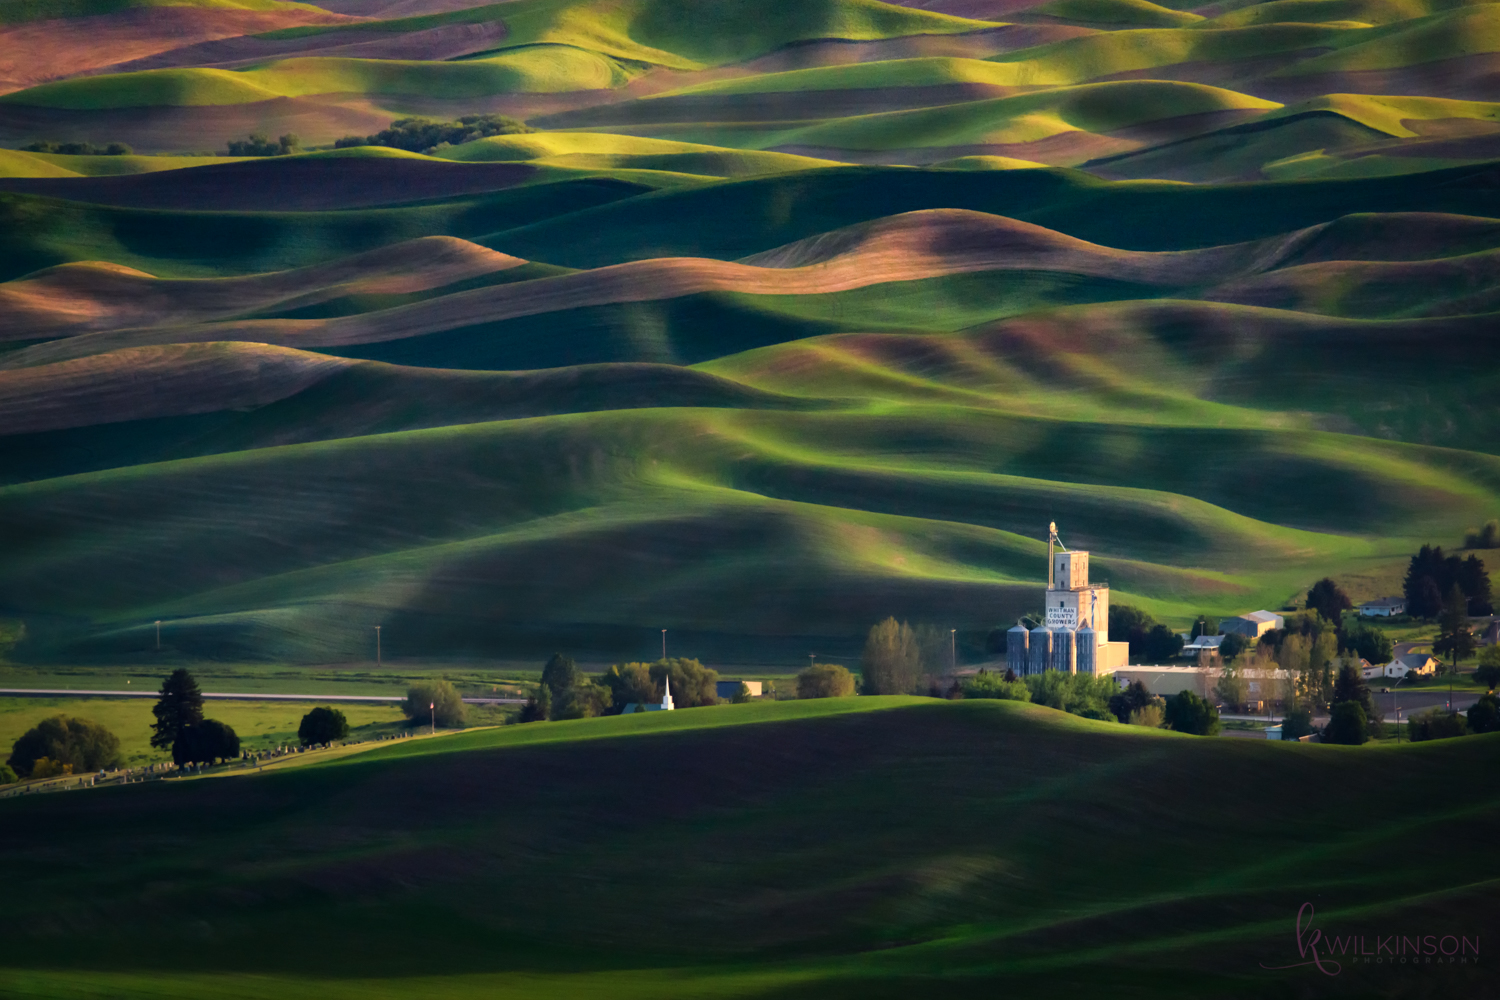
When I asked my cousin what was pretty near her new home in Spokane, she told me about an area south of her called the Palouse. I ended up spending a week photographing there last spring due to her recommendation.
Step 2: Begin Googling to Find Really Good Photo Spots
I search by state and by county with phrases like ‘Natural wonders of…’, ‘Scenic locations/drives in…’, ‘Must visit spots in…’. This will usually give you a rough idea of what’s available in a given area. Pinterest can also be very useful in this stage. Think about choosing locations where the light excites you, but also find locations where a cloudy or stormy sky might work. This will ensure you have options for all types of weather.
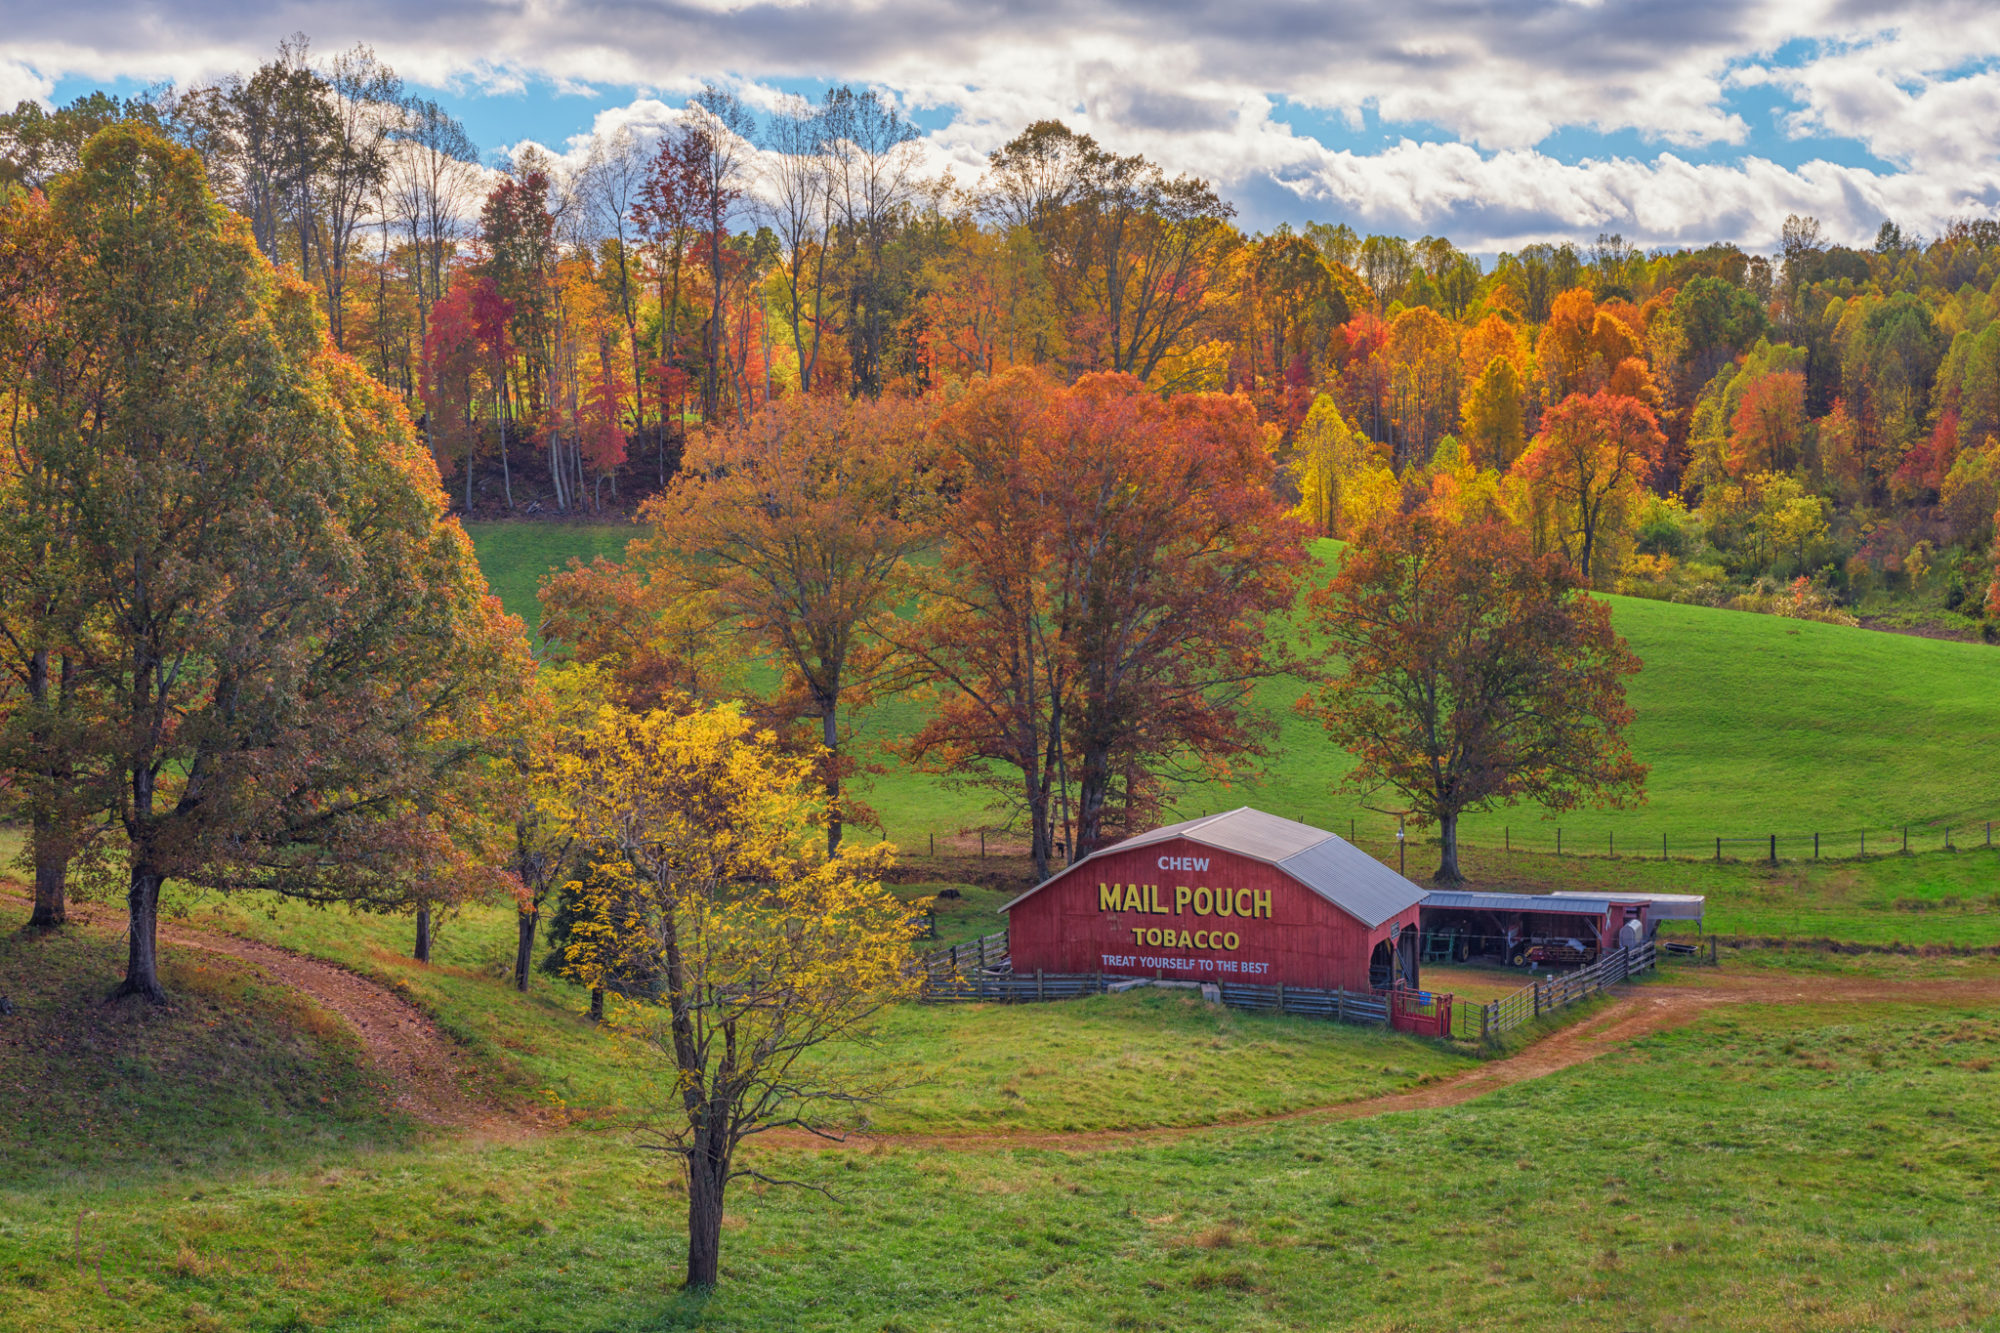
I learned about Mail Pouch Barns in West Virginia by googling “Iconic Barns in Southern West Virginia”.
Step 3: Build a Map
Once you have your shortlist of locations, you can start plotting them on a map. I like to use Google Maps for this as it lets me save locations in multiple lists and I’m able to access it on my phone when I’m in the field.
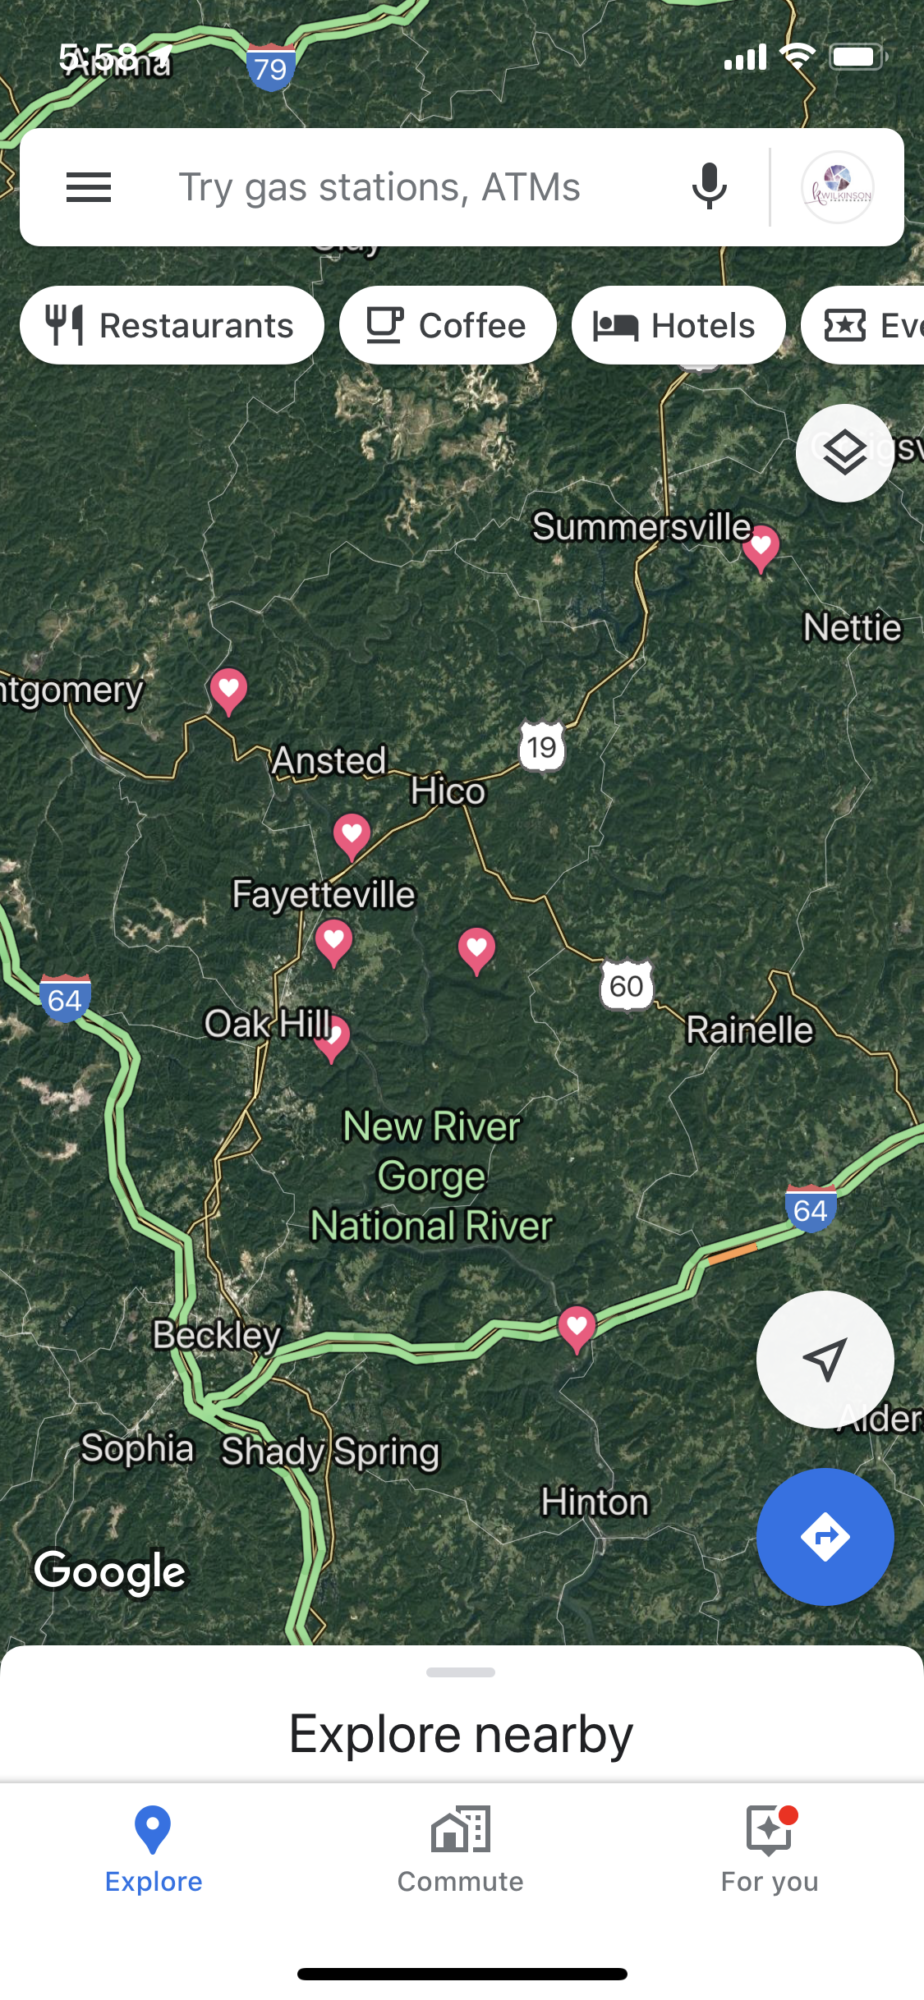
Step 4: Decide Your Ideal Conditions for Each Location
Decide how you want the light to interact with your subject. Using your map again, try to use satellite images and street views (where available) to verify which way a subject might face. This can help you decide if you want to visit in the morning or the afternoon, depending on where the light would be falling.
You might want a subject to be backlit or to have the light falling directly on it. Deciding that in advance allows you to maximize your time by visiting the location only during those hours. An app I find useful in helping me visualize where sunrise and sunset will be is called The Photographer’s Emphemeris (also known as TPE).
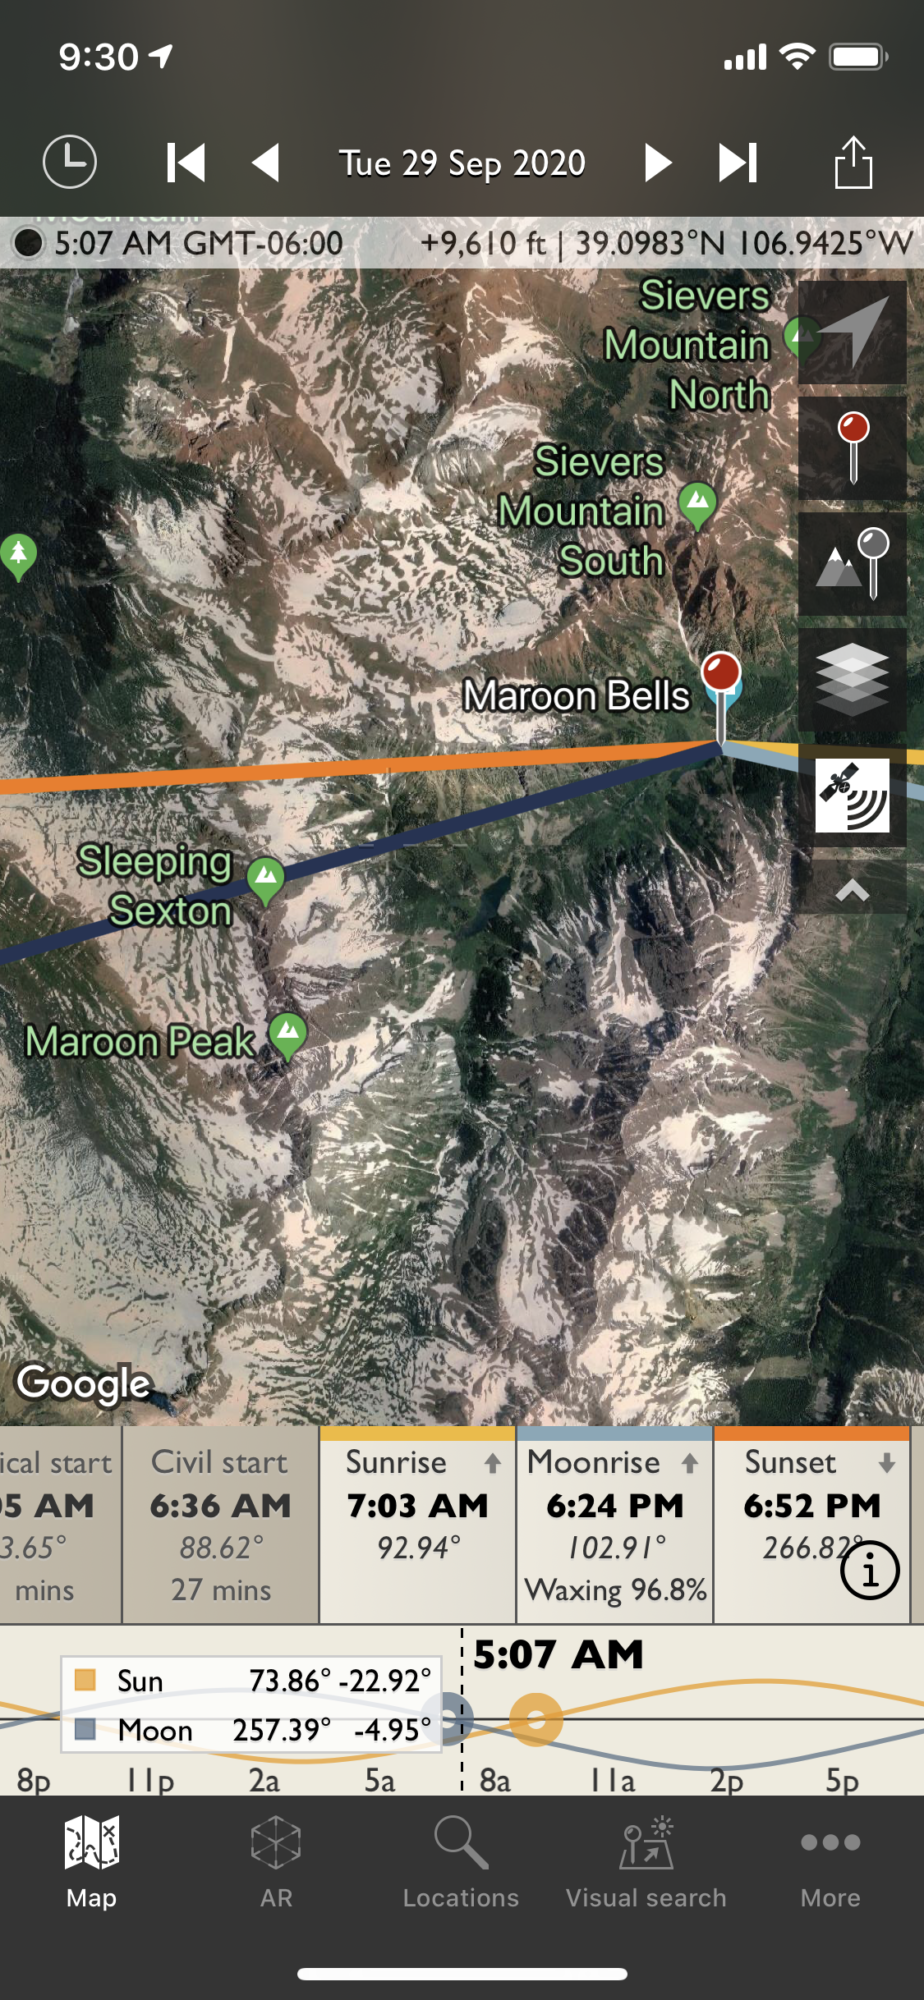
Step 5: Find Your Clusters and Build Daily Itineraries
Back to your map! After you’ve plotted everything and decided the time of day you want to shoot each spot, start looking for clusters of locations in your map. Maybe you have an area that has a good spread of morning and afternoon locations. You can set aside a day to spend there, limiting your driving time and the cost of gas.
Perhaps you can see an area that has mostly morning locations, and another with mostly afternoon spots. You can use the midday hours when the sun is high and harsh to travel to the second area. This works best if the areas are about 2-4 hours apart. Remember to think about how long each location will take you to shoot and how far apart the locations might be so you’re not left with nothing to do, or worse, rushing through locations trying to fit everything in (I’m very guilty of this).
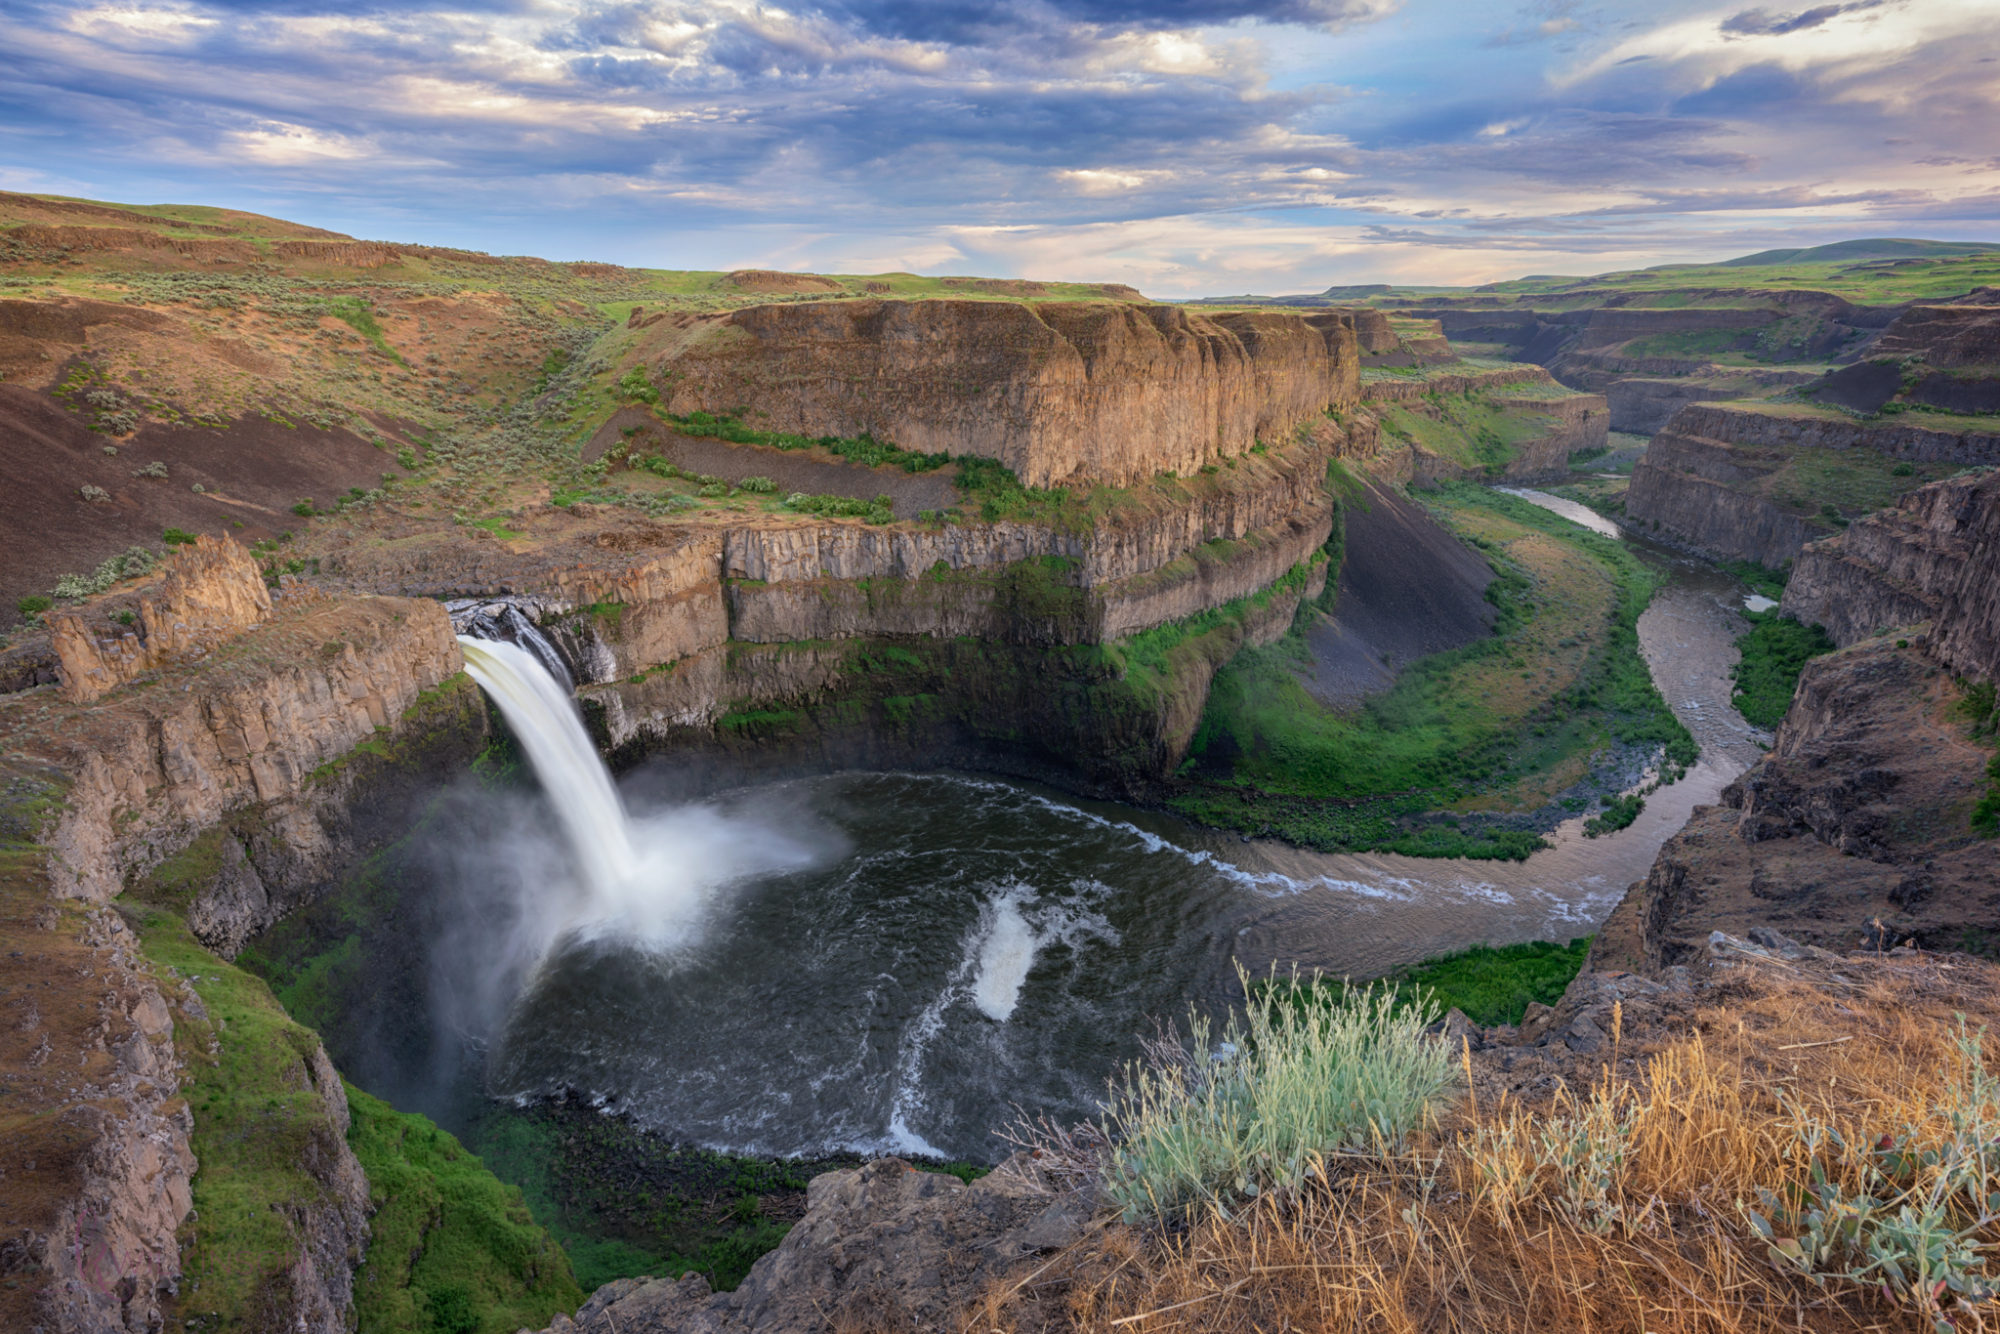
After spending the morning photographing barns in the Palouse near the Idaho border, my shooting partner and I saw the weather was looking good for an afternoon at Palouse Falls. We spent the midday hours making the 2 hour drive to the falls.
Step 6: Plan for the Weather
Sometimes we travel all the way to a new area of the country only to encounter inclement weather. This is where some of your work from Step 1 comes in handy. While there are some weather conditions you should definitely not be out in, a mild rain or snow can enrich a scene with atmosphere you wouldn’t otherwise see. Cloudy, overcast days can be wonderful to shoot waterfalls or work on macro shots of the local plants and wildflowers. I like to have at least one ‘Cloudy Day’ itinerary when I’m traveling somewhere.
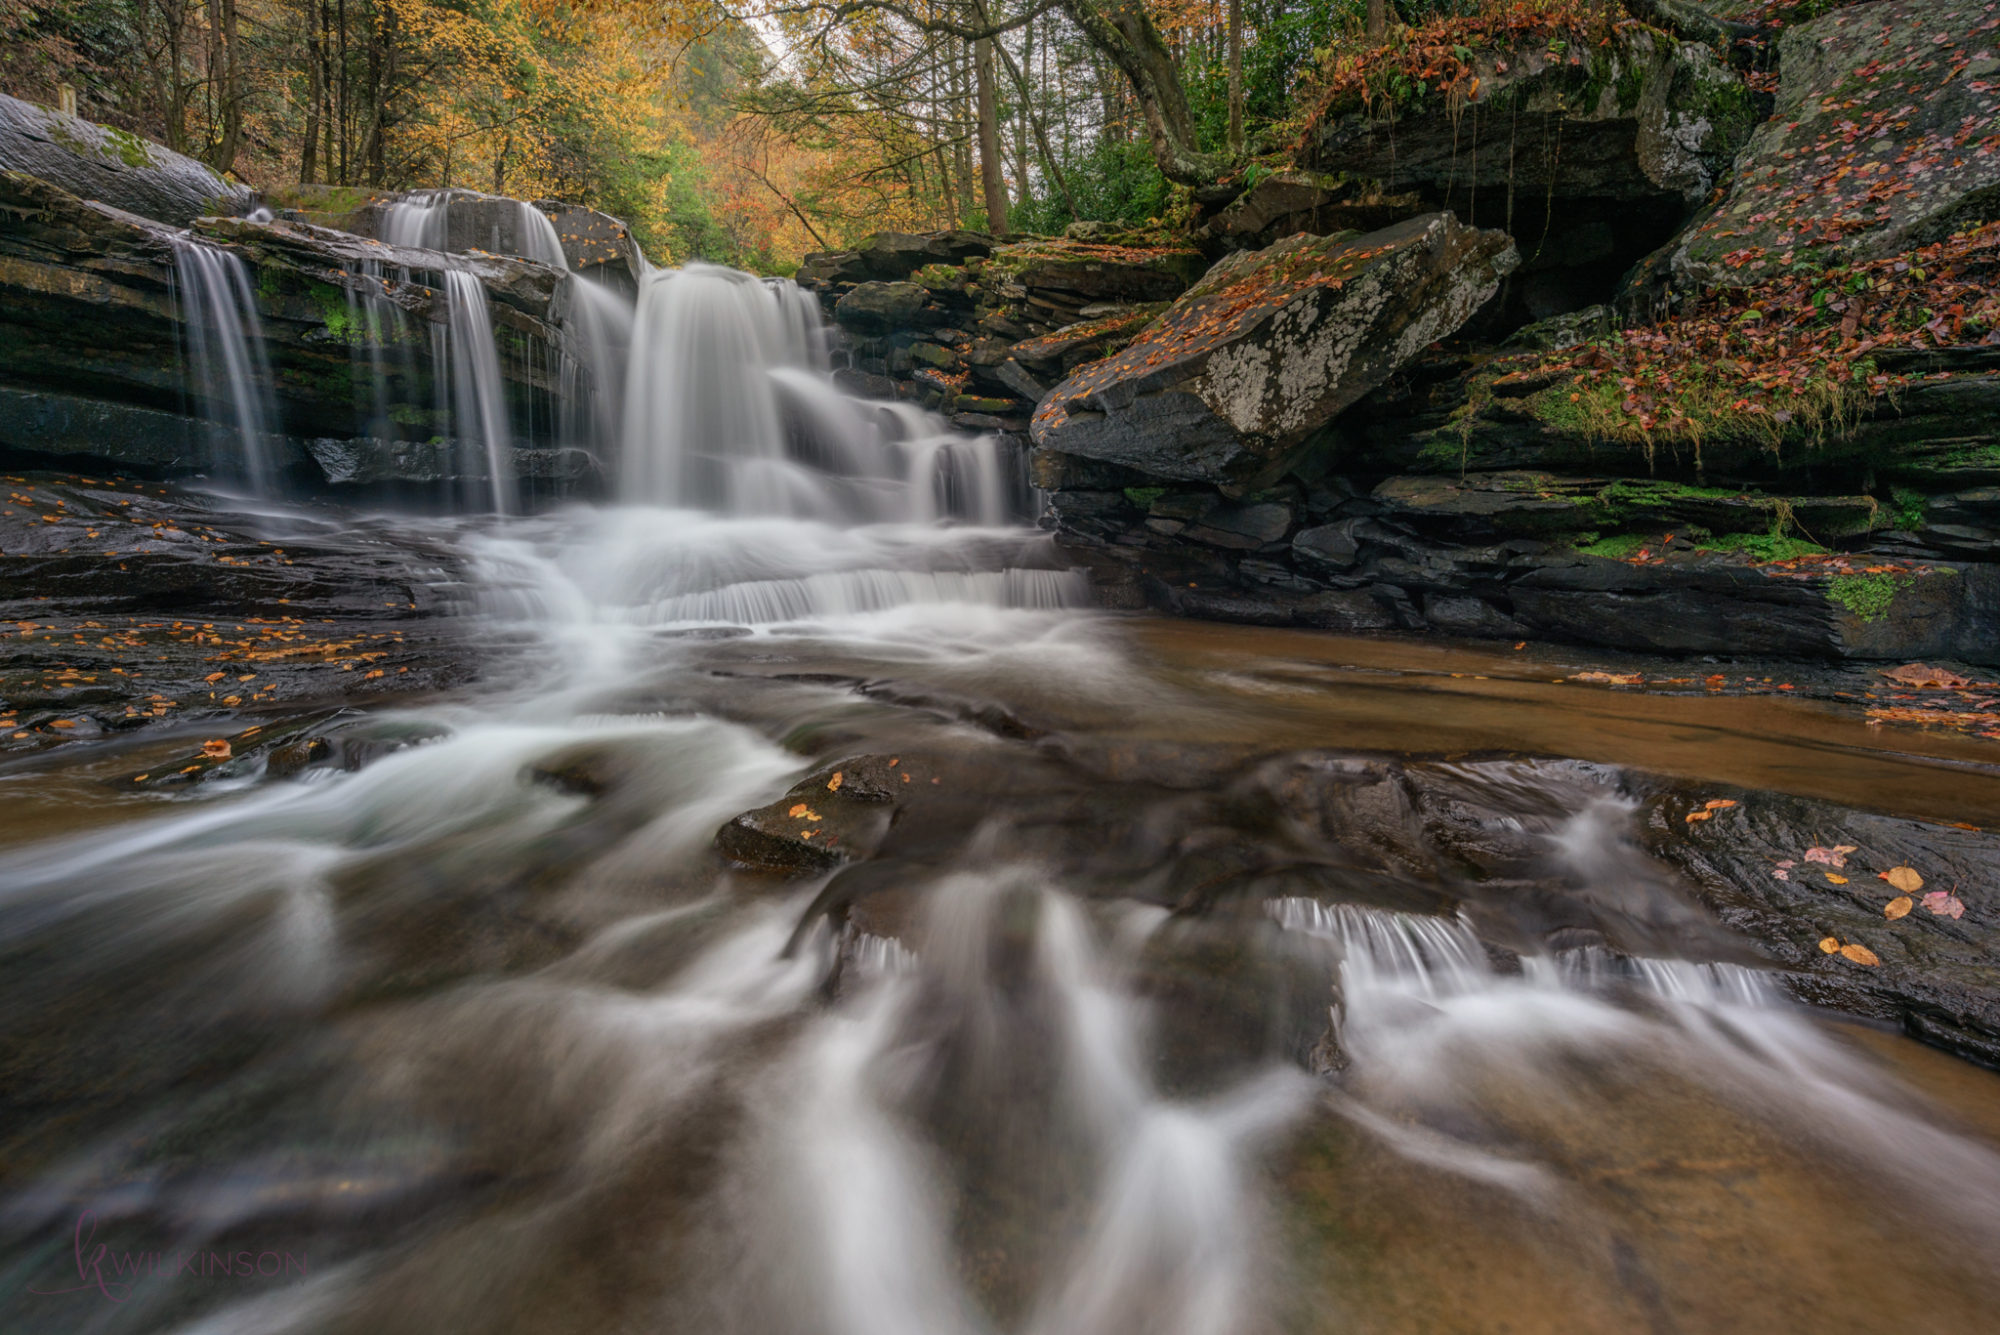
An image of Dunloup Creek Falls, from one of my ‘Cloudy Day’ itineraries that I utilized during my West Virginia trip.
Step 7: Travel and Shoot
Now it all comes together! Check the weather and pick one of your daily itineraries that would work with the conditions. I tend to make this decision in the moment once I arrive at my destination with the final deciding factor being how my body is feeling. Am I feeling up for a three mile hike today? No? Ok, let’s go with the itinerary that has more roadside stops and try the hike tomorrow. There’s no sense in forcing yourself to go to a location when you’re not up for it; you won’t make good work.
These steps help me maximize my time when I travel and find really good photo spots. Hopefully they’ll be helpful for you in planning your next photography trip!
You can check out more articles on photography tips here!
Pin these tips to find really good photo spots for Later


Hi Shannon,
Doing some internet sleuthing on our favourite topic, and I enjoyed your post about finding/scouting photo spots. Some good tools in there, especially TPE. I thought if you were considering updating the post you might mention my wife and I’s passion project, PIXEO. We built PIXEO to make it easy for photographers to find places to shoot near them. We also run monthly contests to encourage photogs to share their spots with the community. We don’t steal IP, sell data or any other shenanigans. We just share great photo spots, give away prizes, and make our money from a few ads on the website, and $10 bucks a year for our iOS app. That’s pretty much it for the elevator pitch. Anyway, thought I would let you know about us. If you have any questions don’t hesitate to ask. Have a great day.
Yours aye,
Shawn M. Kent
PIXEO