Guest Contributor: Nicole Beaudet of @Beyonceandbodie
All Images by Nicole Beaudet of @beyonceandbodie
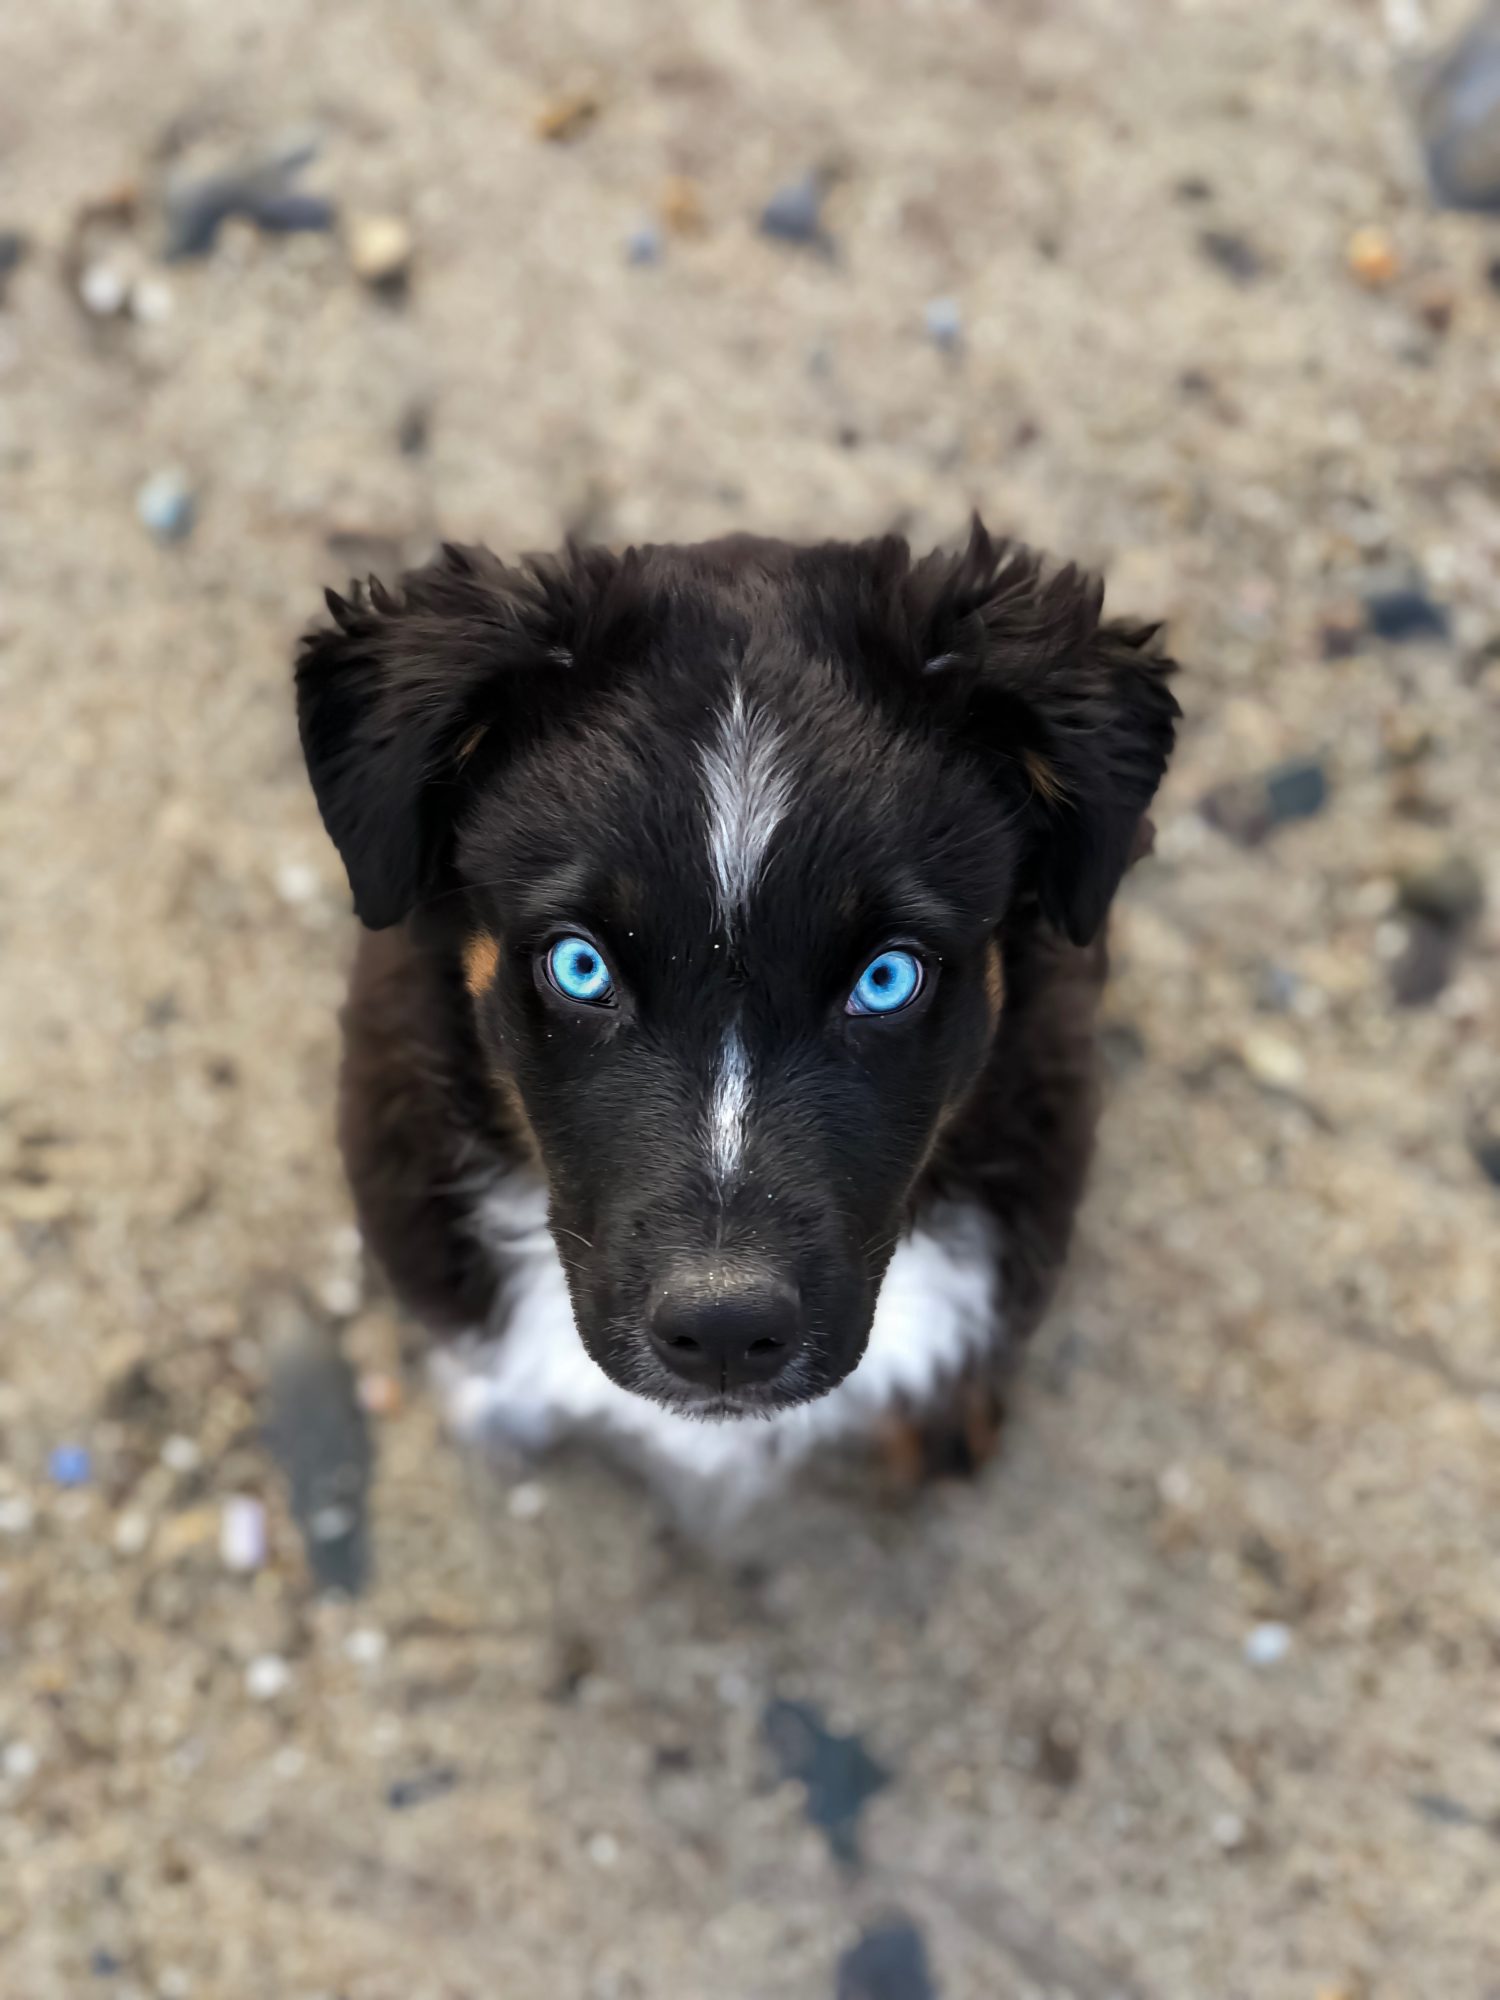
We all are obsessed with our animals, and most of use have can open up our mobile camera roll and have 100’s of photos of our sweet furry friends. That’s why I thought it would be great to have one of my best friends Nicole do a post on Pet Photography tips and How to Level Up Your Pet Photos from iphone snaps to fine art worthy prints!
Nicole just started getting serious about photography in the past year or two and these pictures go to show how much you can accomplish if you continue to practice, and of course it helps that she has the cutest pups (besides mine!). Nicole owns the account @beyonceandbodie and she is always featuring the best animal accounts in her stories! Go check out her and her cuties Bodie, Burt, and Fisher, and say hello!!
I got my first dog when I was 20 years old, still in college, and back when social media was used as a message board and less as a vehicle for advertisement and professional photography. It wasn’t until 2012 that I started an Instagram page for my girl, Beyoncé, @beyoncetheaussie. I snapped a couple pet photos a month, gained a small dog following, but never experimented with taking photos that were aesthetically pleasing. In early 2013 I added another dog to the mix, a male Australian Shepherd named Bodie. I started taking fun, creative pictures of the two playing and posing for treats. I later changed the handle name to a more fitting @beyonceandbodie combo which I still use today.
Life happened and I never quite kept up with their account, posting photos once a month which were very low quality and with no clear theme or purpose. It wasn’t until December 2018 when I added another Aussie to the mix that I became completely obsessed with taking pictures of the dogs and considering it a hobby that I truly love.
Now that we’re in 2020 and I’ve got a little more than a year of “experience”, I use that term lightly because I AM a beginner, under my belt I’d like to share some quick tips and tricks that have worked for me and grown my dog account tremendously in a few short months.
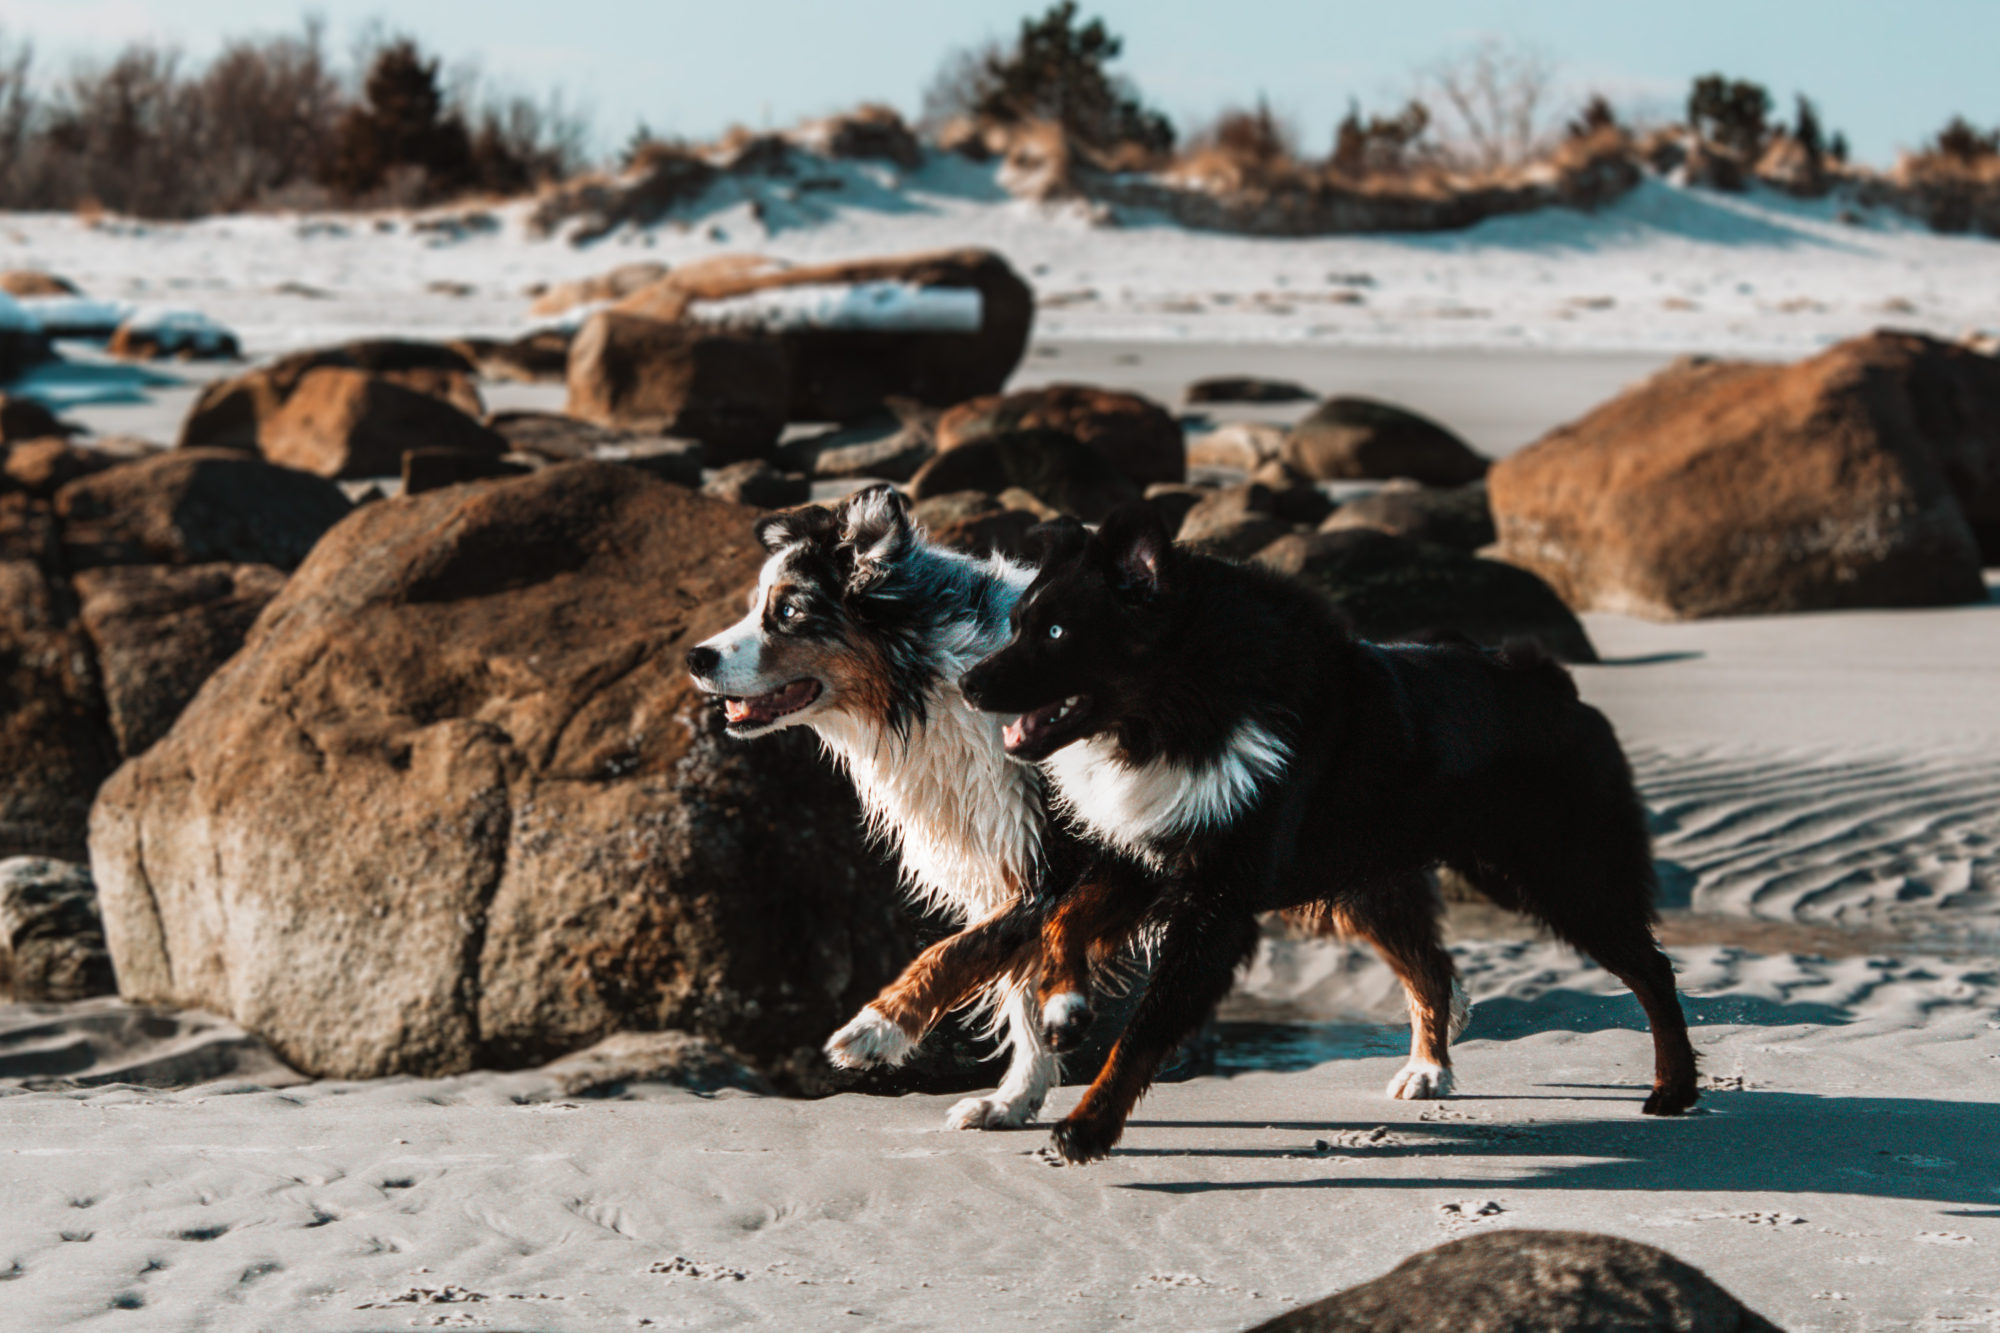
Pet Photography Tips
DSLR or iPhone?
I took iPhone quality photos for over 7 months before switching to a digital camera. I’ve had the iPhone X for 2 years now and I appreciate the quality of the photos that are produced by it… BUT once I got my hands on a DSLR, I realized the doors of editing and creativity are opened up a lot more.
Focusing on specific areas, like eyes for example, can be much more precise with a professional camera. “Portrait Mode” on the iPhone was a wonderful asset in the beginning, however, I noticed the background blurs were getting sloppy and sometimes my dog’s eyes were completely out of focus.
That all changed dramatically when I started playing with my Canon Rebel. Yes, I highly recommend a Canon Rebel as a tool for a beginner in photography. It’s extremely easy to use and the lenses that are included are wonderful. There are so many YouTube videos I’ve used to learn more on camera settings and tricks along the way. Not to mention, it’s AFFORDABLE. You don’t need to break the bank to take nice photos! I recently just added a new lens from eBay for under $50 to my arsenal; the 50mm (fixed) f1.8. It’s a game changer.
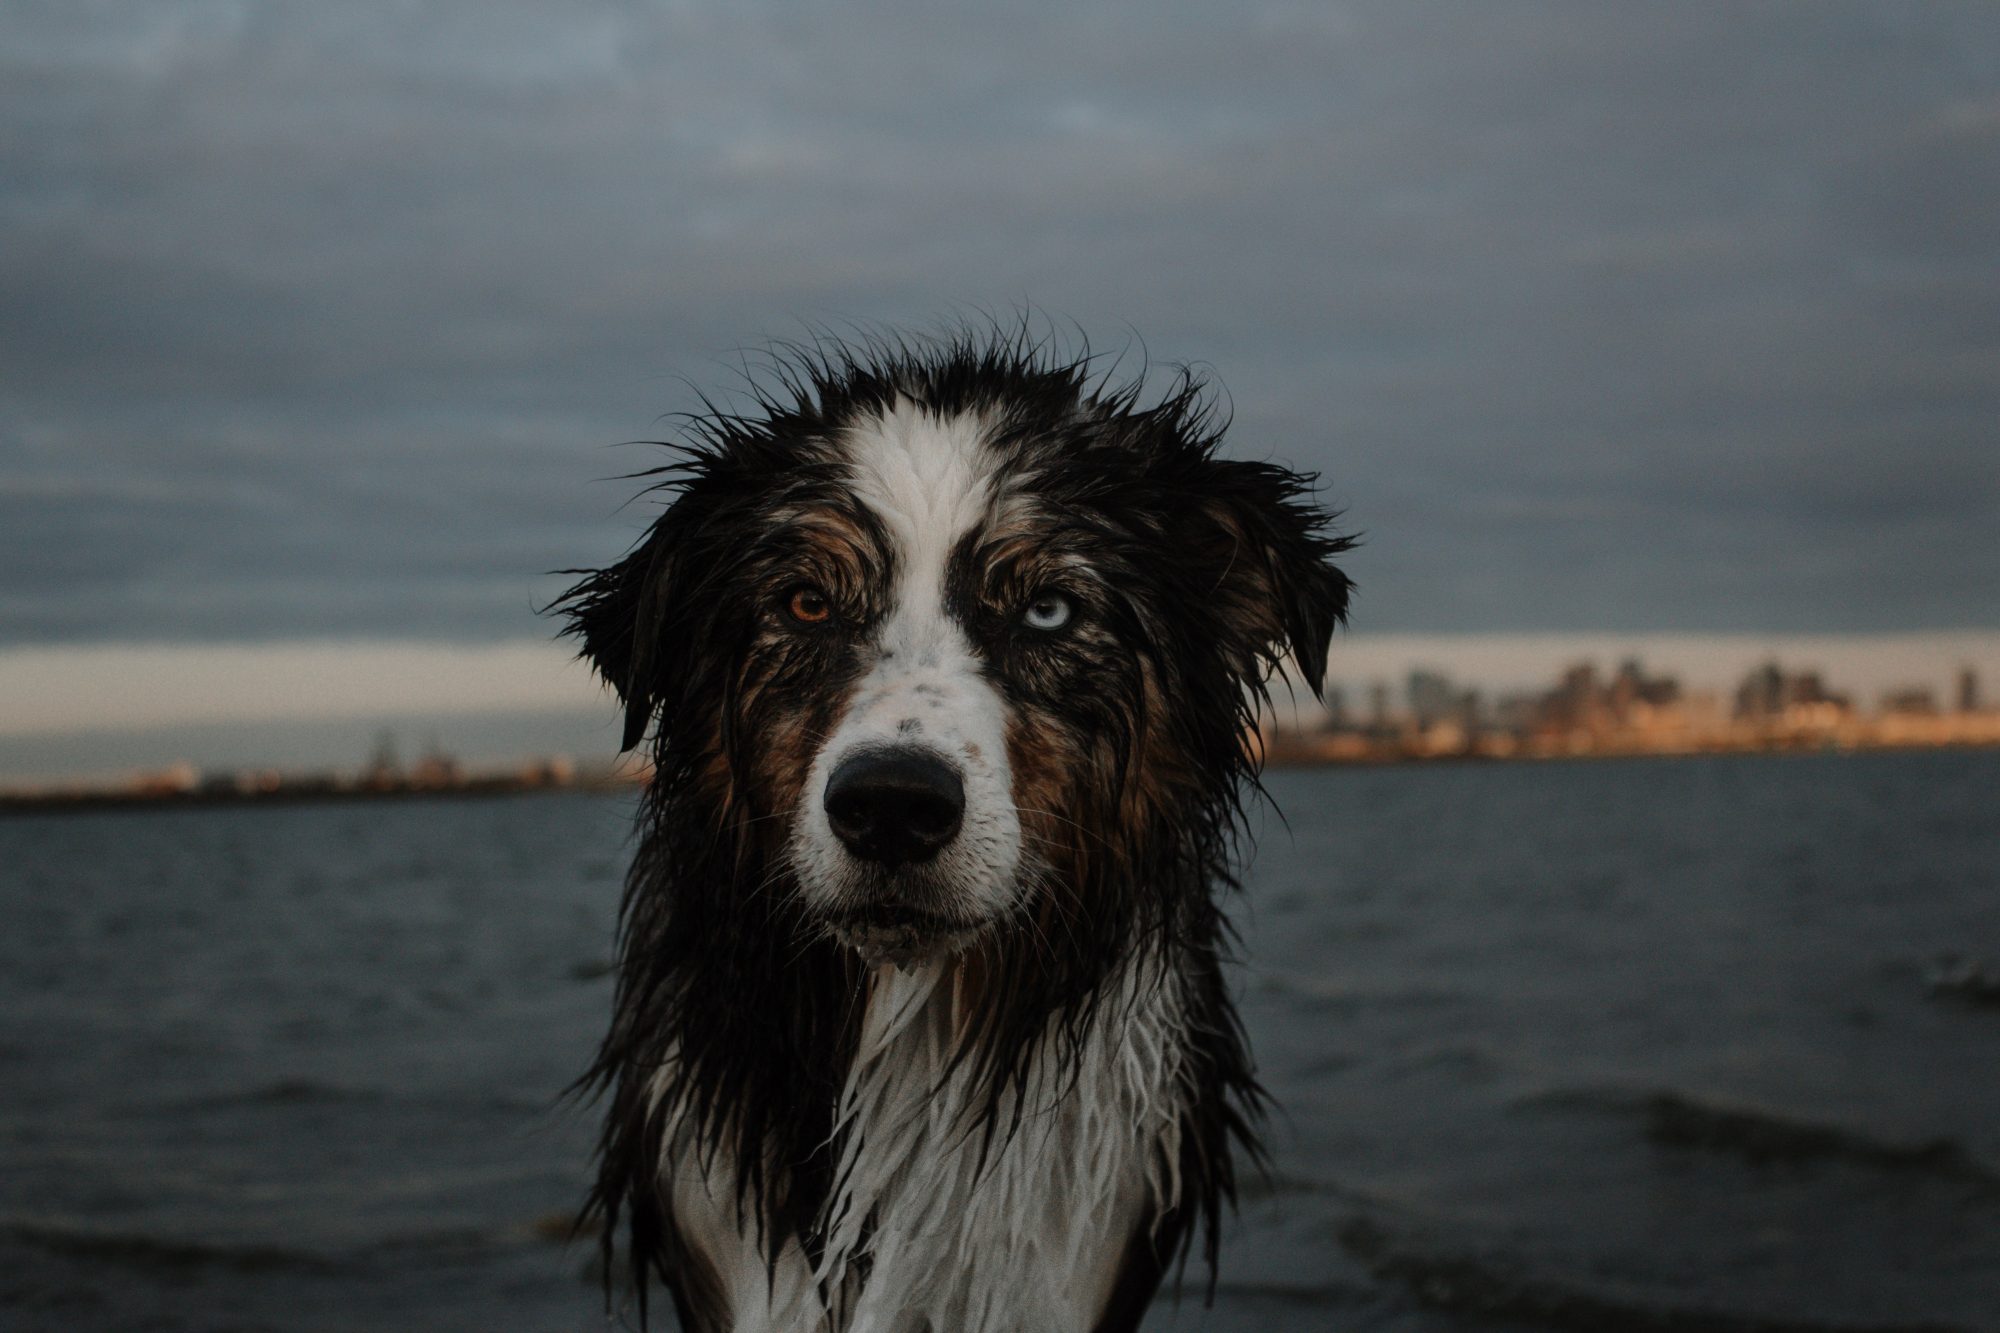
Camera, check. Let’s start taking photos. But how do we make them aesthetically pleasing?
This is the fun part. The best way to learn how to train your eye is to find some similar breed accounts that have a large following and high-quality photos. My favorite example happens to be a very good friend of mine, Hannah Weiger – she has 3 Aussies and 1 mixed breed with phenomenal photos on her Instagram (@tazzydw2). I would scroll through her Instagram to get ideas on location (beach, forest, breweries) and ideas on posing my dogs (sit versus action shots). I spent a lot of time looking at other people’s work, taking a few ideas from each account and then slowly creating my own.
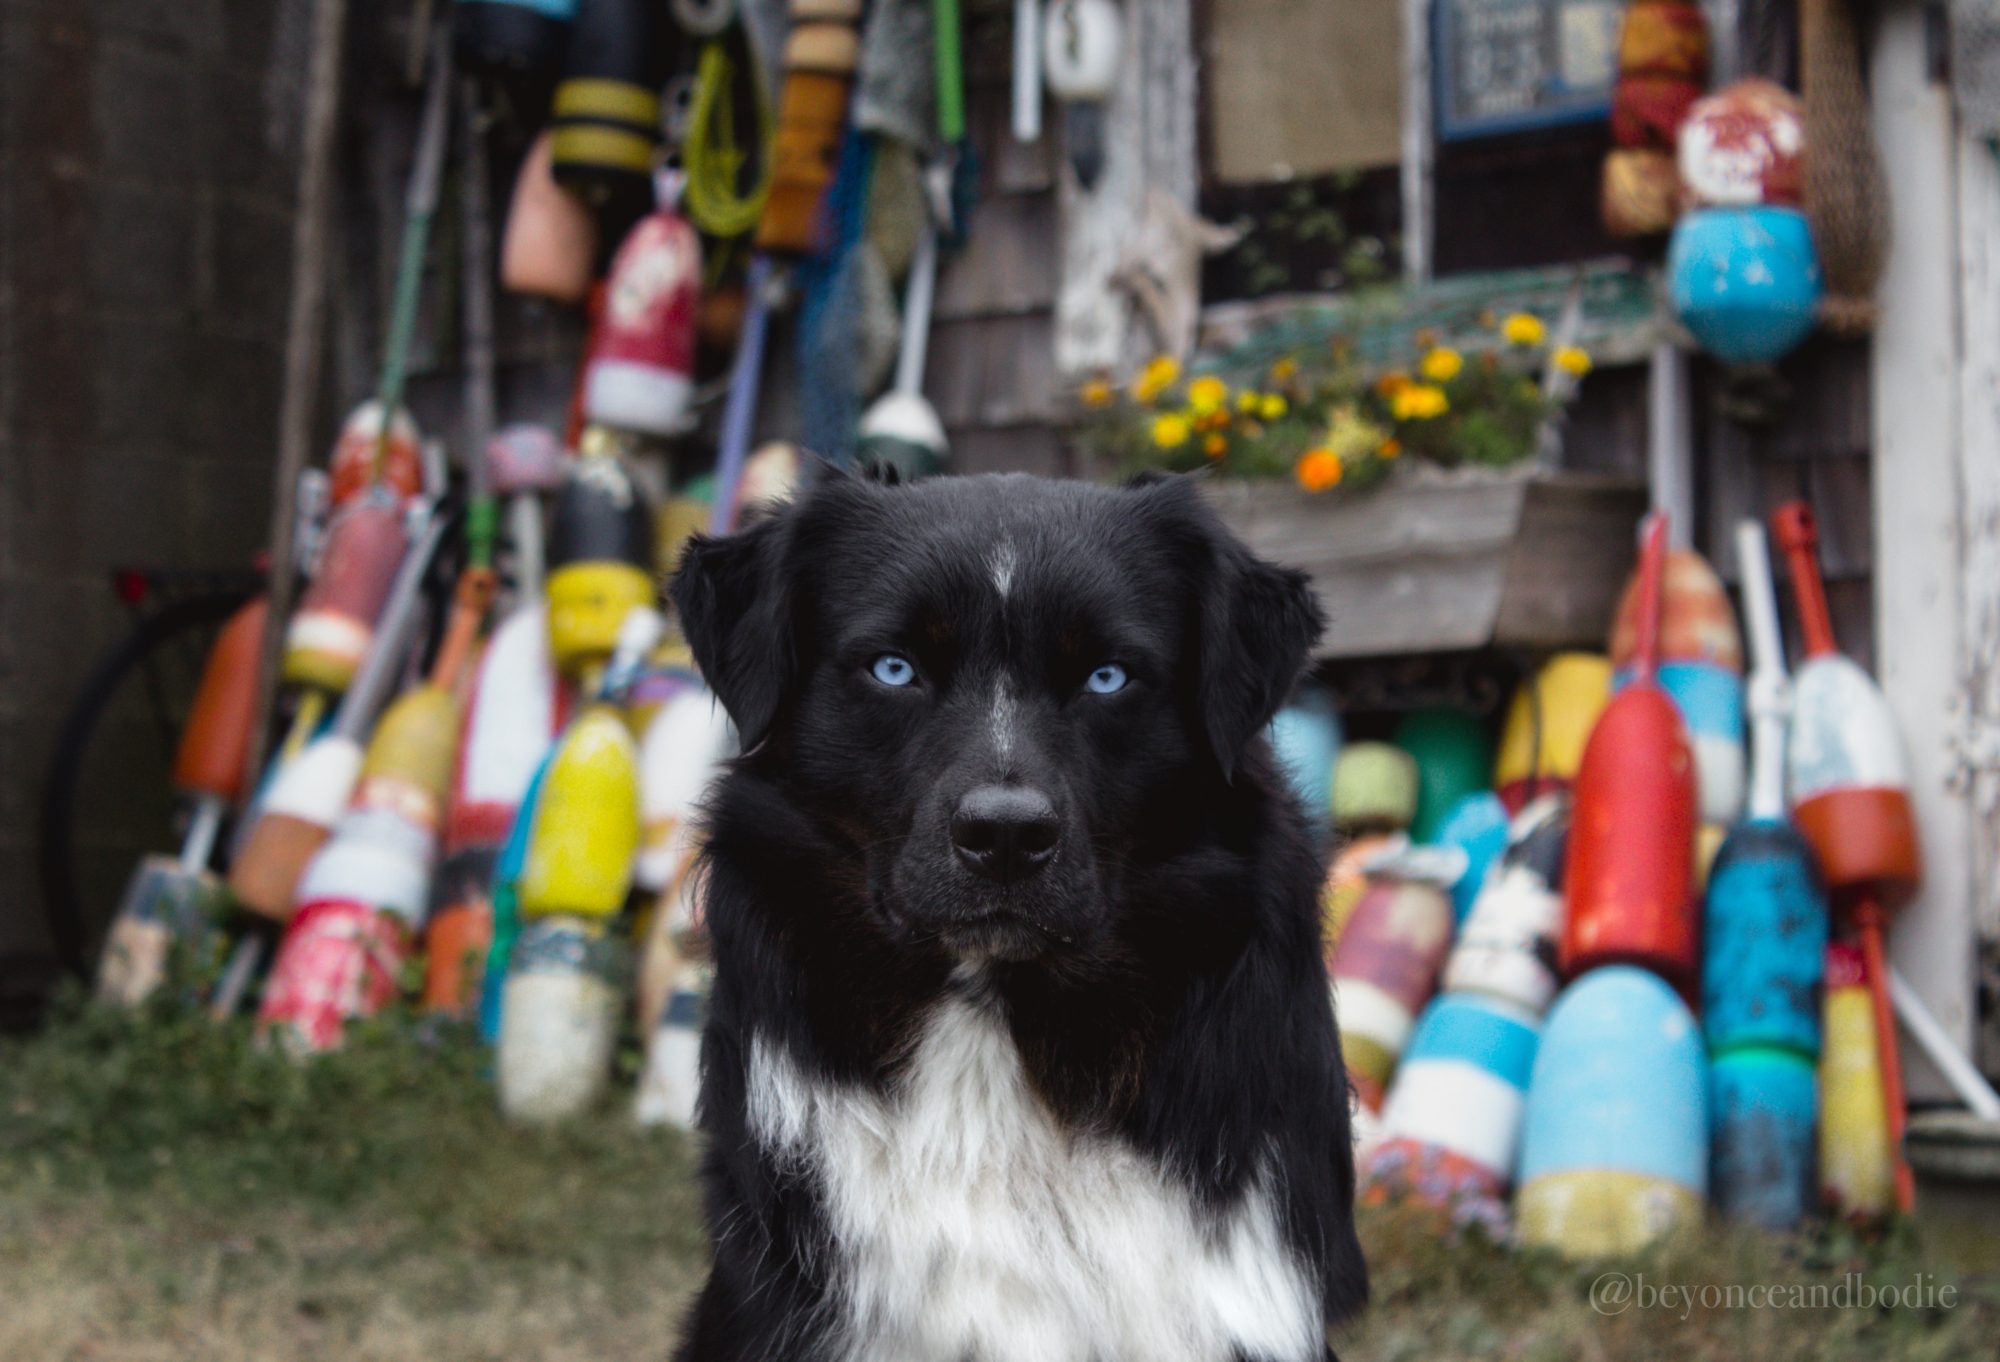
Strike a pose. But where?
I carry treats in my pocket everywhere I go (even when I don’t have my dogs with me). Teaching them to focus, locking eyes with me and holding that behavior is the most important step while photographing them. Once you’ve gotten the RBF Death Stare (as I jokingly call it) down, you’re now ready to start adding in different backgrounds to give the photo more character.
Because the background will likely end up blurred out, creating that “Portrait Mode” effect, you aren’t going to necessarily need to live in Colorado for incredible dog pictures (yes, that would be ideal, but I’ve found a way around it, too). Some places I’ve found that work amazingly for backgrounds: beach, fields, anywhere with trees, breweries, cities…anywhere! Wherever you can go that is dog friendly {obviously}.
Don’t be afraid to get creative and have fun with it!!! I have found some fun spots like graffiti walls, skyline views, and the back of my jeep.
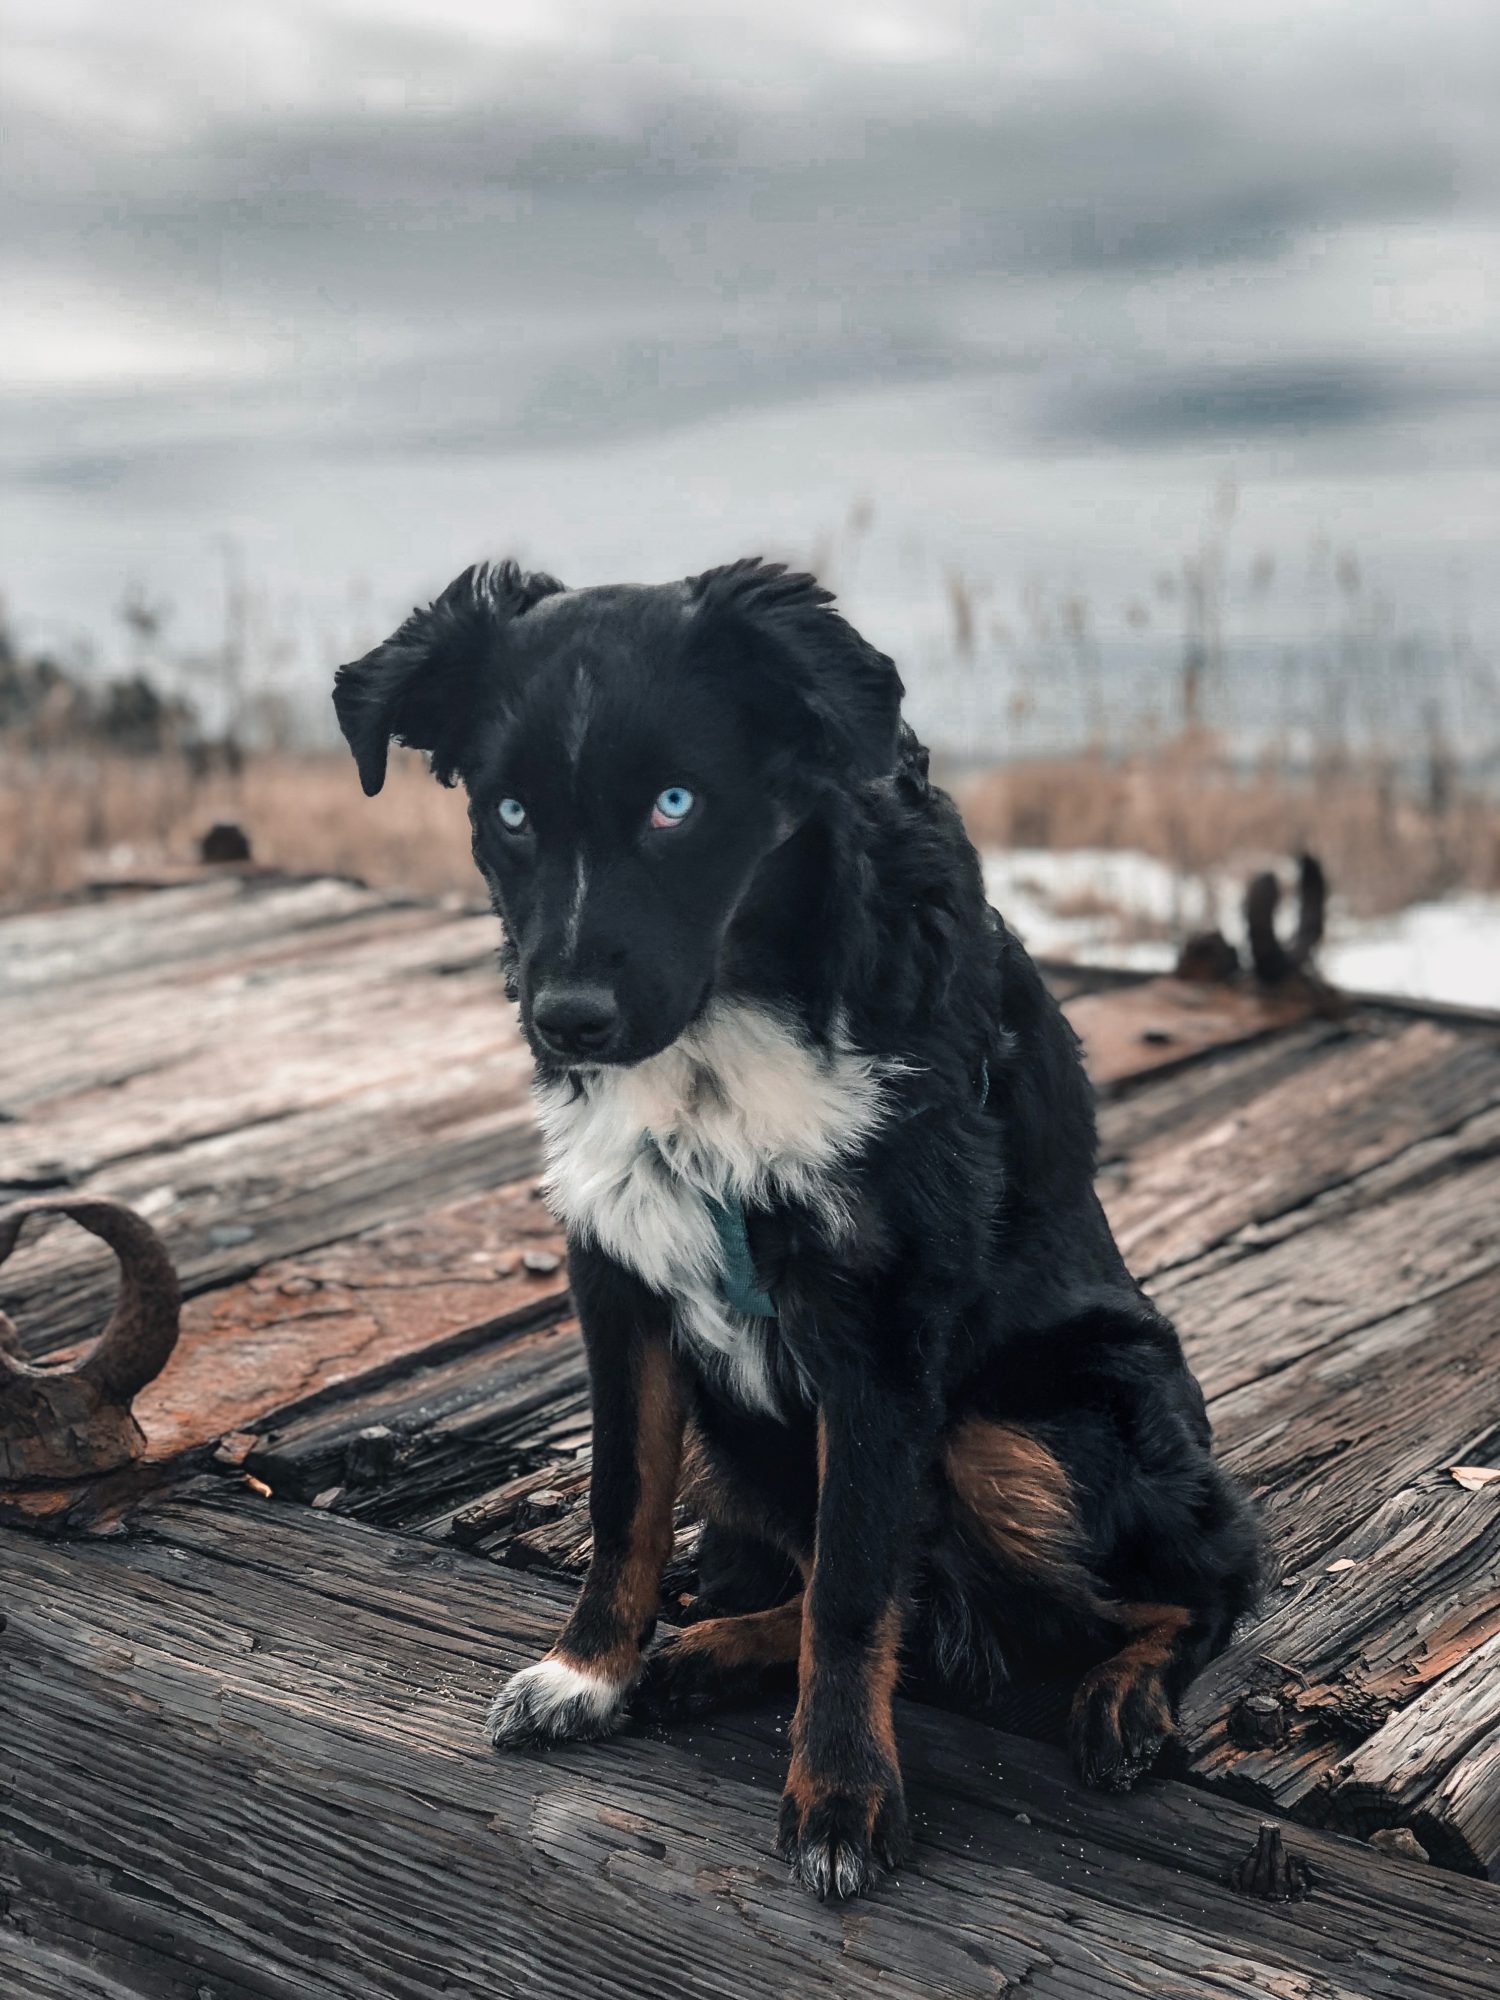
I got the shot! Now what?
Editing. That’s what. I will say this is the most important part in going from good to great. My favorite editing tool is Adobe Lightroom. Hands down. It can be a bit overwhelming at first but once you get a hang of it, you’ll thank me for all the time you can save.
I highly recommend experimenting with a color scheme for each post you create if you are looking to portray a clean, uniform grid on social media. The best way to do this is to use “presets”. I’m sure you’ve seen a thousand of these floating around, wondering what the deal is. They are time savers for one, and they’ll take your photos to another level. I bought my first package of presets on Etsy last year and used them religiously for tons of posts.
The cool thing about them is they weren’t dog specific presets. I bought a travel influencer’s presets and they worked wonderfully with my dogs’ coats and desired color scheme. What works well with presets is that you can add them to your pet photos and tweak them for each photo depending on lighting or colors.

Any last words?
There’s a lot to say about photography and I am still learning new ways to get creative every day. Here’s a little checklist to follow these tips to get started:
- Variety is good. Don’t post the same picture every day. Try new poses, backgrounds, and color schemes. I’ve become particularly fond of side profile shots lately.
- Come up with a plan and stick to it. I use photo grid planning apps like UNUM to make sure my photos flow nicely.
- Remember what settings work best on your camera. For me, I live in Manual f1.8 and auto ISO.
- Explore where you live. There are TONS of local places that have endless photography opportunities for your dog. Living in Boston, I am spoiled with landmarks and beaches. Google is your friend. Here are some spots in the Boston area that are dog friendly and great pet photos ops:
- Castle Island
- World’s End
- Deer Island
- Boston Common
- Johnstown Rhode Island, Fort Getty
- Best Dog Friendly Breweries: Night Shift in Everett & Esplanade, Far From the Tree in Salem, Article 15
- Dogtown Common in Gloucester
- Sheepfold Reservation & Dog Park
- Cloudy days work best. I know we all love the sun, but cloudy days seem to give me the best quality photos when it comes to detail and crispness.
- Last but not least, please remember proper leash etiquette. Although many places are dog friendly, many are not off-leash. Please respect the rules and other people when exploring and always pick up after your pup.
If you enjoyed How to Level Up Your Pet Photos, then check out these other Articles with Photography Tips!
Pin How to Level Up Your Pet Photos For Later!
Do you photograph pets? What are some of your pet photography tips? Let me know in a comment below!



Great tips, not just for shooting pets. Thank you for sharing Nic & Shannon.