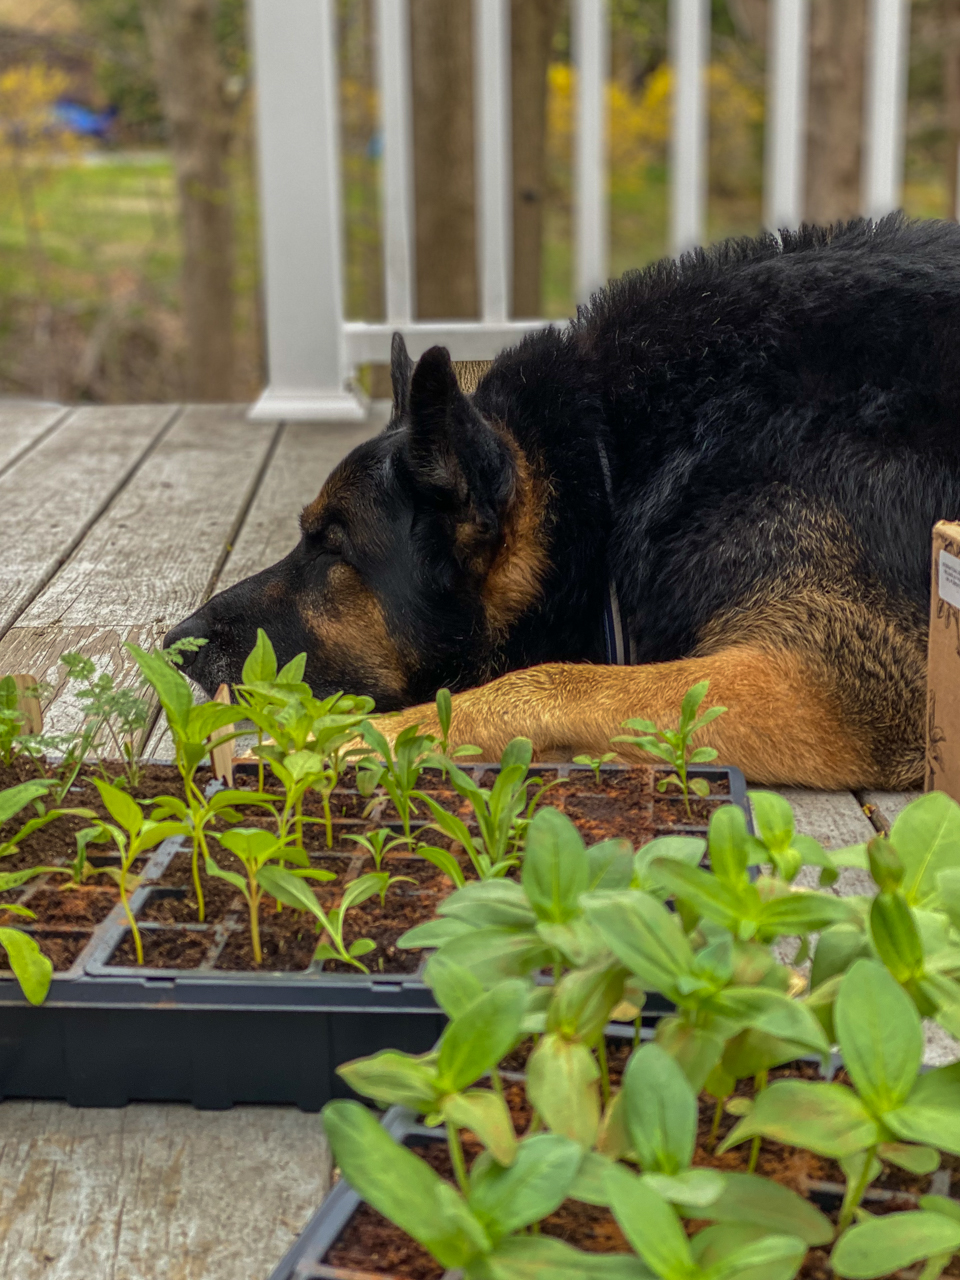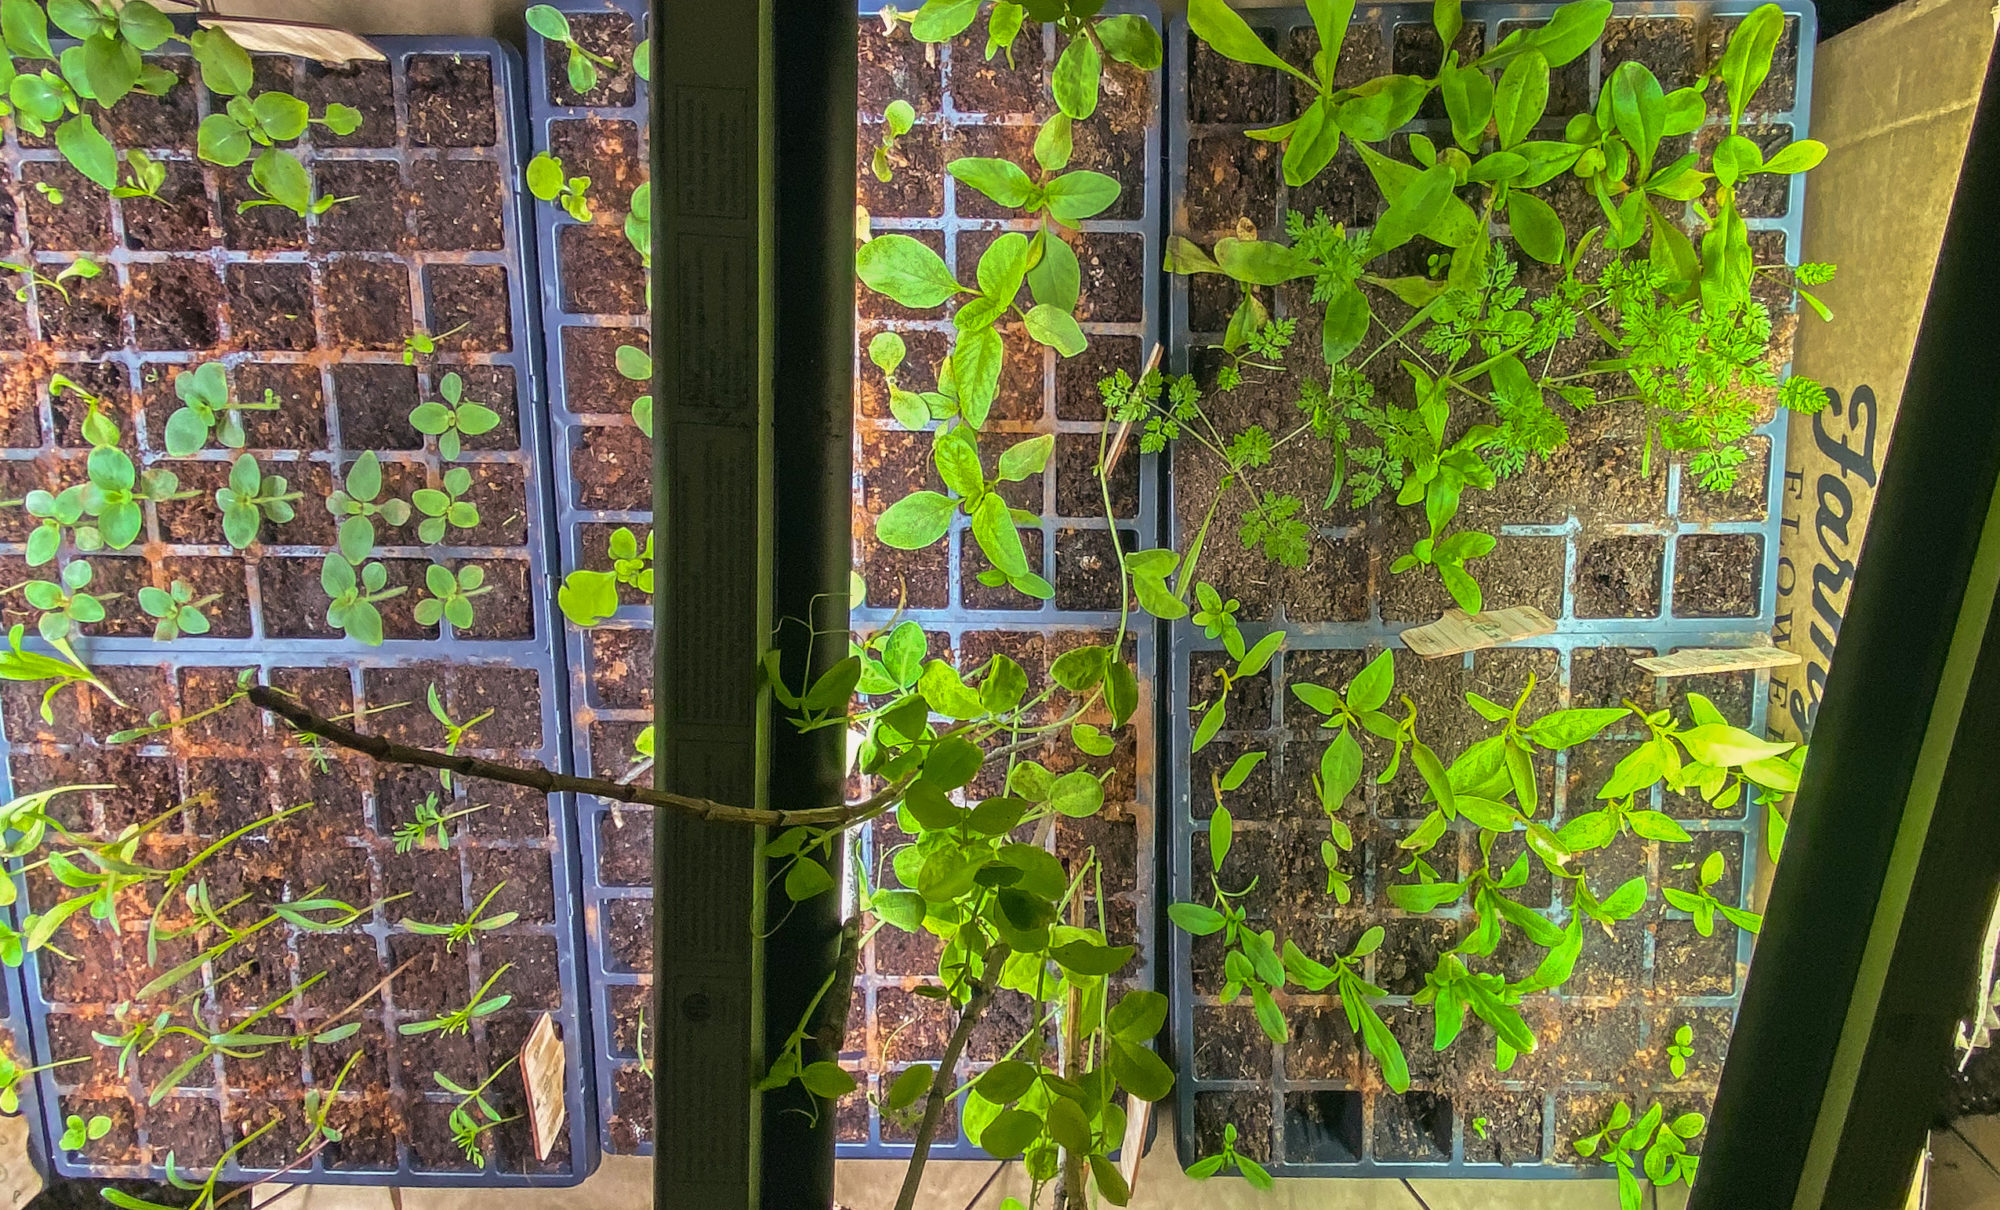

This was my first year starting seeds indoors and all in all I would say I am pretty happy with how all these little baby seedlings have turned out.
However, it is a PROCESS. Even the research alone is a process, and everyone gives little pieces of information here, there and everywhere, but I couldn’t find a good source that answered all of my questions…
So I decided I needed to put together my own guide on how to start your baby seeds Indoors!
Starting Seeds Indoors
Use the Appropriate Containers:
I chose to use the Burpee Seed Starting system because they come with everything you need: the soil pellets, containers, and lids. Realistically you make your own containers with plastic tupper-ware, pots, or cups.
But remember you should use something that you can cut holes in the bottom because you want to water your seeds from the bottom! If you use your own containers make sure you clean them thoroughly and ONLY use organic seedling soil so your seedlings to pick up any diseases…trust me, there are plenty, just google “damping off”.
Water Your Indoor Seeds From the Bottom:
Why? Well for starters you can drown your indoor seeds by over watering them. You want to water your seeds 1x every 2-4 days, and let the trays sit in the water for 10-30 min. Depending on what you are growing the seeds might need more or less water feedings.
By feeding from the bottom you are also promoting healthy root growth. The roots will grow south trying to reach the water supply. Once the seedlings germinate they are fragile little beings. Watering by the bottom also makes sure you don’t kill them off with water pressure from the top.
Use Grow Lights:
Yes most articles give the advice to put them in the window sill for natural light. HOWEVER I live in New England, and quite a few of our Winter/Spring days are grey. My indoor seeds would be dead or not healthy enough to transplant. Seedlings need light, so much so that they thrive when they have 12-16 hrs a day of light, so the grow lights work. While investing in grow lights can be pricey, they last for years.
Use Heat Mats:
This is a tricky one. Using heat mats will keep your seedlings nice and toasty, triggering them to germinate. Seedlings are delicate needy little things. What a lot of articles don’t tell you is that once the seedlings germinate, remove the mat. Even if just a few germinate remove the mat – it means the rest are soon to follow! If you keep the mats under the seedlings will start to grow rapidly, and if they grow TOO rapidly this will result in them being “leggy”. And if they are leggy they most likely won’t survive the transition outside.
***I will say that sometimes 100% of the seeds will not germinate – I had a specific batch of sweet peas that didn’t germinate and I believe it was because I didn’t soak their hard outer shell long enough.***
Sprinkle Those Babies with Cinnamon:
Say what? Yea seedlings be crazy. Oh and it has to be REAL cinnamon – not fake cinnamon. Yes there is a difference – use the Ceylon Cinnamon. Cinnamon has anti-fungal and antimicrobial properties, so it will help the indoor seeds from “damping off” which is caused by fungi in the soil…bad soil. And “damping off” is really bad because it spreads and will wipe them all out. So, after you get your sweet little seeds in their containers sprinkle some cinnamon on that ‘ish.
Treat Your Sweet Little Seedlings to a Spa-Like Facial Spritz of Organic Chamomile Tea:
Well of course it has to be organic chamomile tea…I mean what kind of shop are you running here? Supposedly chamomile tea also helps to prevent the dreaded “damping off”. While I can’t find any confirmation this is true, I CAN say that my little darlings perked up and LIVE for their daily spa treatment chamomile misting. It’s a little crazy. Needy bastards.
The Final {and Maybe the Most Important} Do Your Due Diligence in Research On Each Of Your Varieties.
Don’t just follow the directions on the back of the packet…chances are there is more to it then throwing the seed in the container. And each seed is different – some like to lie on top of the soil, some covered with a light dusting, some need to be buried 1/4″ deep and so on.
My Chinese Forget Me Not went int the basement…it needed total darkness to germinate. My Larkspur went into the freezer for a week before I put the seed straight in the ground.
Some seeds do better when directly sown. Some plants also need to be pinched. Just know what you are working with.
Best piece of advice? Keep a journal of what works, what seeds thrive, and when you put things in the ground! Sara Fitz makes stunning journals that make keeping track of seedling notes more joyful – especially this hydrangea one, or this veggie one!
Keep a look out for my post on hardening off you plants coming soon!
For More Garden Inspiration + Tips Check Out My Garden Club Articles
I hope this helps you get your indoor seeds up and running and if you have any other tips on starting seeds indoors please leave them in the comments below – I would love to know!!!


Leave a Reply