Guest Contributor: Samantha Lynch
All Images Provided by Samantha Lynch
This week Samantha is breaking down some key factors and photography tips for beginners! Besides having a beautiful Instagram feed, Samantha is also a freelance writer, and owns her own etsy shop where she hand knits the coziest and most charming knitwear! Take a look at the following photography tips for beginners that has helped her along her creative journey and go give her a hello on Instagram!
As I giddily opened the box and unwrapped the lenses, I came across one huge problem: I had no idea how to use it. All of the fancy buttons, dials and attachments was way too intimidating; I was used to pressing just one button on my phone. So, my camera sat on a shelf in my office for about a year, until one day I decided I was going to tackle learning how to use it. I came across a company in my area that offered beginner classes for every hobby imaginable, so I immediately signed up for their photography 101 class and the rest is history!
Please note that I am by no means a professional photographer, I am still learning so much every time I get behind the camera. But here are some of my photography tips for beginners:
Take a photography class!
Classes are such a fun way to get hands on and learn about your camera’s functions. A simple google search of photography classes in your area will put you at ease! If there aren’t any offered near you, there are also many online beginner photography classes (you may also want to check out universities and trade schools near your area too!).
If there is one thing you take away from this post is that you need to take the leap from “auto-mode” to “manual-mode”. Once you have a basic understanding of the components needed to snap a good photo, you will never go back to your camera’s “auto-mode” again, I promise!
There are 3 components to exposure: shutter speed, aperture, and ISO.
- Shutter Speed: is the length of time the shutter (camera’s eyelid) is open. This controls the amount of light that comes through the lens and hits the image sensor. This is usually the setting on your camera’s menu that looks like a fraction. Shutter speed is measured in fractions of a second. For example, if you set the shutter speed to 1/200, the shutter will stay open for one two-hundredth of a second. A key point to remember is if you are wanting to shoot something in motion (i.e. your dog running), use shutter speeds of 1/500th or above. If you are wanting to shoot something still (i.e. a landscape) don’t go too far away from 1/125-1/250.
- Aperture: is how wide of an image you are looking to capture (the camera’s iris). This expands and constricts to produce varying sized openings for light to come in. This setting allows you to get creative with depth of field (i.e. having a sharp image with a bury background). A key point to aperture is again, recognizing what it is you wish to photograph. If you are wanting to snap a shot of a beautiful landscape, try setting the aperture to F6-11 (depending on the lens size). If you are wishing to shoot something close up, like a flower, or want to focus on one object in an image, try setting the aperture to F 1.8 (50mm lens is perfect for those detailed close ups!).
- ISO: Controls the camera’s sensitivity to light. I usually use ISO 100-1200 depending on what I’m capturing. The lower the ISO number the more sensitivity and less light required (night shots).
These three components work together when trying to capture an image. When I travel and I’m about to capture a shot, I ask myself: What is my light situation? (set ISO: sunny= lower ISO, cloudy=higher ISO), What kind of portrait am I taking? (Set aperture: landscapes F8-F11, detailed close ups (F1.8-3), What is the movement of the portrait? (set shutter speed: moving (1/500+), still shot (1/125).
Rule of Thirds:
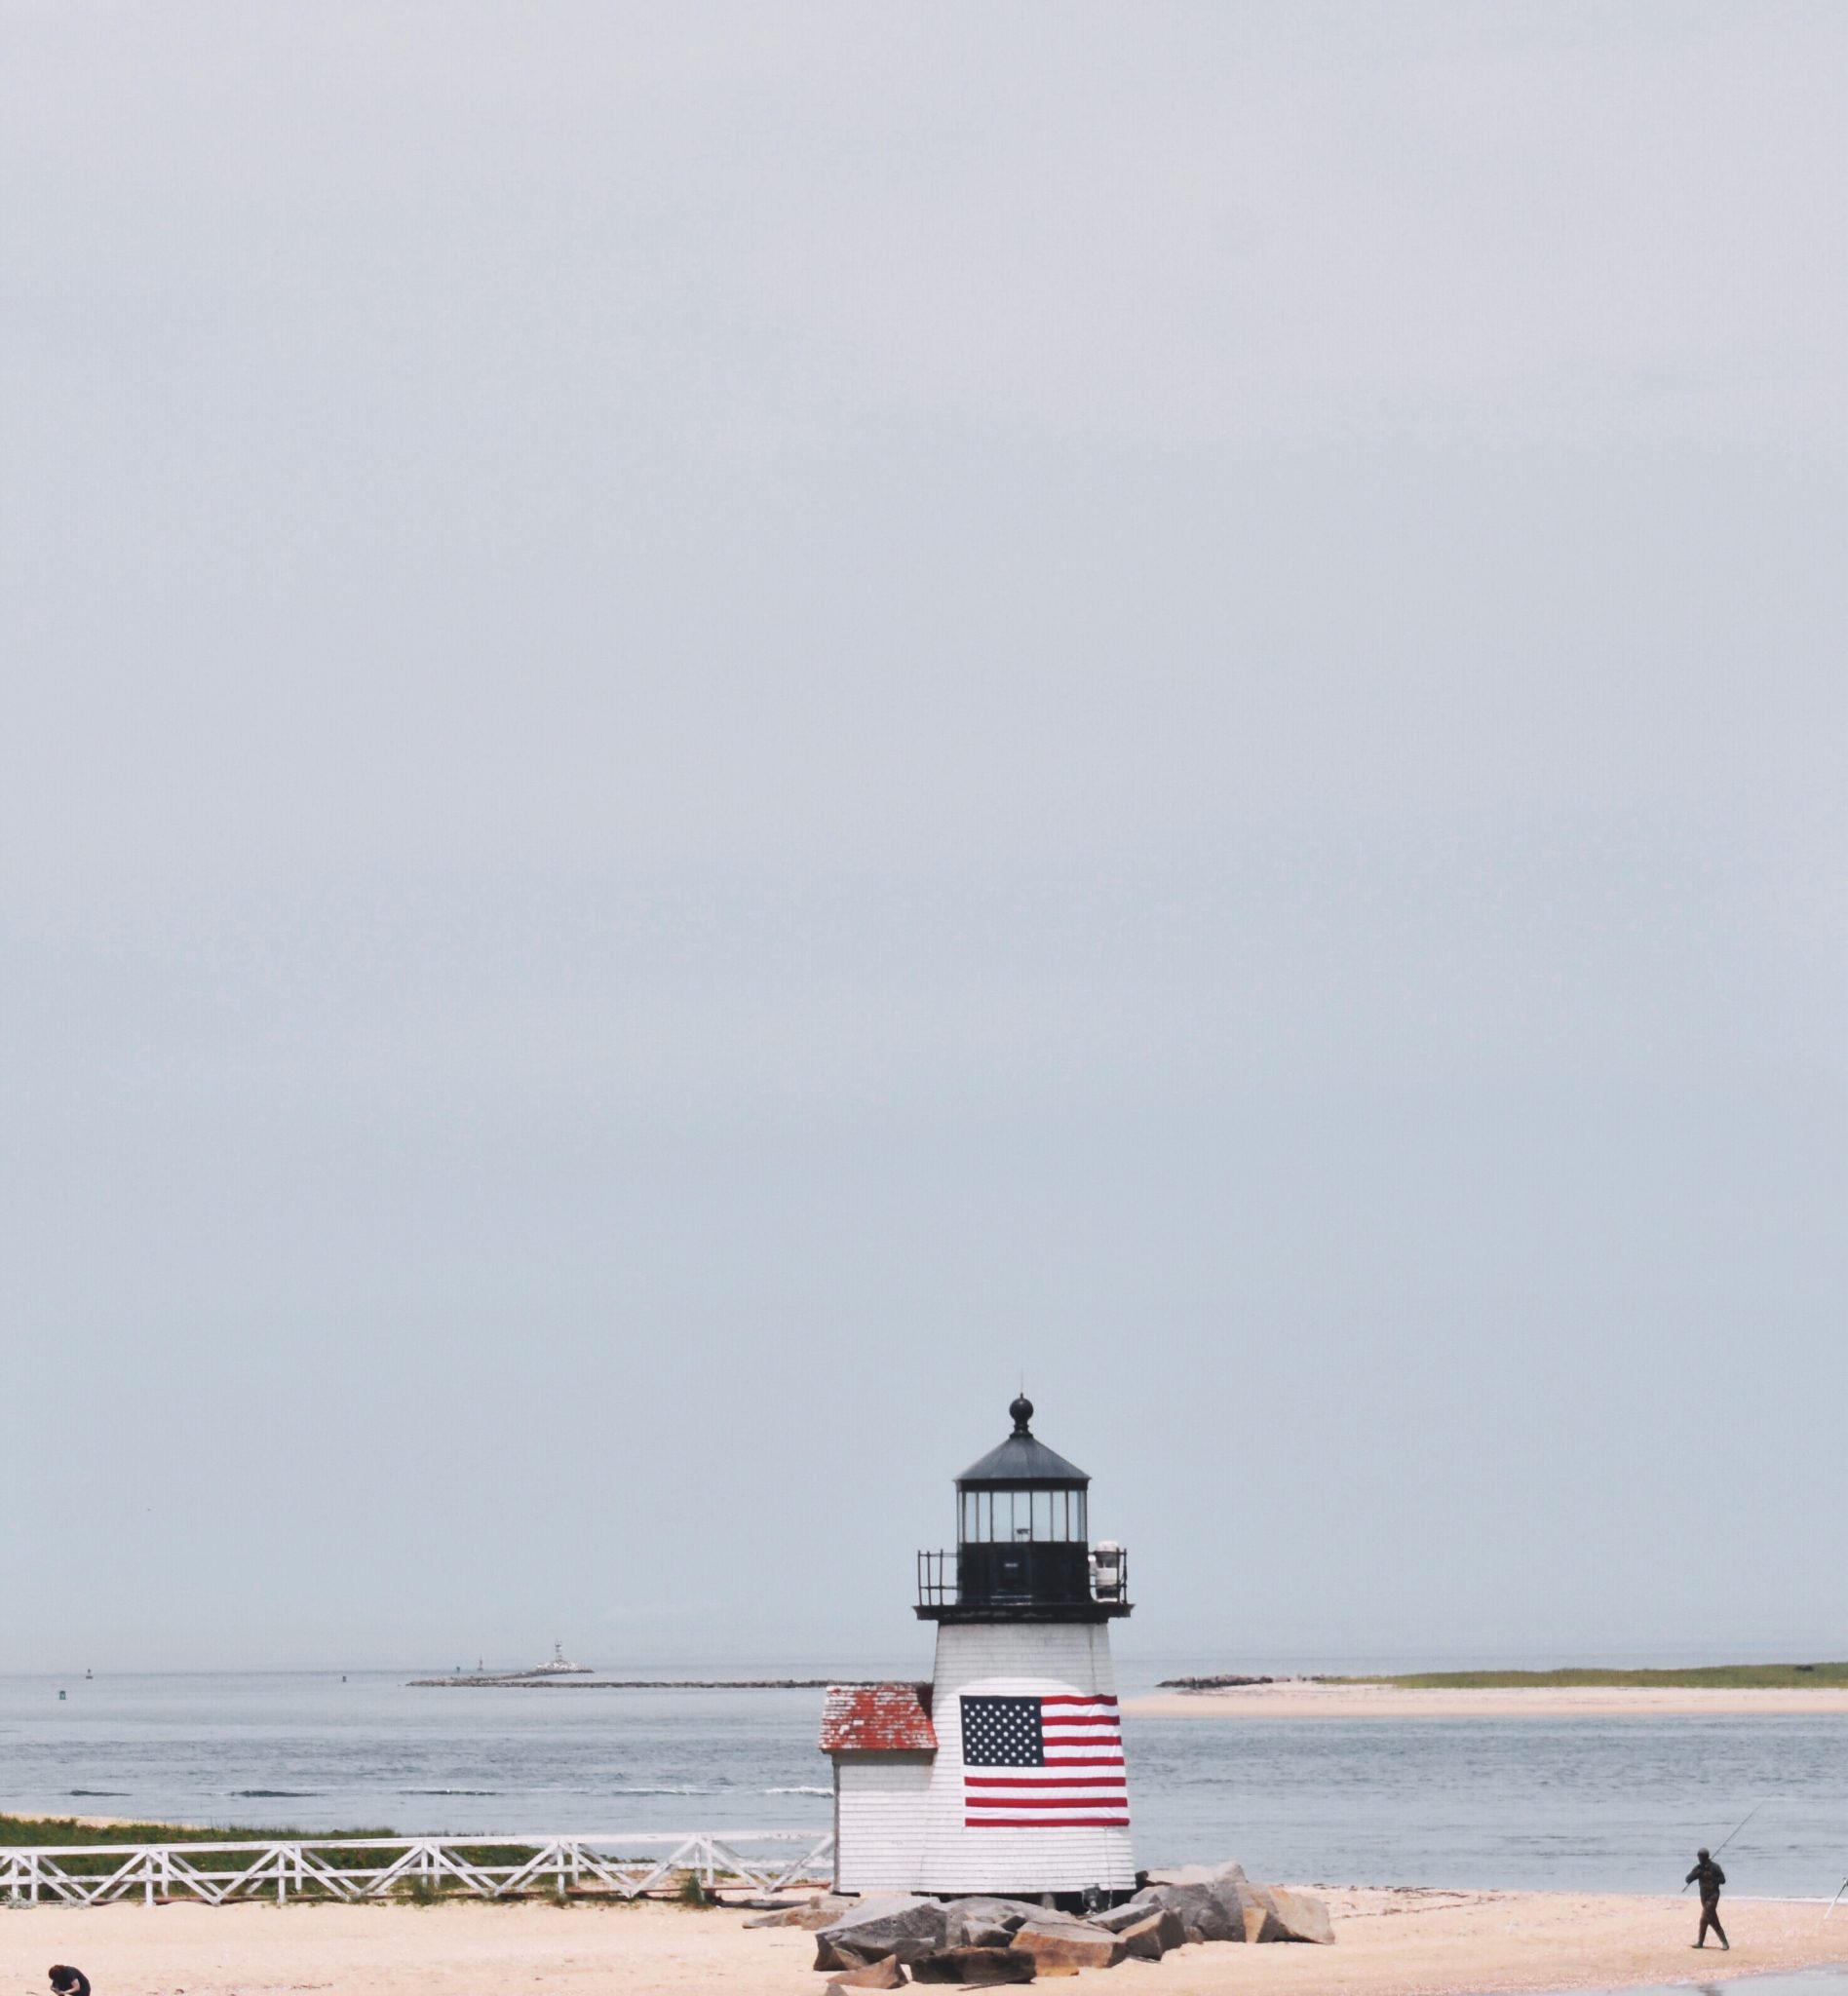
A trick I so often forget to use on my camera! A photo captured using Rule of Thirds is different than your basic center focused photo. It is an off-center composition rule where the elements you are trying to photograph are visually placed in a 3×3, 9 square grid.
For Rule of Thirds you want to start by turning on the grid setting on your camera. You’ll want to get creative with your image by dividing the main portions of your photo along the middle horizontal and vertical lines of the grid. For example if you are trying to capture a lighthouse, instead of splitting your image in two by centering the lighthouse in the middle, place the lighthouse in the far right portion of the grid. You also want to make sure parts of the lighthouse are in all 3 boxes of the right third column. This creates a more natural image, which is more appealing to the eye!
Here are a few other photography tips for beginners to consider and play around with when trying to capture a great image!
- Auto focus vs Manual focus
- White Balance – refers to the colors, temperature, and light we are shooting in. Many cameras have a menu to choose what type of color setting you’re shooting in (i.e. sunny, cloudy, florescent lighting etc.)
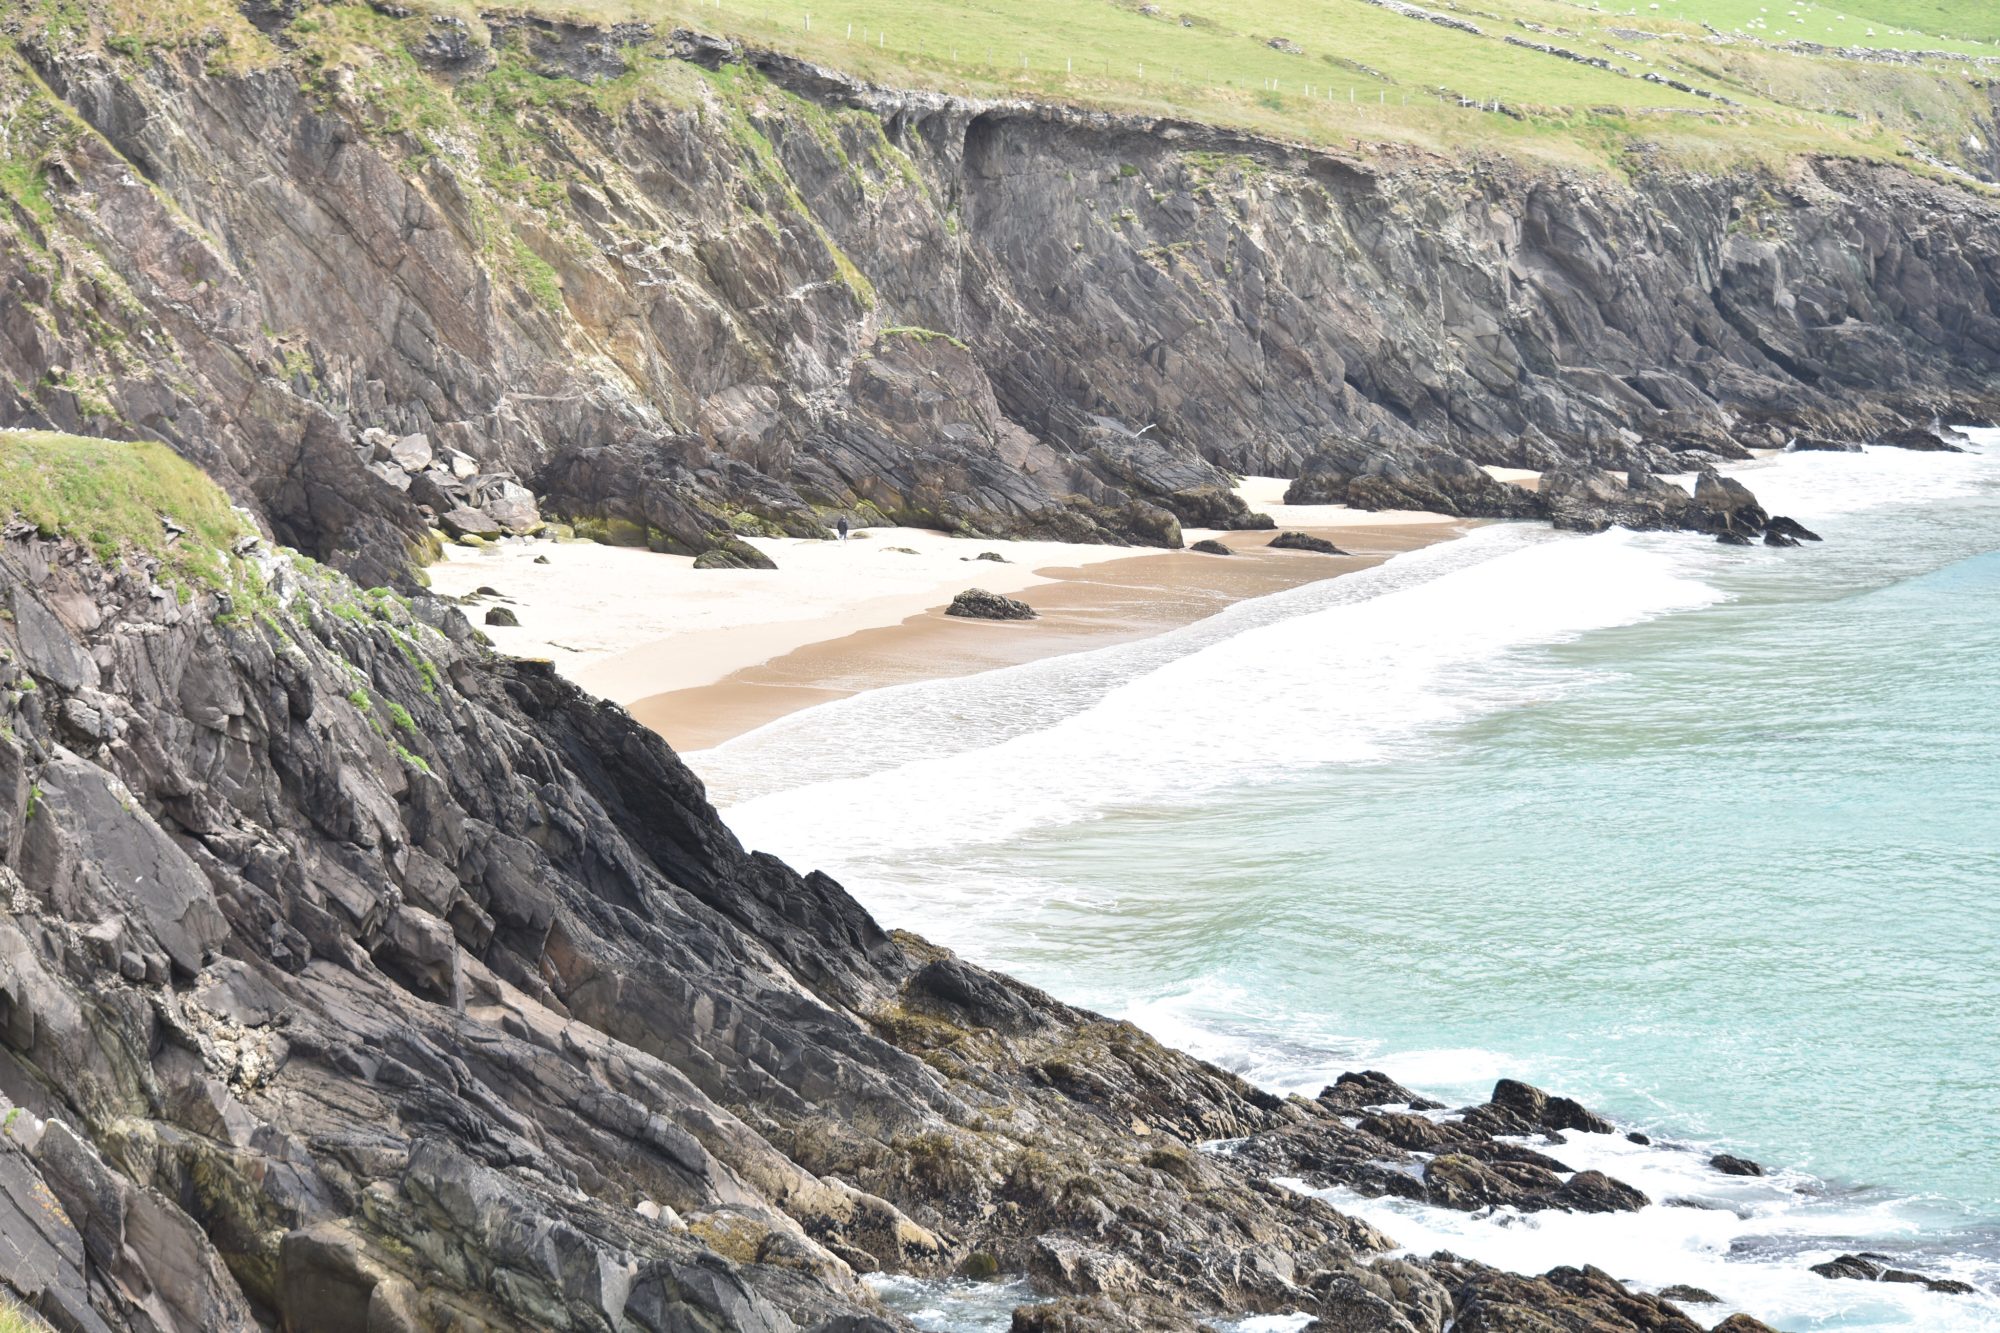
- Try your hardest to shoot in natural light! I almost never shoot anything indoors (still trying to master this). My most favorite images I have ever captured was when I took a trip to Ireland this past summer. the cloudy days produced the best lighting for crisp images!
After learning all of these key components in the photography class I took I felt like I was even more confused than when I began. I knew just reviewing the information wasn’t going to make me a better photographer, so I started to take my camera with me EVERYWHERE!
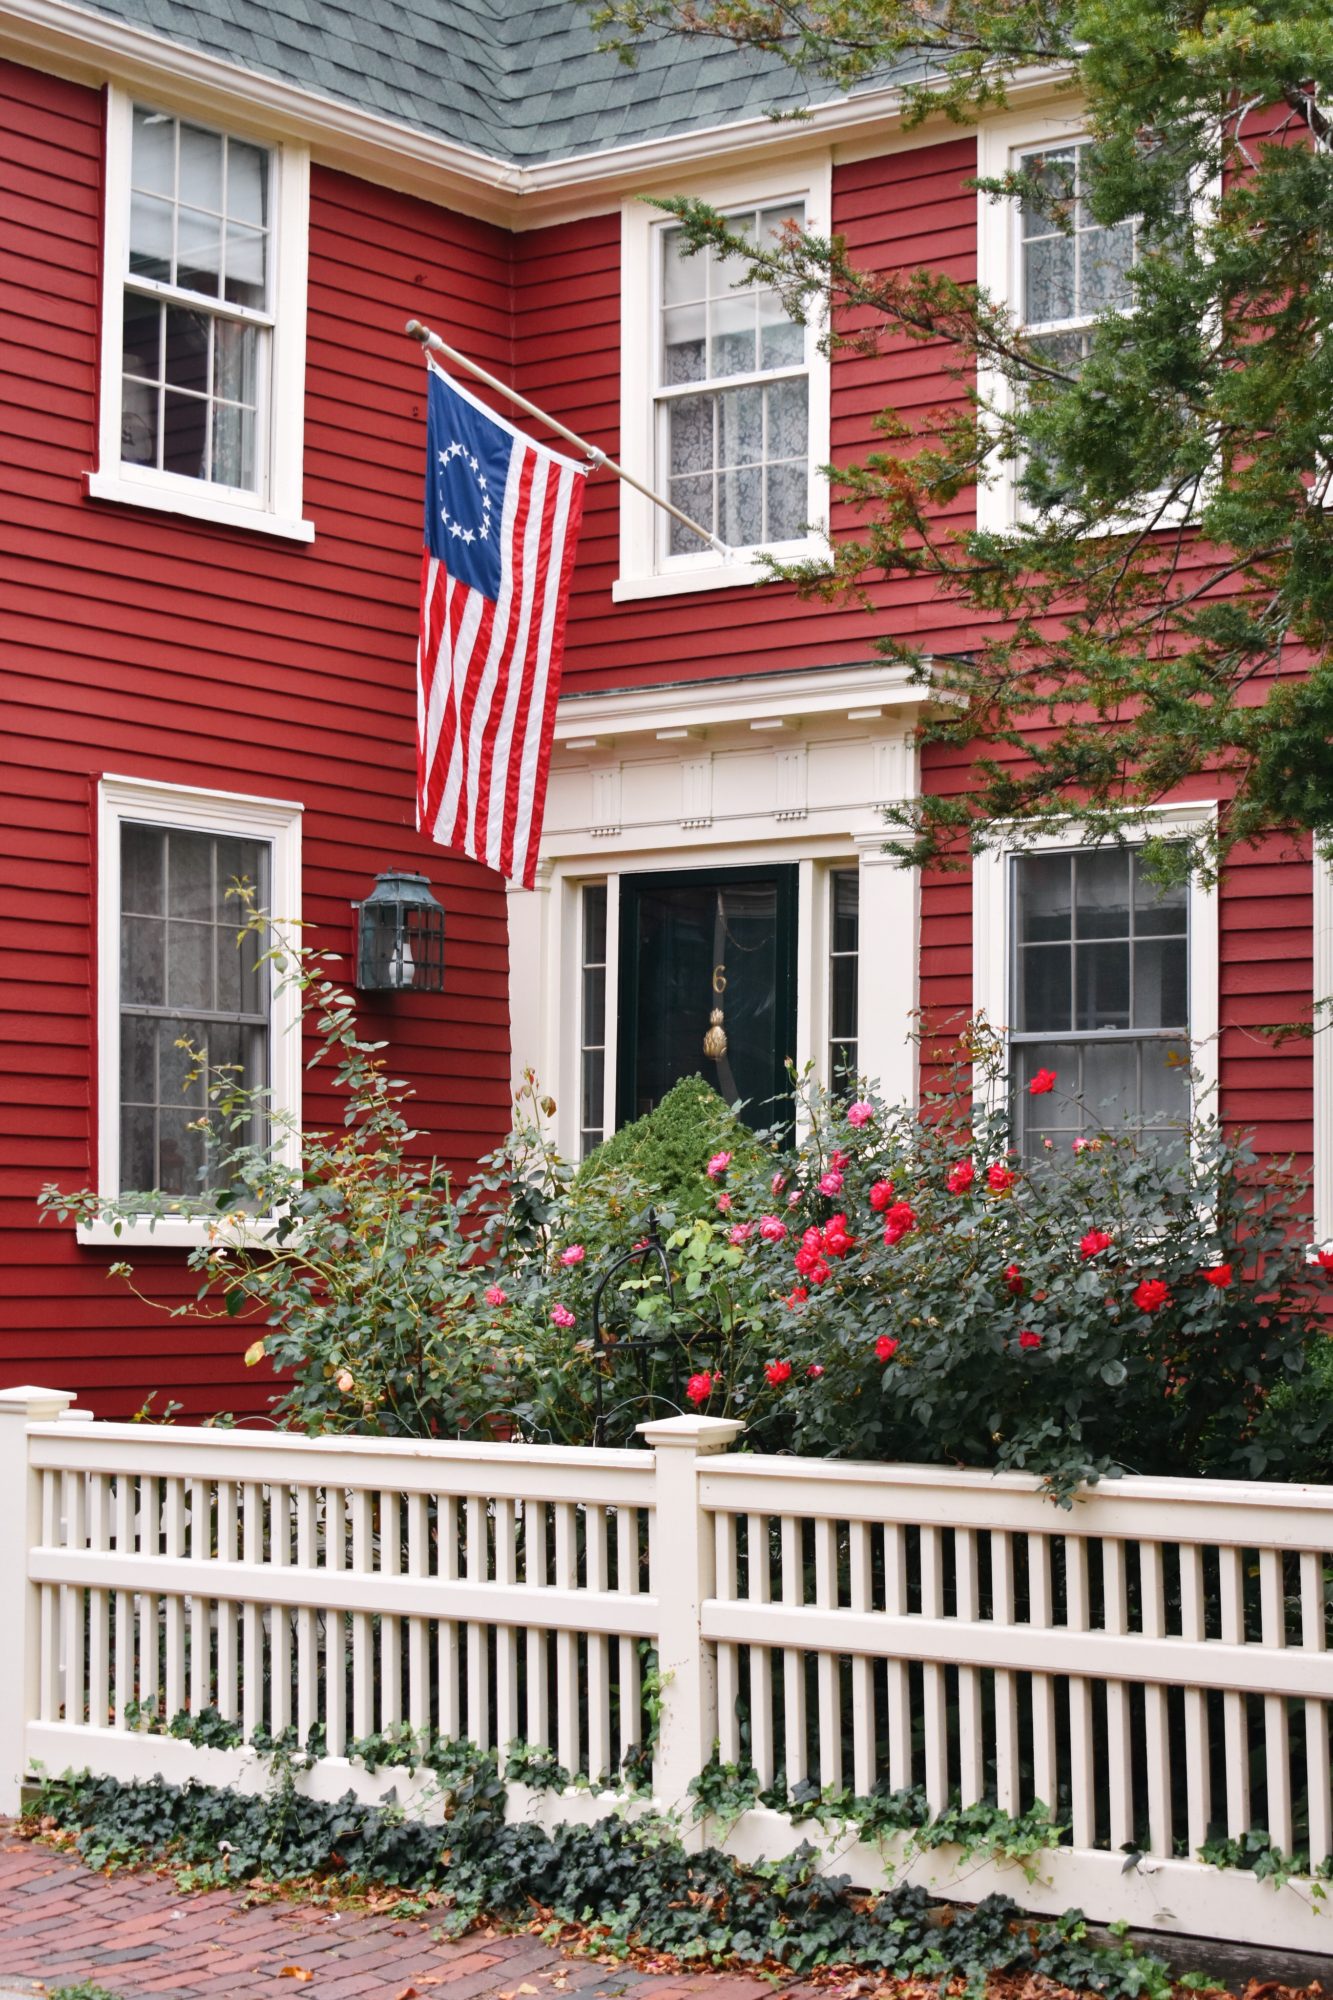
If I saw a cute house downtown, I would pull over, set my camera settings, and start snapping away. If something about my image was off, I would mess around with the 3 main components again until I got the perfect formula.
I also reached out to many of my favorite IG photographers to get their advice on how to capture the perfect image and every one of them had a different tip and trick! Everyone’s style of photography is different and unique. My biggest piece of advice to the beginning photographer would be to get out there, experiment, get creative with shots, and most importantly…have fun!
You can check out other articles on Photography Tips Here
Pin For Later



Leave a Reply